


DIY Nail Care: How to Create a Salon Experience at Home


Creating a salon-quality manicure and pedicure at home can be a relaxing and rewarding experience. With the right tools and techniques, you can achieve professional results without stepping out of your door. Here’s a step-by-step guide to help you pamper yourself with a perfect DIY nail care routine.
Gather Your Supplies
Before you begin, make sure you have all the necessary tools and products:
- Nail polish remover
- Cotton pads or balls
- Nail clippers
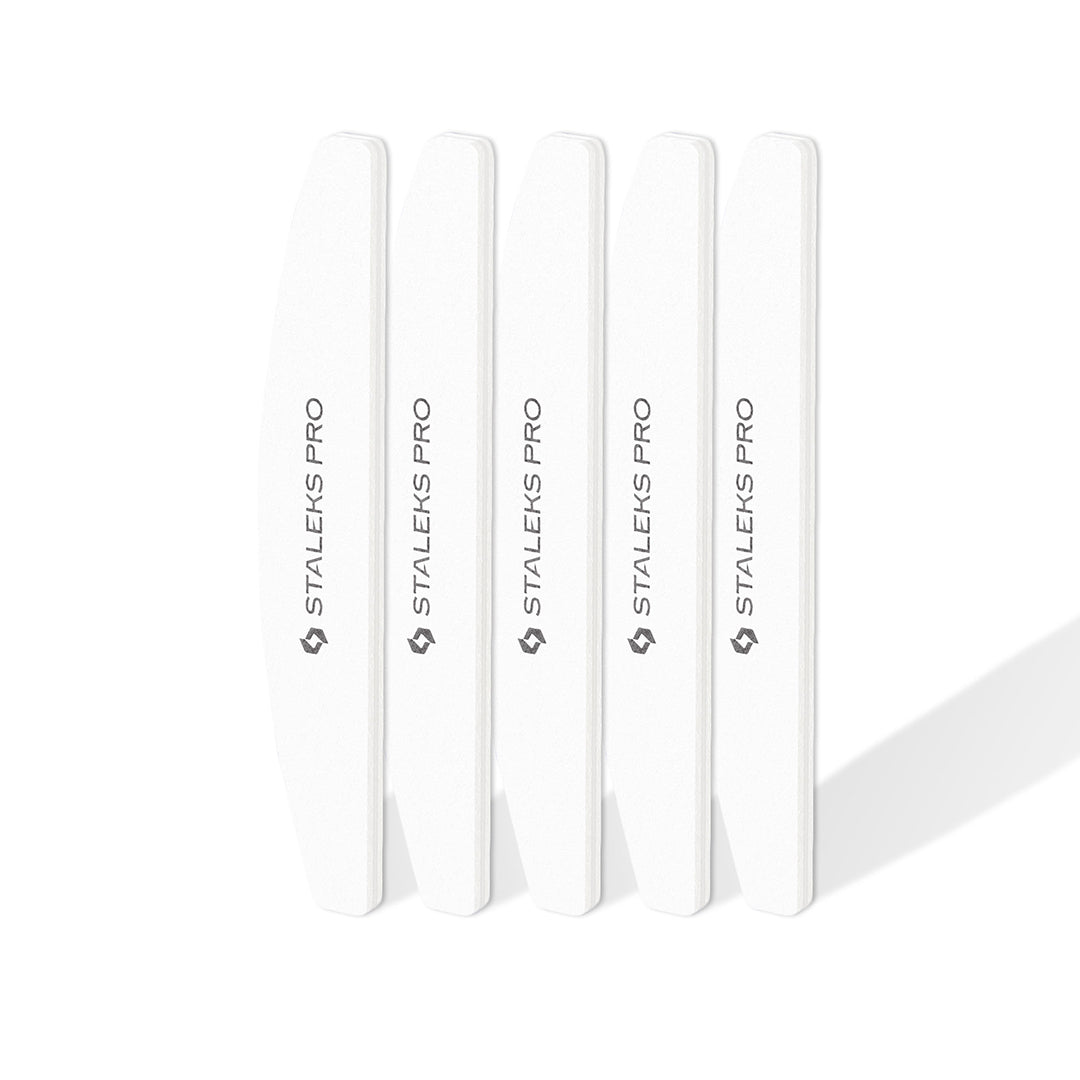
- Nail file and buffer
- Cuticle pusher and nippers
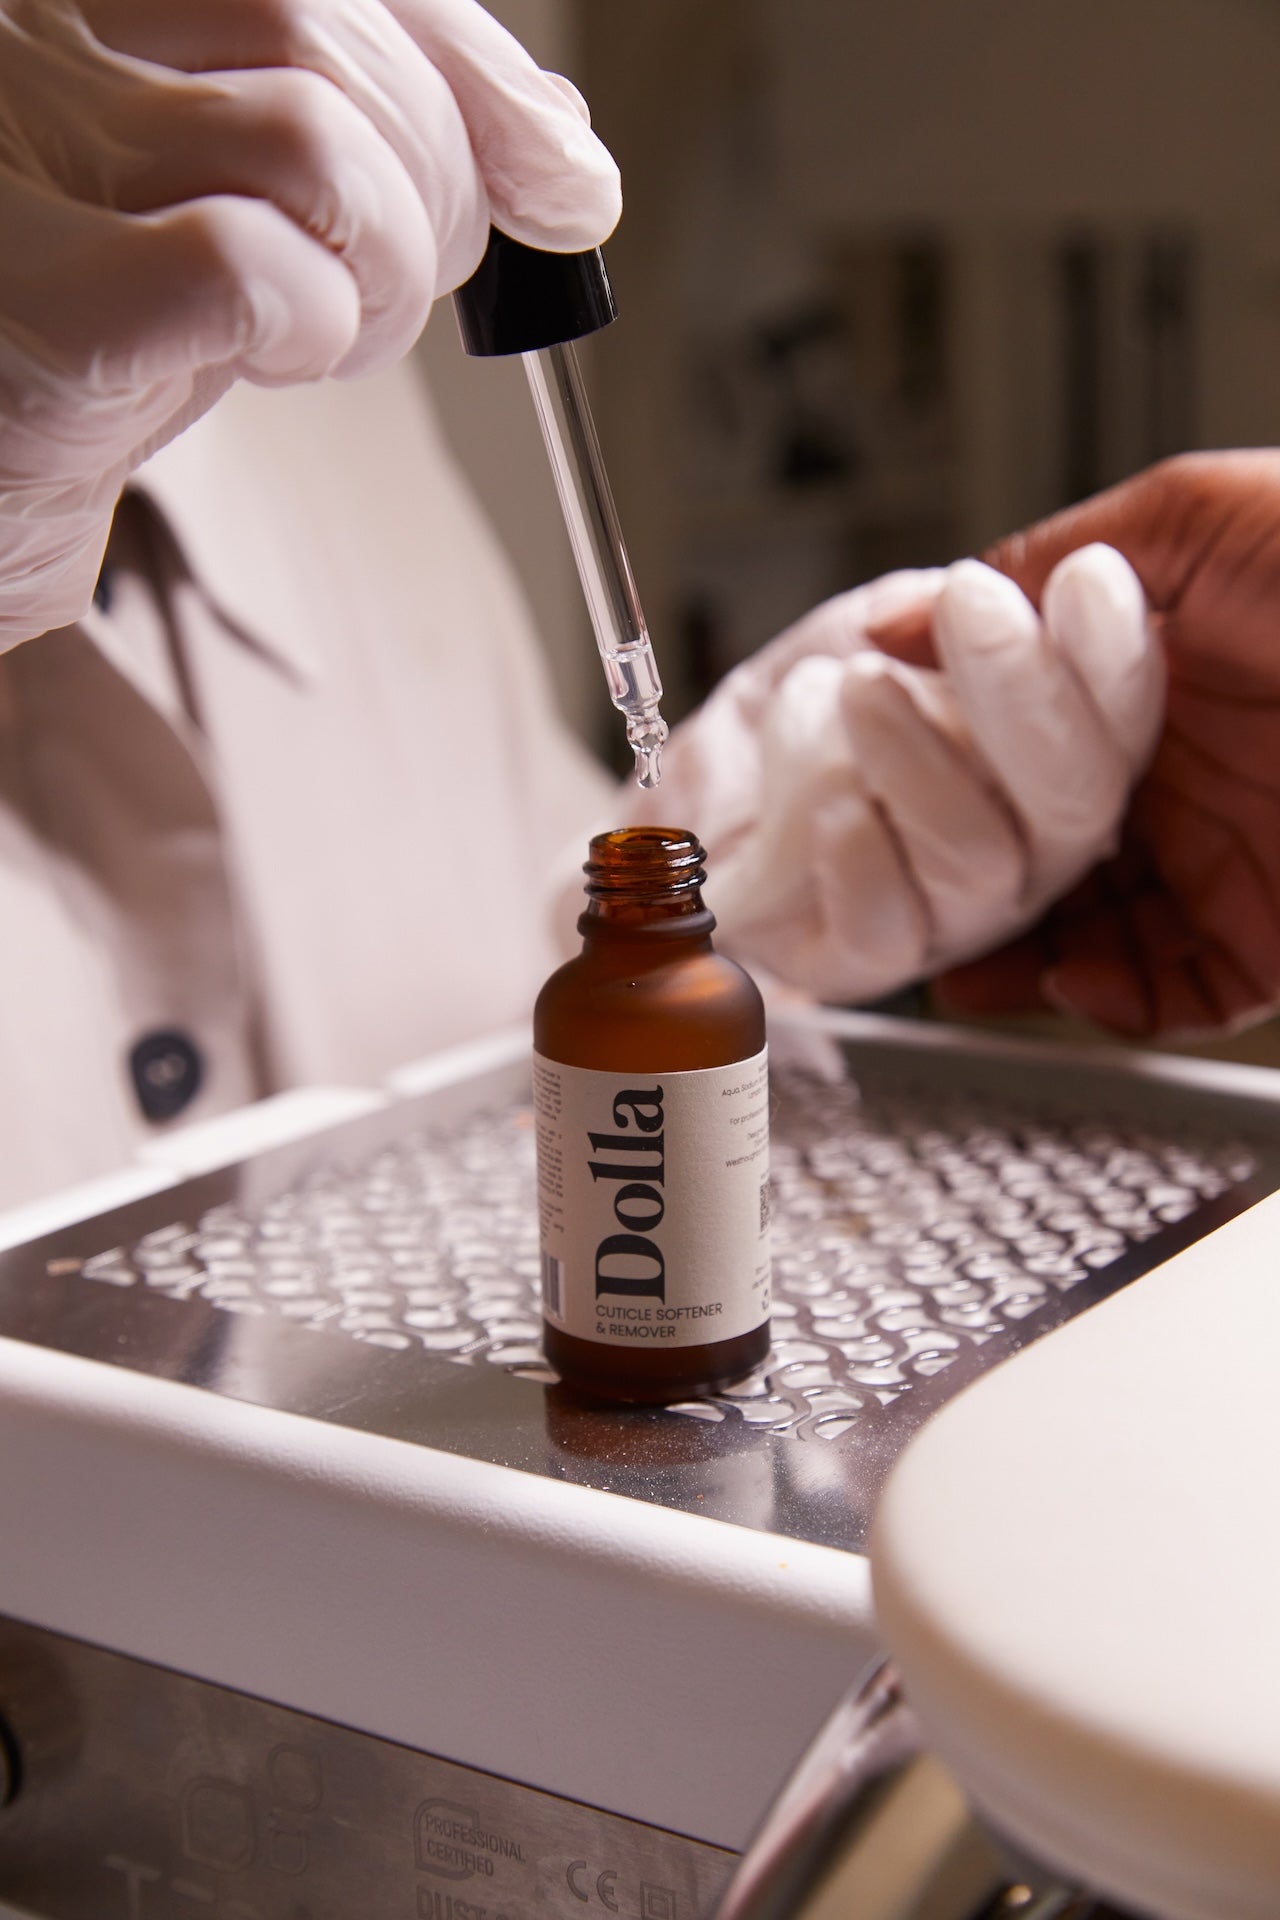
- Cuticle oil
- Base coat, nail polish, and top coat
- Hand and foot scrub
- Moisturizing lotion or cream
- Foot bath or large bowl
- Towels
Step 1: Remove Old Polish
Start by removing any old nail polish with a gentle, acetone-free nail polish remover. This will help prevent drying out your nails and cuticles. Use cotton pads or balls to wipe away the polish thoroughly.
Step 2: Soak and Exfoliate
For a salon-like experience, soak your hands and feet in warm, soapy water for about 10 minutes. This softens the skin and cuticles, making them easier to work with.
- Hands: Use a hand scrub to exfoliate dead skin cells, then rinse and pat dry with a towel.
- Feet: Use a foot scrub to exfoliate the heels and soles, focusing on rough areas. Rinse and dry your feet with a towel.
Step 3: Shape Your Nails
Using nail clippers, trim your nails to the desired length. Follow up with a nail file to shape them. Common shapes include square, round, and almond. Use a buffer to smooth the surface of your nails, removing any ridges and creating a smooth canvas for polish.
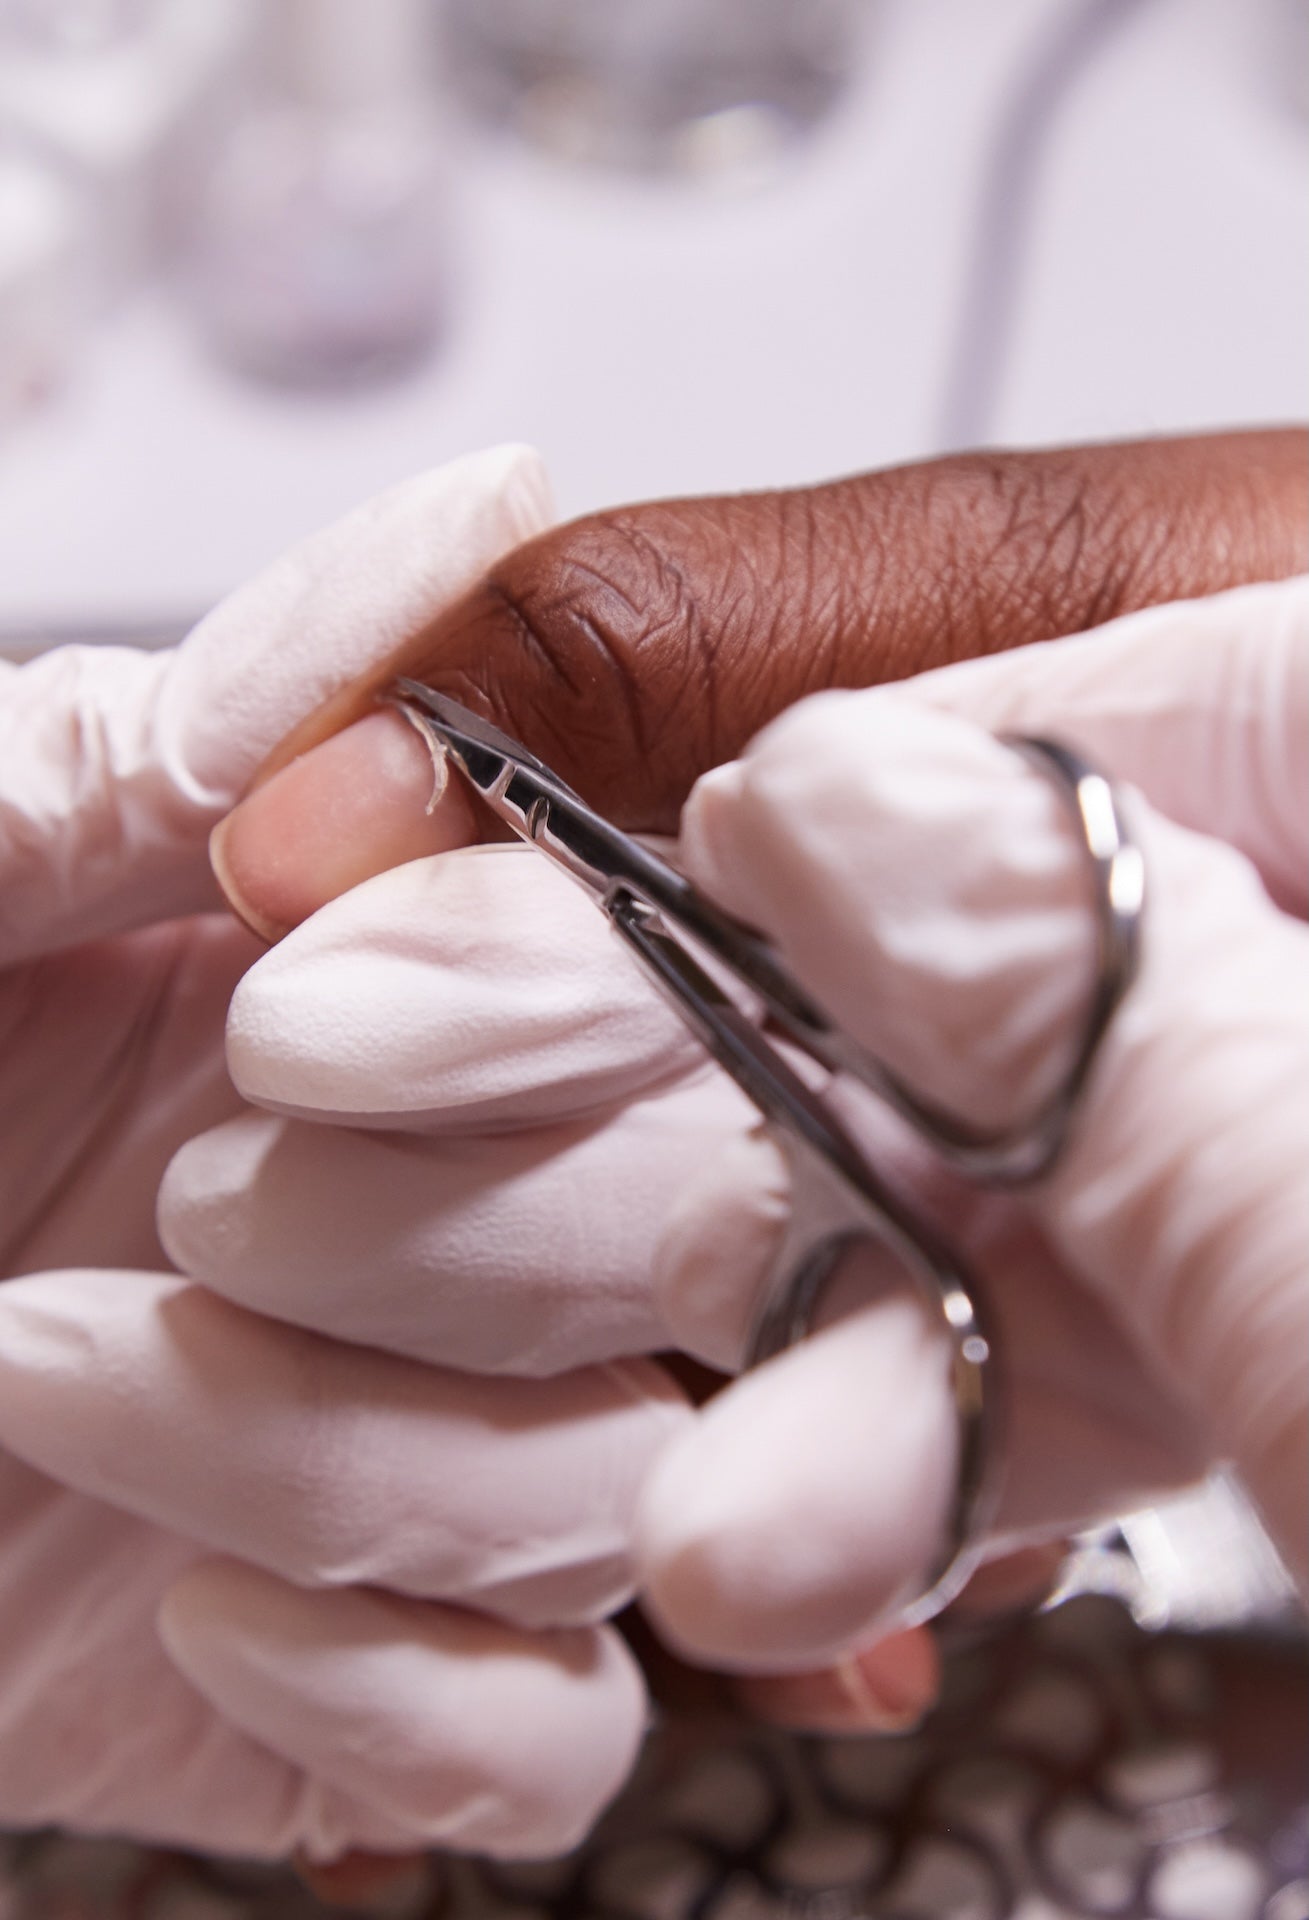
Step 4: Tackle the Cuticles
Apply cuticle oil to your cuticles and gently push them back using a cuticle pusher. If necessary, trim any excess cuticle skin with cuticle nippers. Be careful not to cut too much, as this can lead to irritation or infection.

Step 5: Moisturize
Massage a moisturizing lotion or cream into your hands and feet. Pay extra attention to dry areas like the heels and cuticles. This step helps keep your skin soft and hydrated.
Step 6: Apply Base Coat
A base coat is essential for protecting your nails and ensuring your polish lasts longer. Apply a thin layer of base coat to each nail and let it dry completely before moving on to the next step.
Step 7: Paint Your Nails
Choose your favorite nail polish color and apply it in thin, even coats. Start with a single stroke down the center of the nail, followed by strokes on each side. Allow each coat to dry before applying the next one. Two to three coats should provide a rich, even color.
Step 8: Seal with a Top Coat
A top coat helps seal your polish, adding shine and preventing chips. Apply a thin layer of top coat over your nail polish and allow it to dry completely. This step ensures your manicure and pedicure have a professional finish.
Step 9: Final Touches
Once your nails are dry, apply a bit of cuticle oil around your nails to keep the cuticles soft and hydrated. You can also use a quick-dry spray or drops to speed up the drying process if needed.
Tips for Long-Lasting Results
- Avoid using your nails as tools to open packages or scratch surfaces.
- Wear gloves when doing household chores to protect your manicure.
- Reapply a thin layer of top coat every few days to maintain shine and prevent chips.
- Keep your hands and feet moisturized daily to maintain soft, healthy skin.
Creating a salon-quality manicure and pedicure at home is easier than you might think. With the right tools, products, and techniques, you can enjoy professional results without the salon price tag. Follow this step-by-step guide to pamper yourself and achieve beautiful, long-lasting nails. Enjoy the satisfaction of a DIY nail care routine that leaves your hands and feet looking and feeling fabulous.
Leave a comment
Comments will be approved before showing up.