professional only brand
professional only brand
Best Sellers
Gel Products
Essentials & Accessories
Staleks
DIY Wedding Manicure Tips for Brides on a Budget
May 22, 2024 3 min read

Every bride deserves to feel beautiful on her wedding day, and that includes having stunning nails. However, professional manicures can be expensive. The good news is, with a bit of practice and the right tools, you can achieve a salon-quality manicure at home. Here are some DIY wedding manicure tips to help brides on a budget save money without compromising style.
Preparation is Key
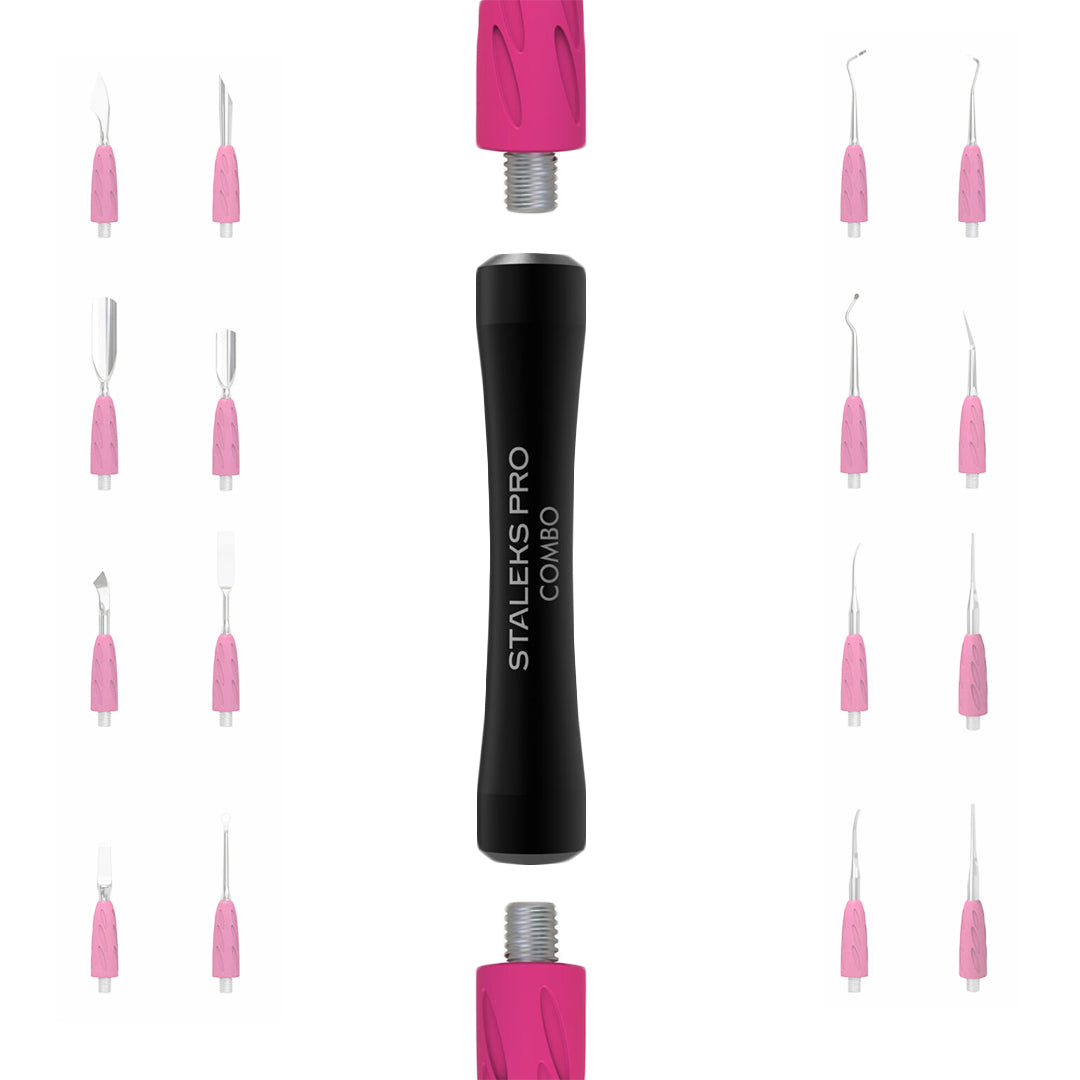
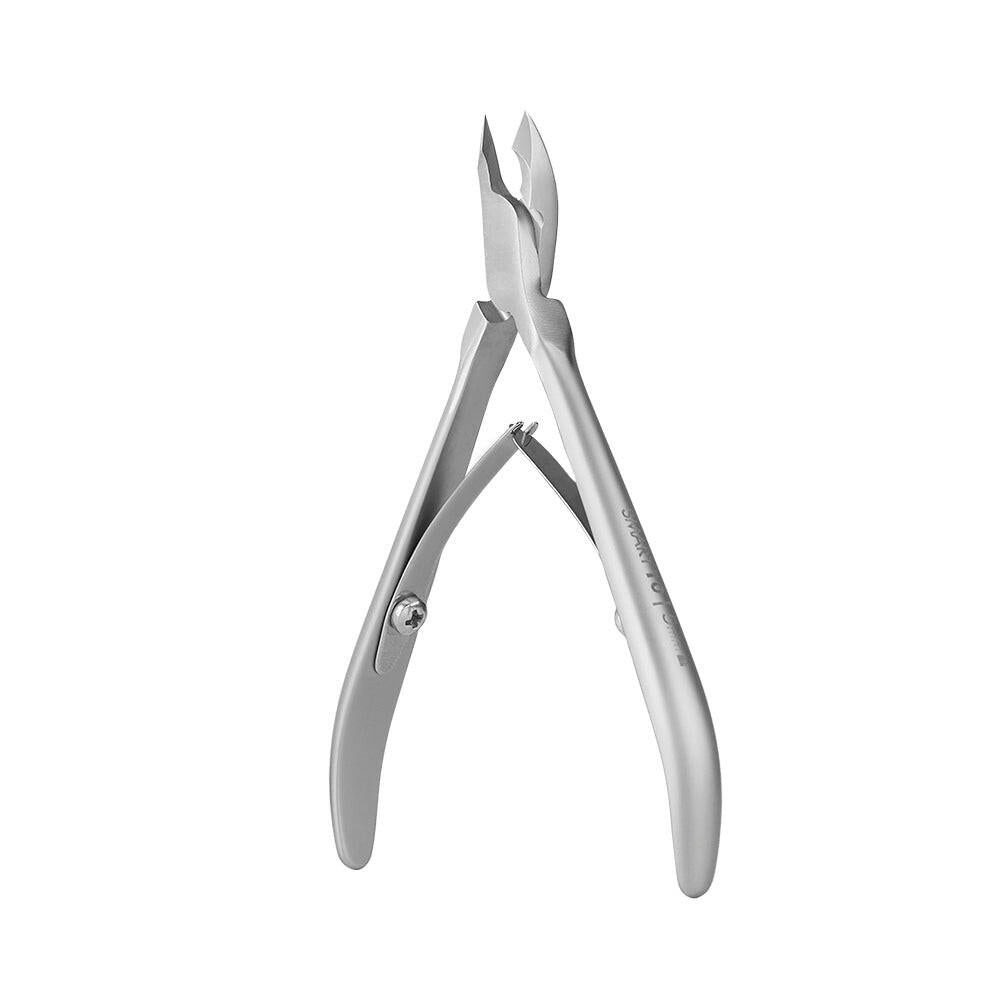
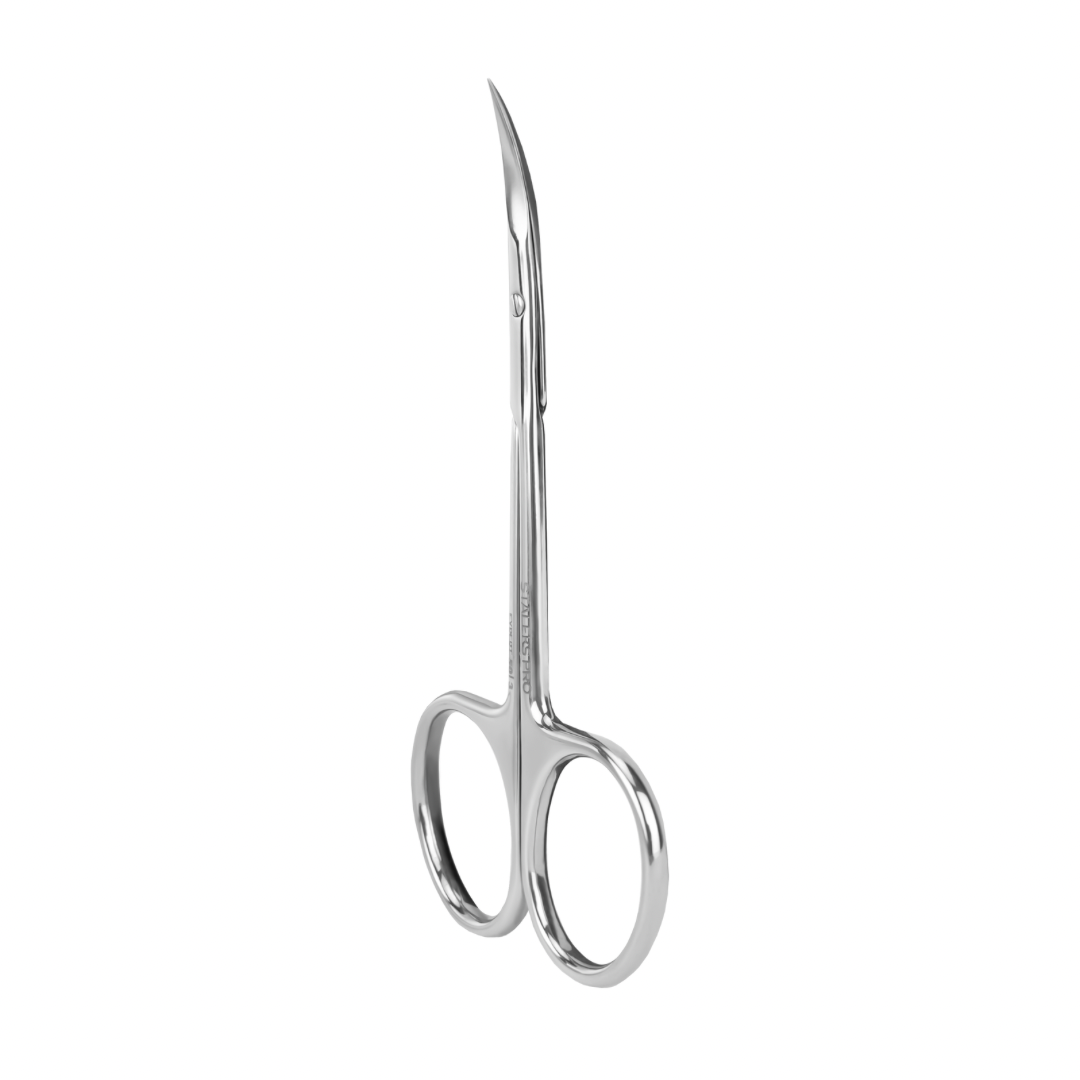
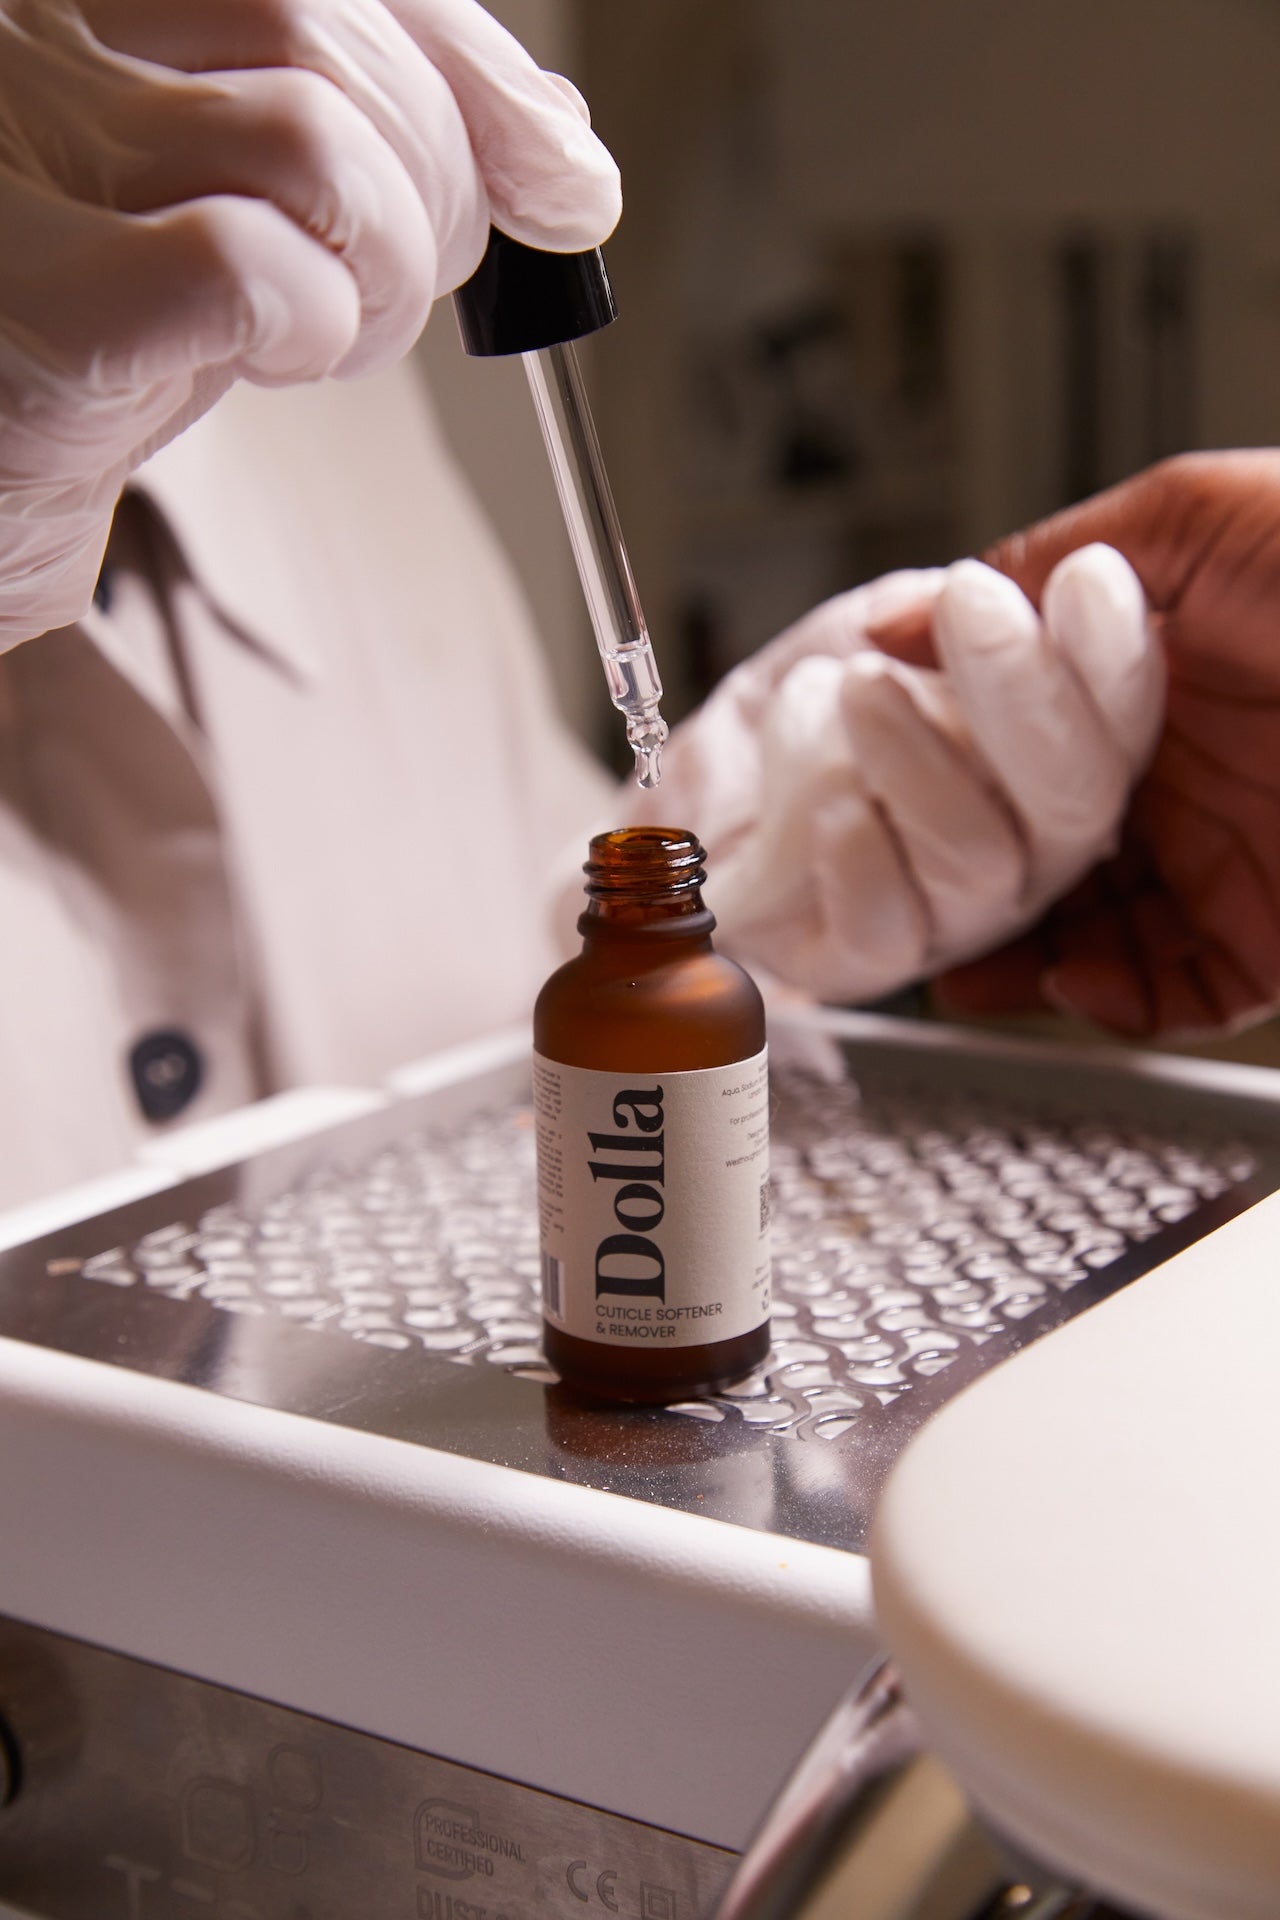
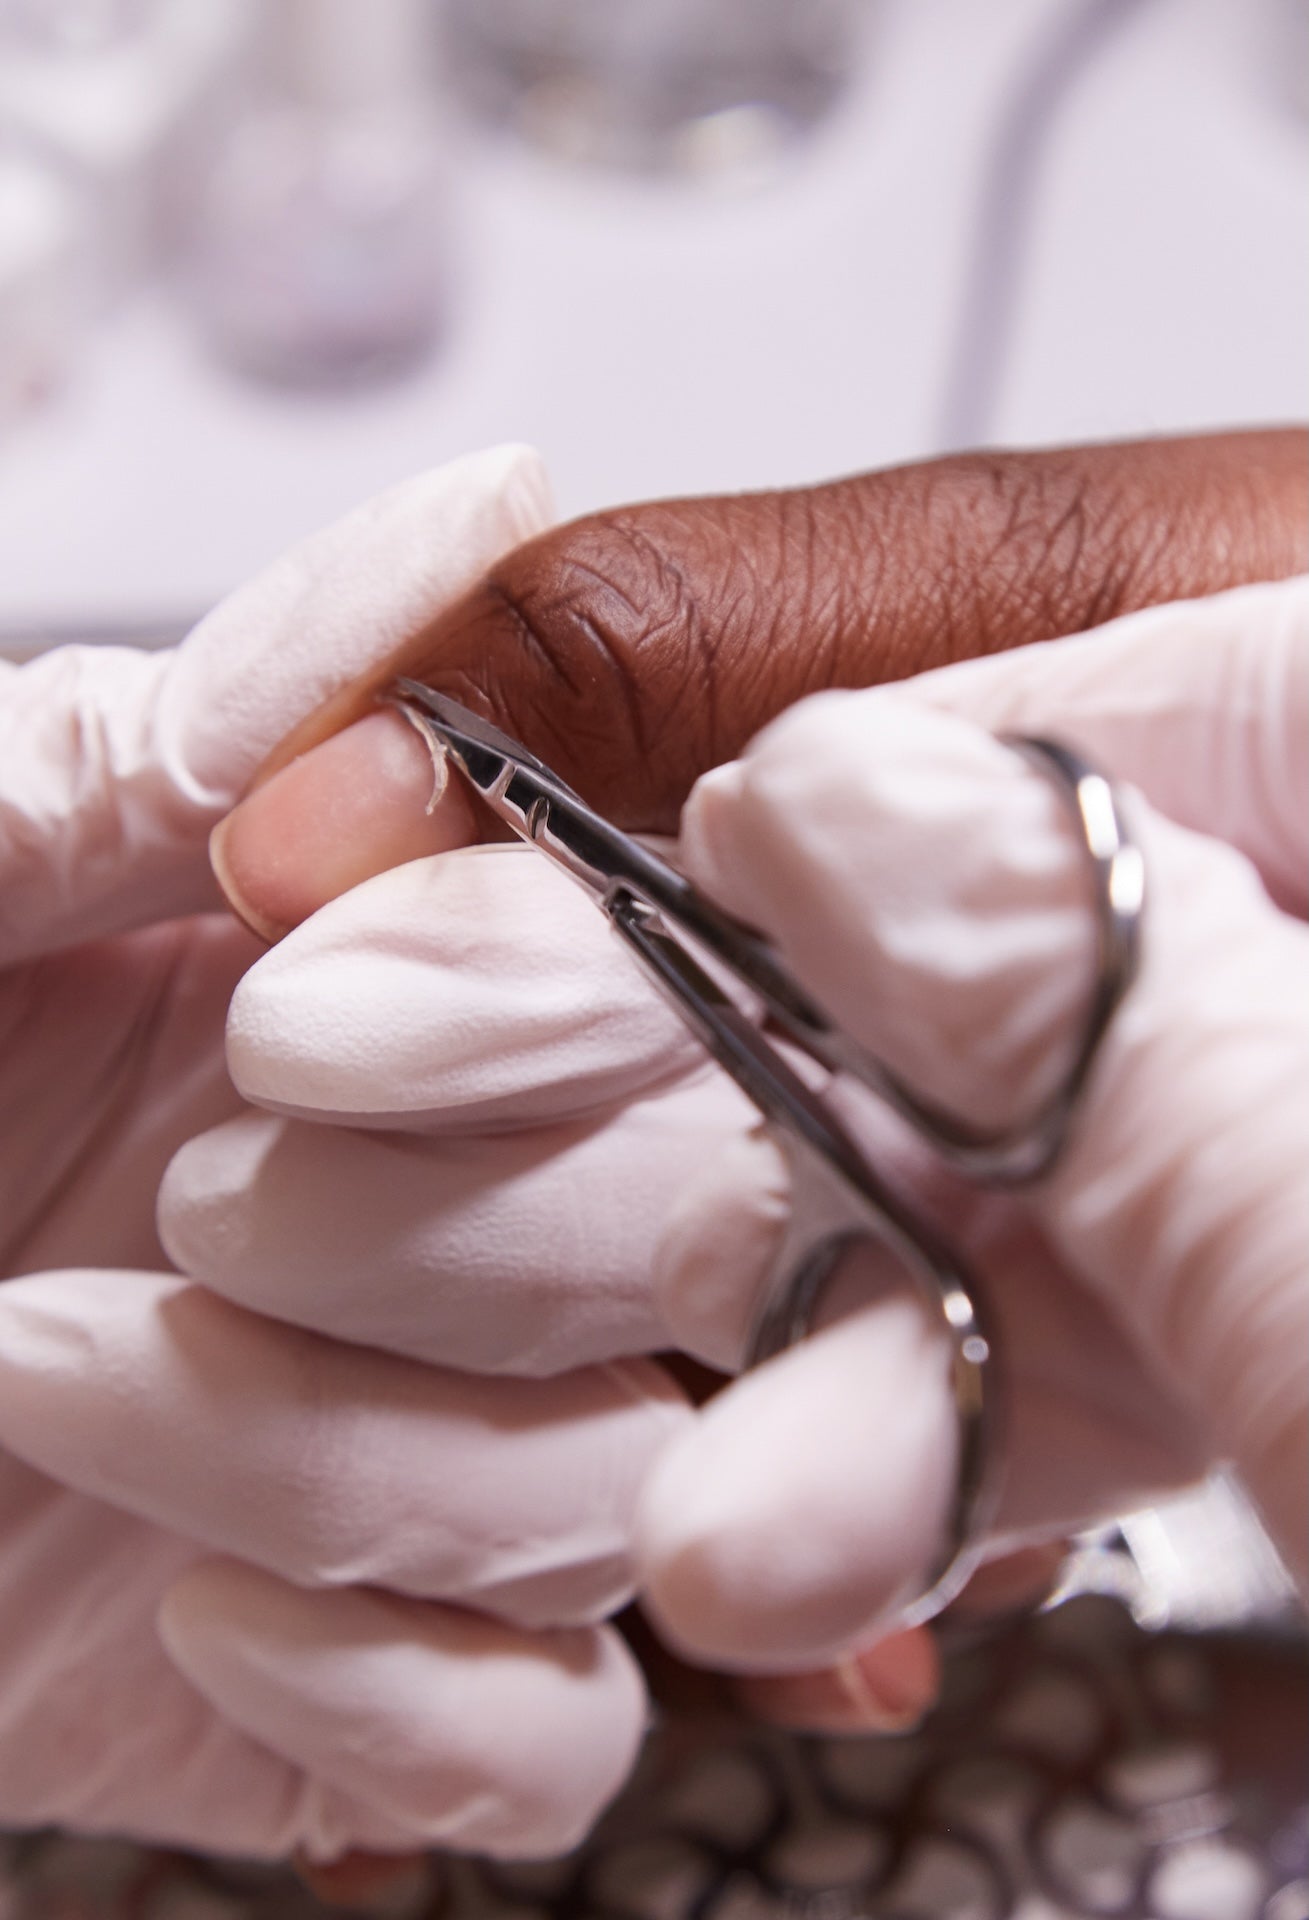
Before you start, ensure your nails are clean and well-prepared. Remove any old polish with a gentle, non-acetone remover to avoid drying out your nails. Next, soak your hands in warm soapy water for a few minutes to soften your cuticles. Use a cuticle pusher to gently push back the cuticles and trim any excess skin with cuticle nippers.
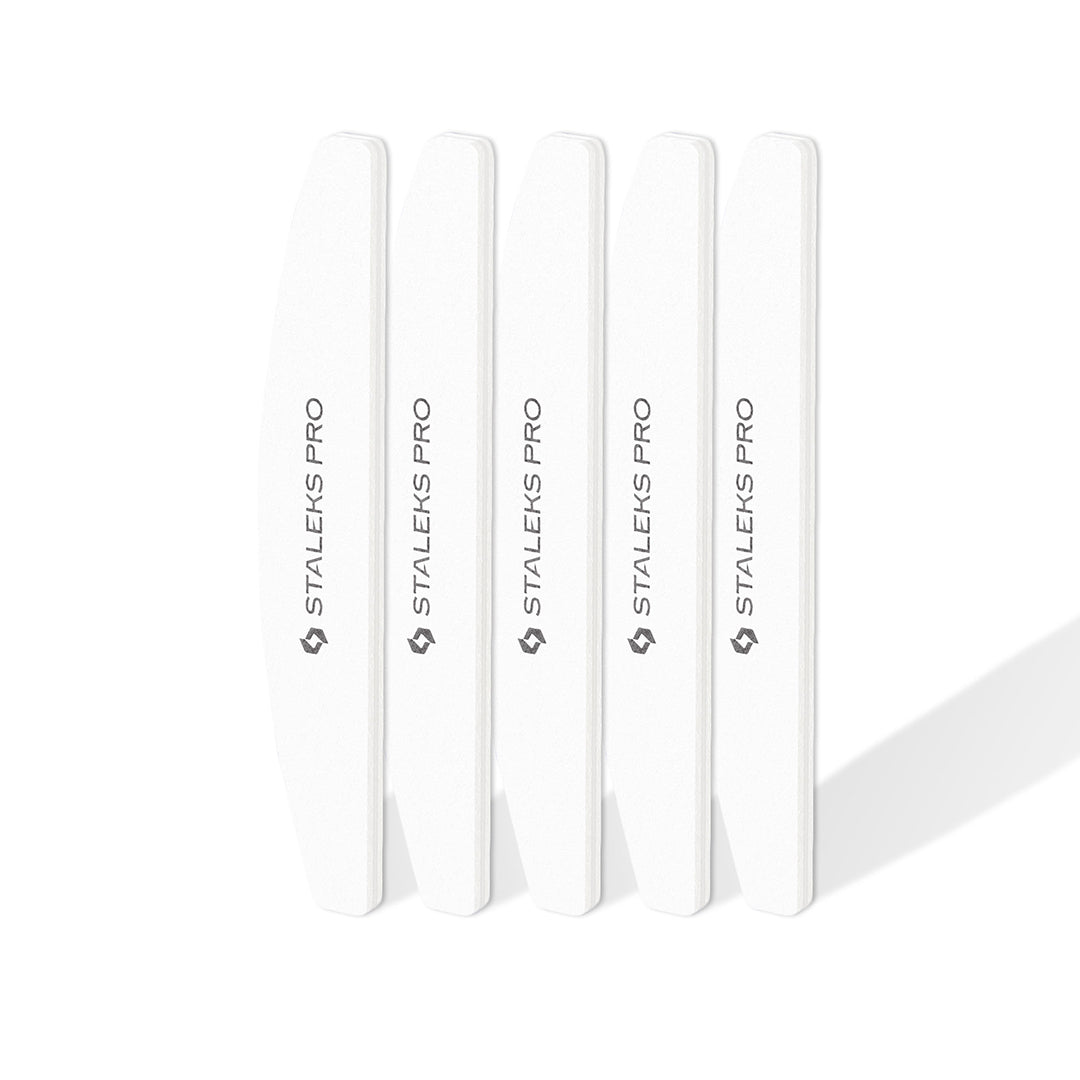
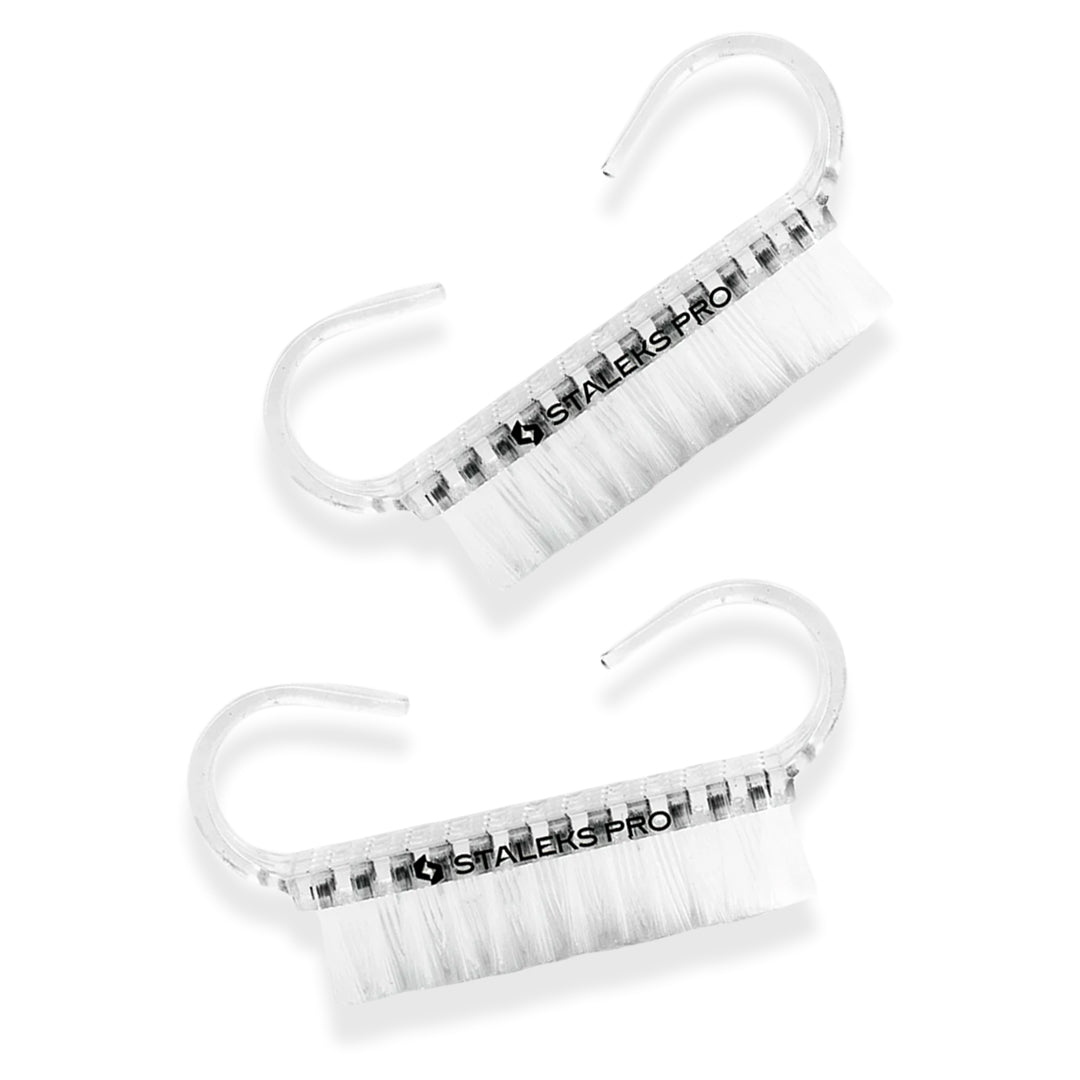
File your nails to your desired shape. Popular bridal shapes include oval, almond, and square. Use a buffer to smooth the nail surface, removing any ridges and creating a perfect canvas for your polish. Finish by washing your hands to remove any dust and oils.
Choosing the Right Polish
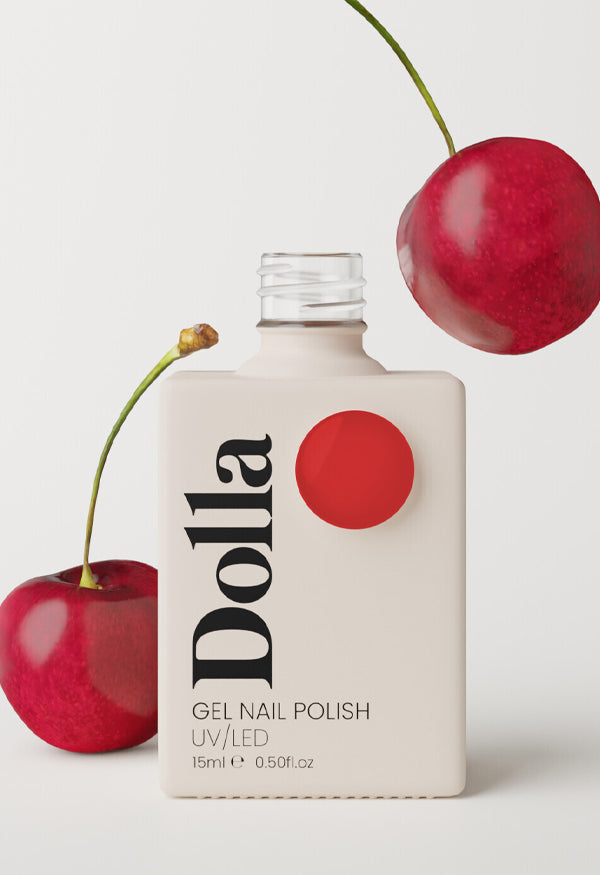
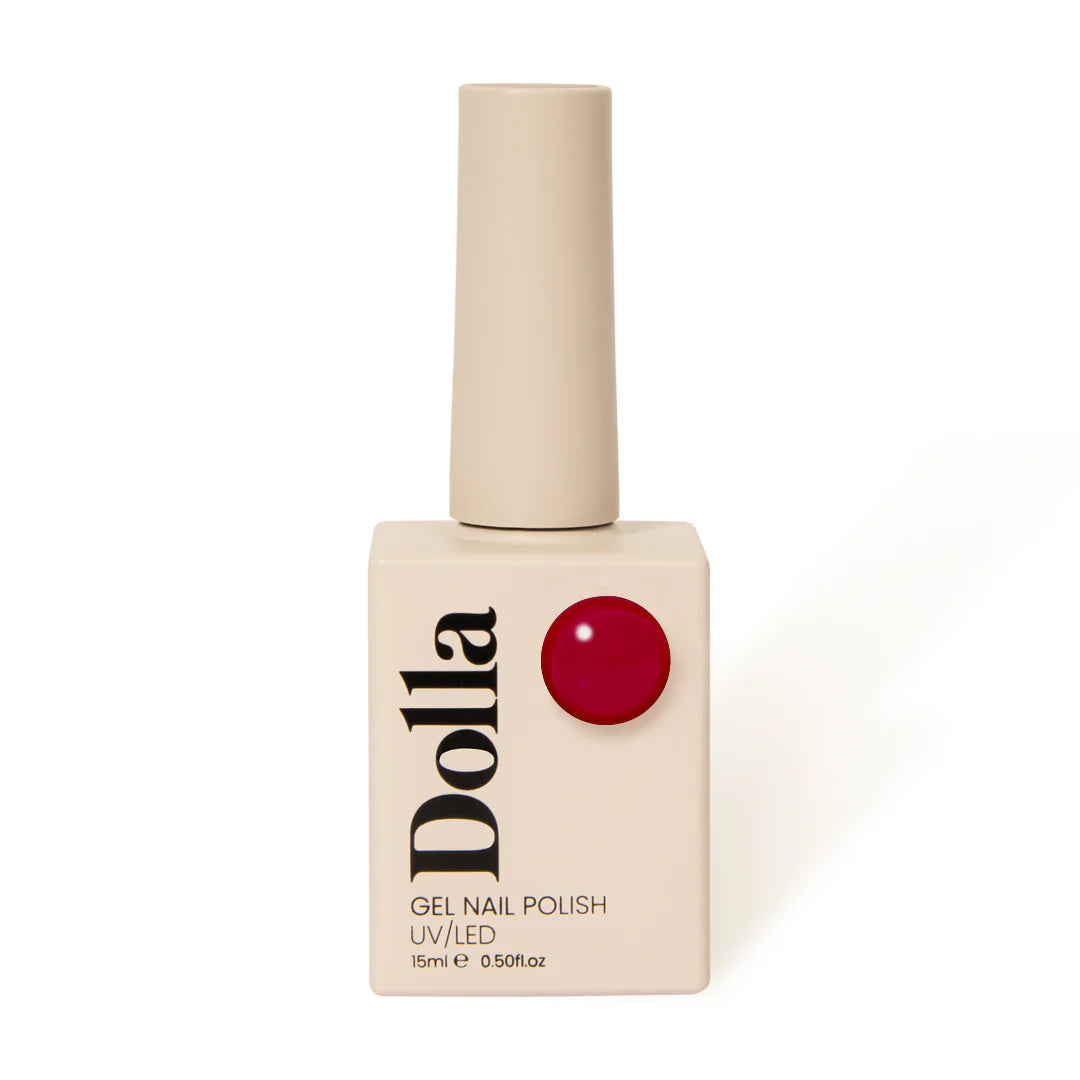
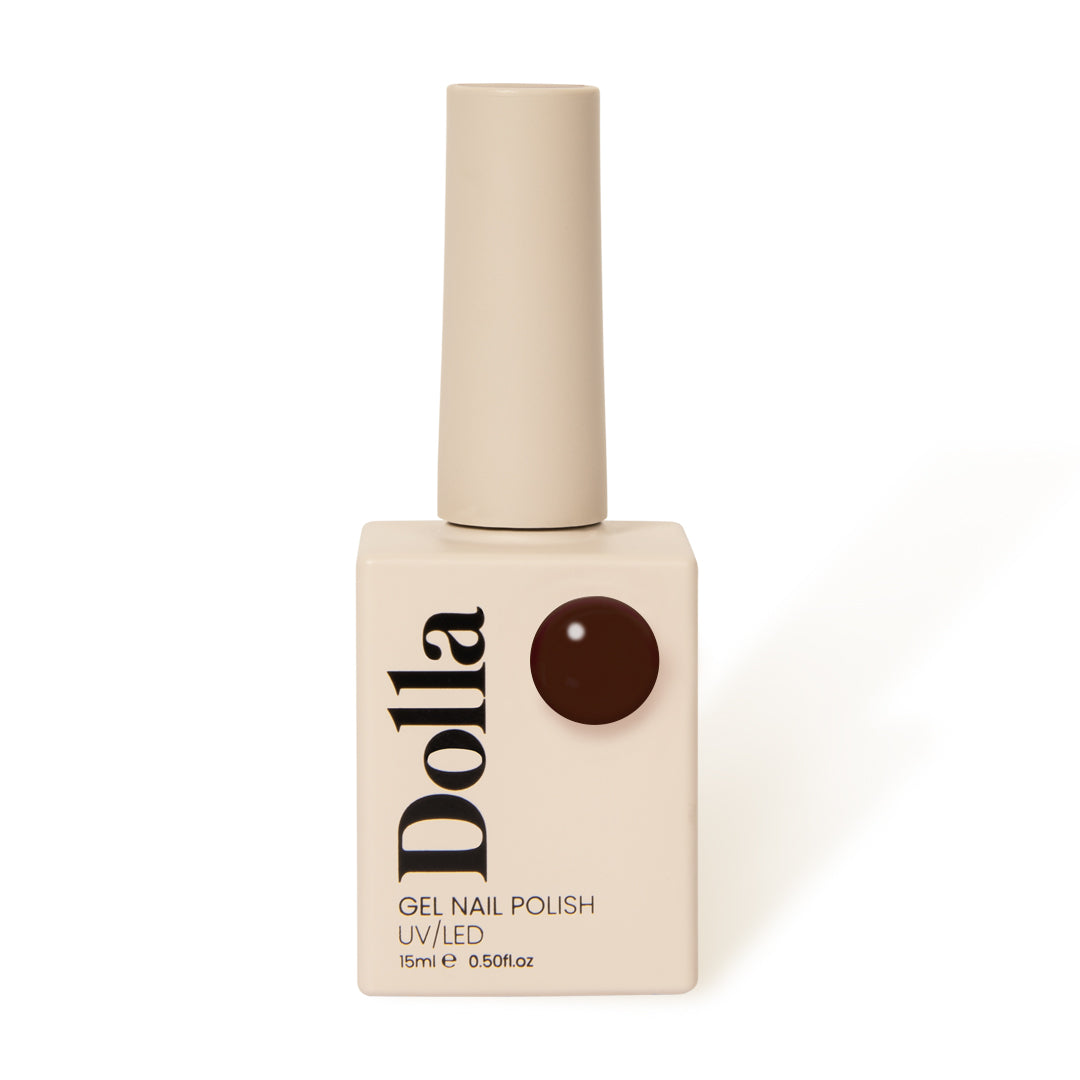
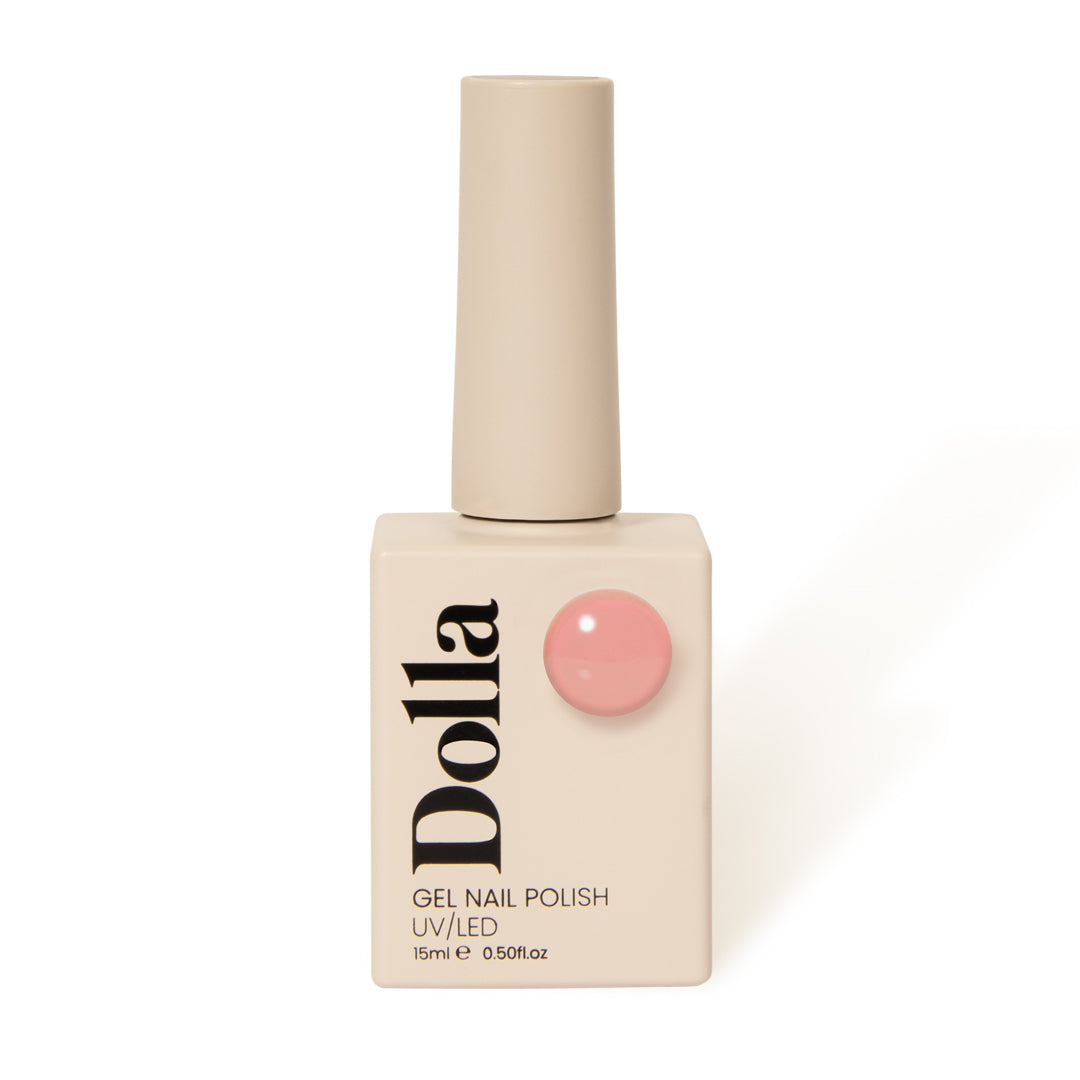
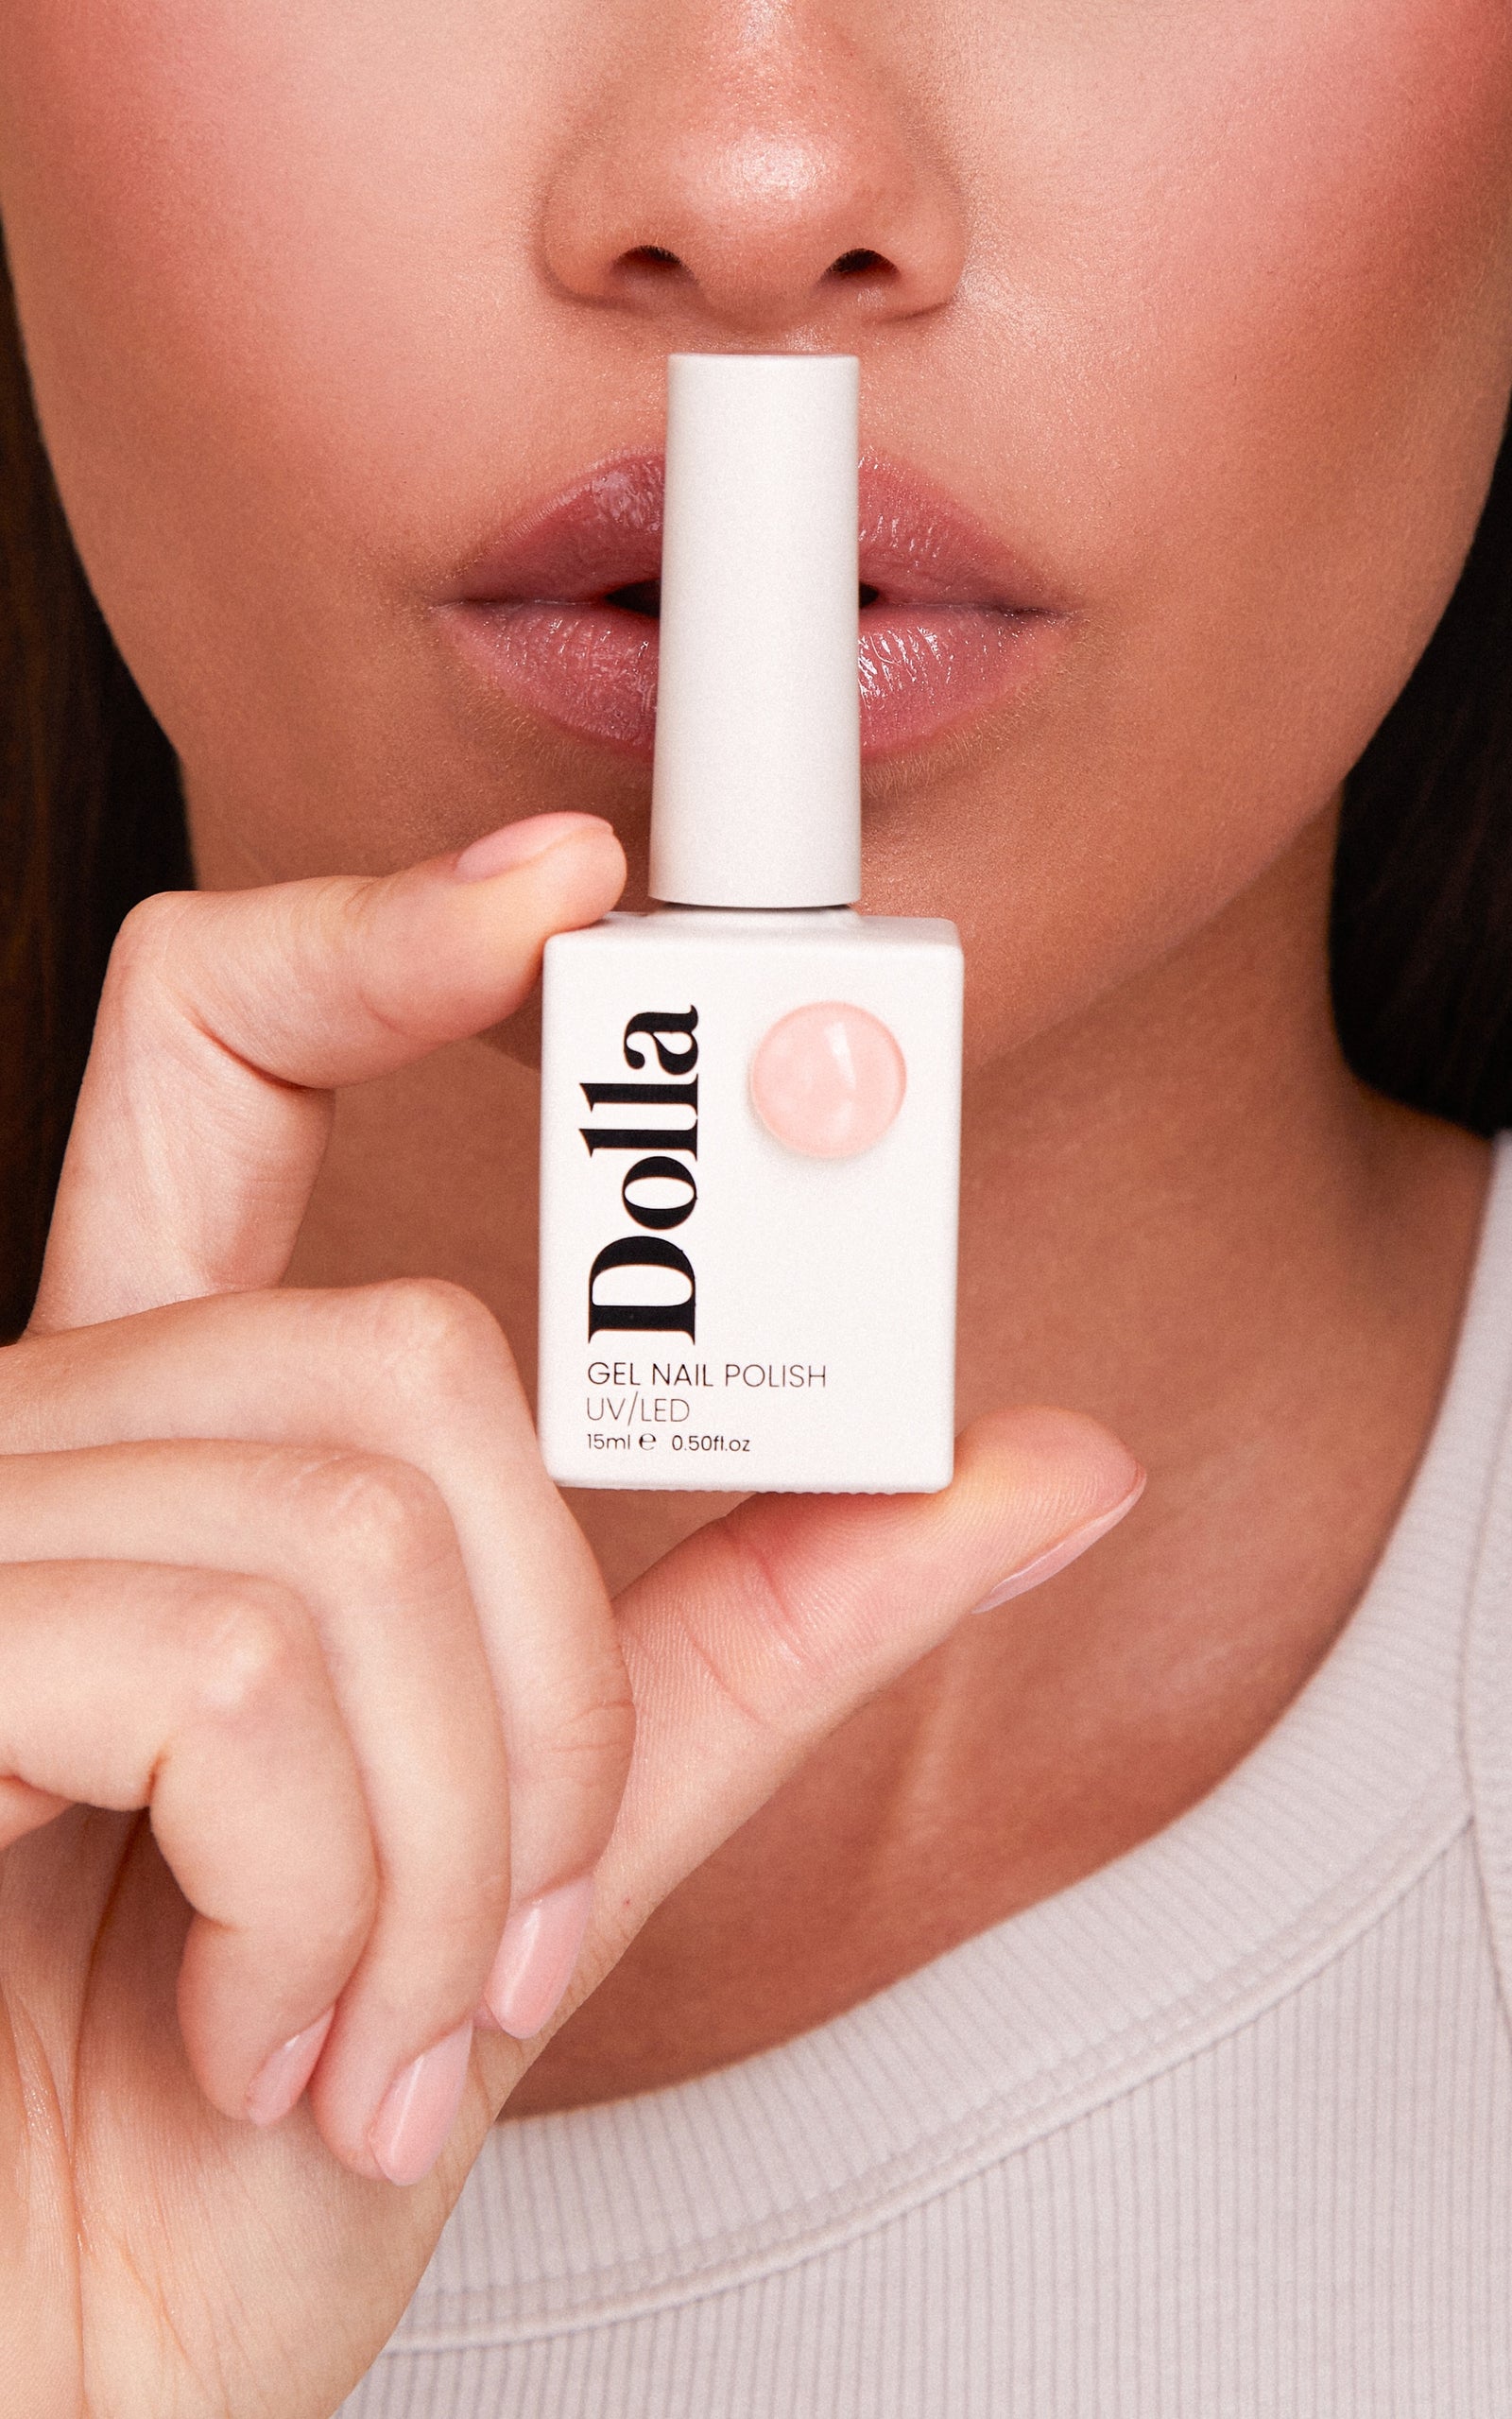
Selecting the right nail polish color is crucial for your wedding manicure. Soft pinks, nudes, and classic French tips are timeless choices that match any bridal look. Miss Dolla offers a beautiful range of wedding-friendly shades that are also non-toxic and long-lasting.
Applying the Polish
Start with a base coat to protect your nails and help the polish adhere better. Allow it to dry completely before applying your color. When applying the polish, use thin coats to avoid streaks and bubbles. Apply the polish in three strokes: one down the center and one on each side. Allow each coat to dry thoroughly before applying the next.
For a classic French manicure, use nail guides or tape to create a crisp white tip. Alternatively, you can freehand the tips if you have a steady hand. Apply a sheer pink or nude polish over the entire nail for a subtle, elegant look.
Adding Details
If you want to add some extra flair to your DIY bridal manicure, consider incorporating simple nail art. Delicate designs like tiny flowers, dots, or a subtle glitter accent can elevate your look. Use nail art brushes or dotting tools to create these designs. Miss Dolla’s range of nail art tools makes it easy to add beautiful details to your manicure.
Sealing the Manicure
Finish with a high-quality top coat to seal your manicure and add a glossy finish. This step is crucial for preventing chipping and extending the life of your manicure. Make sure the top coat is completely dry before moving on to any other activities.
Maintaining Your Manicure
To keep your nails looking fresh for your wedding day, avoid activities that might cause chipping, such as washing dishes without gloves or using your nails as tools. Apply a thin layer of top coat every couple of days to maintain the shine and durability of your manicure.
Practice Makes Perfect
If you’re new to DIY manicures, it’s a good idea to practice a few times before your wedding day. This will give you a chance to perfect your technique and find the look that you love the most. Don’t be afraid to experiment with different colors and designs until you find the perfect combination.
Relax and Enjoy
Finally, remember that your wedding day is about celebrating love and joy. Don’t stress too much about achieving perfection. Enjoy the process of pampering yourself and take pride in your beautiful, self-done manicure.
With these DIY wedding manicure tips, brides on a budget can achieve professional-looking nails at home. By preparing your nails properly, choosing the right polish, and taking your time with the application, you can have stunning nails without the salon price tag. Miss Dolla’s range of non-toxic, long-lasting polishes and nail art tools will help you create a gorgeous bridal manicure that complements your special day.
Leave a comment
Comments will be approved before showing up.
Subscribe
Sign up to get the latest on sales, new releases and more …
