


The Ultimate Guide to Perfect Gel Polish Application


Gel polish has revolutionised the world of manicures, offering a longer lasting and more resilient alternative to traditional nail polish. The glossy finish and chip free experience have made it a favourite for nail enthusiasts. Today, we'll walk you through a step by step guide on how to apply gel polish like a pro!
What You'll Need:
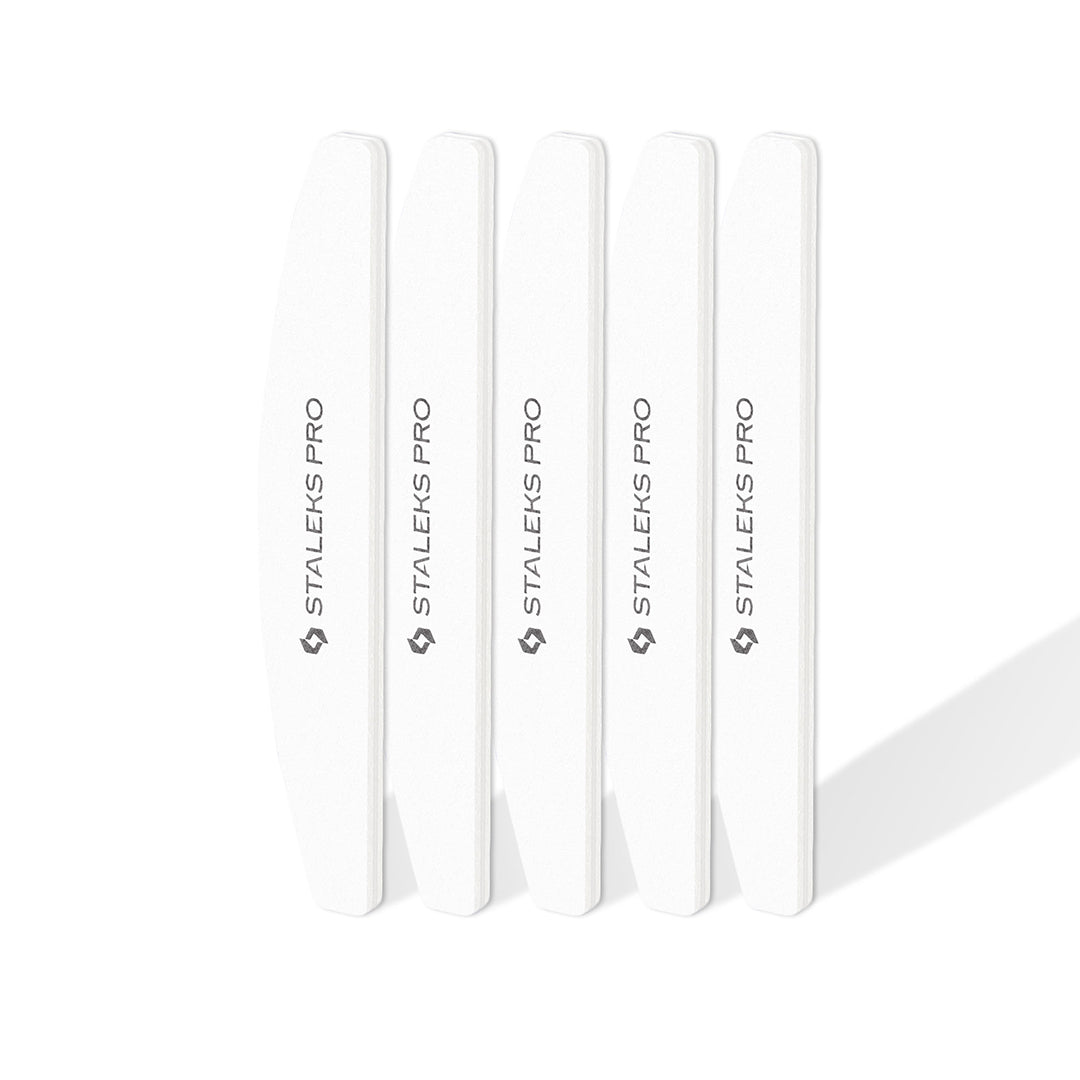
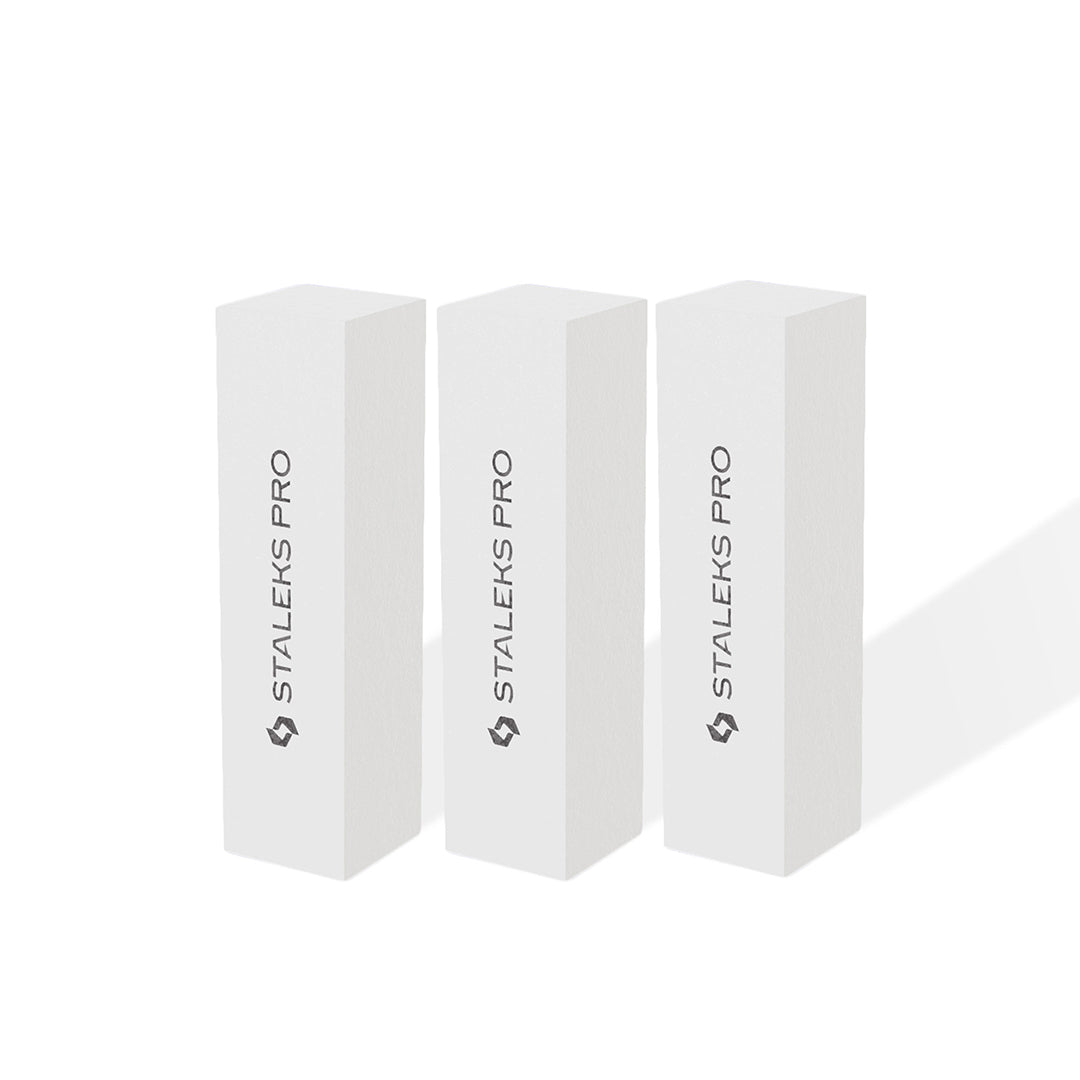
- Nail file and buffer
- Cuticle pusher
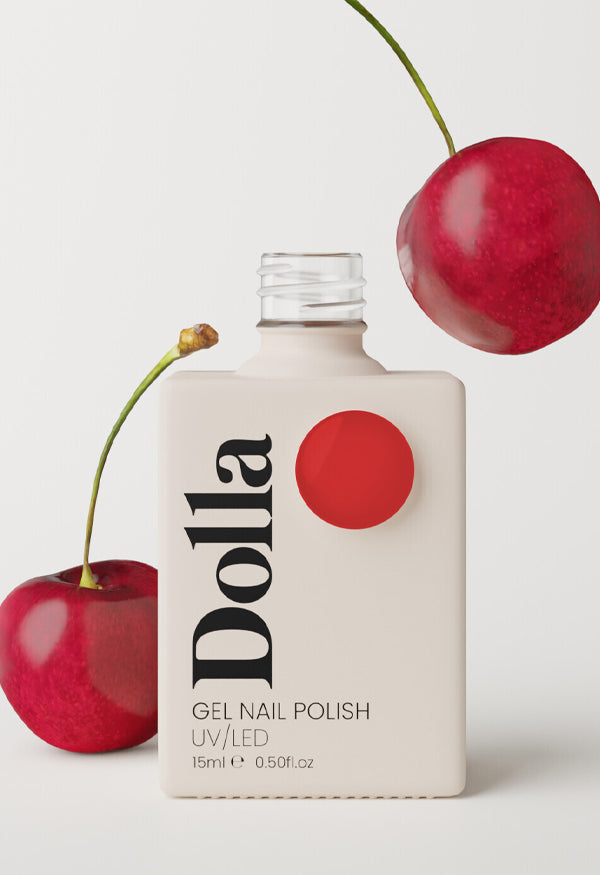
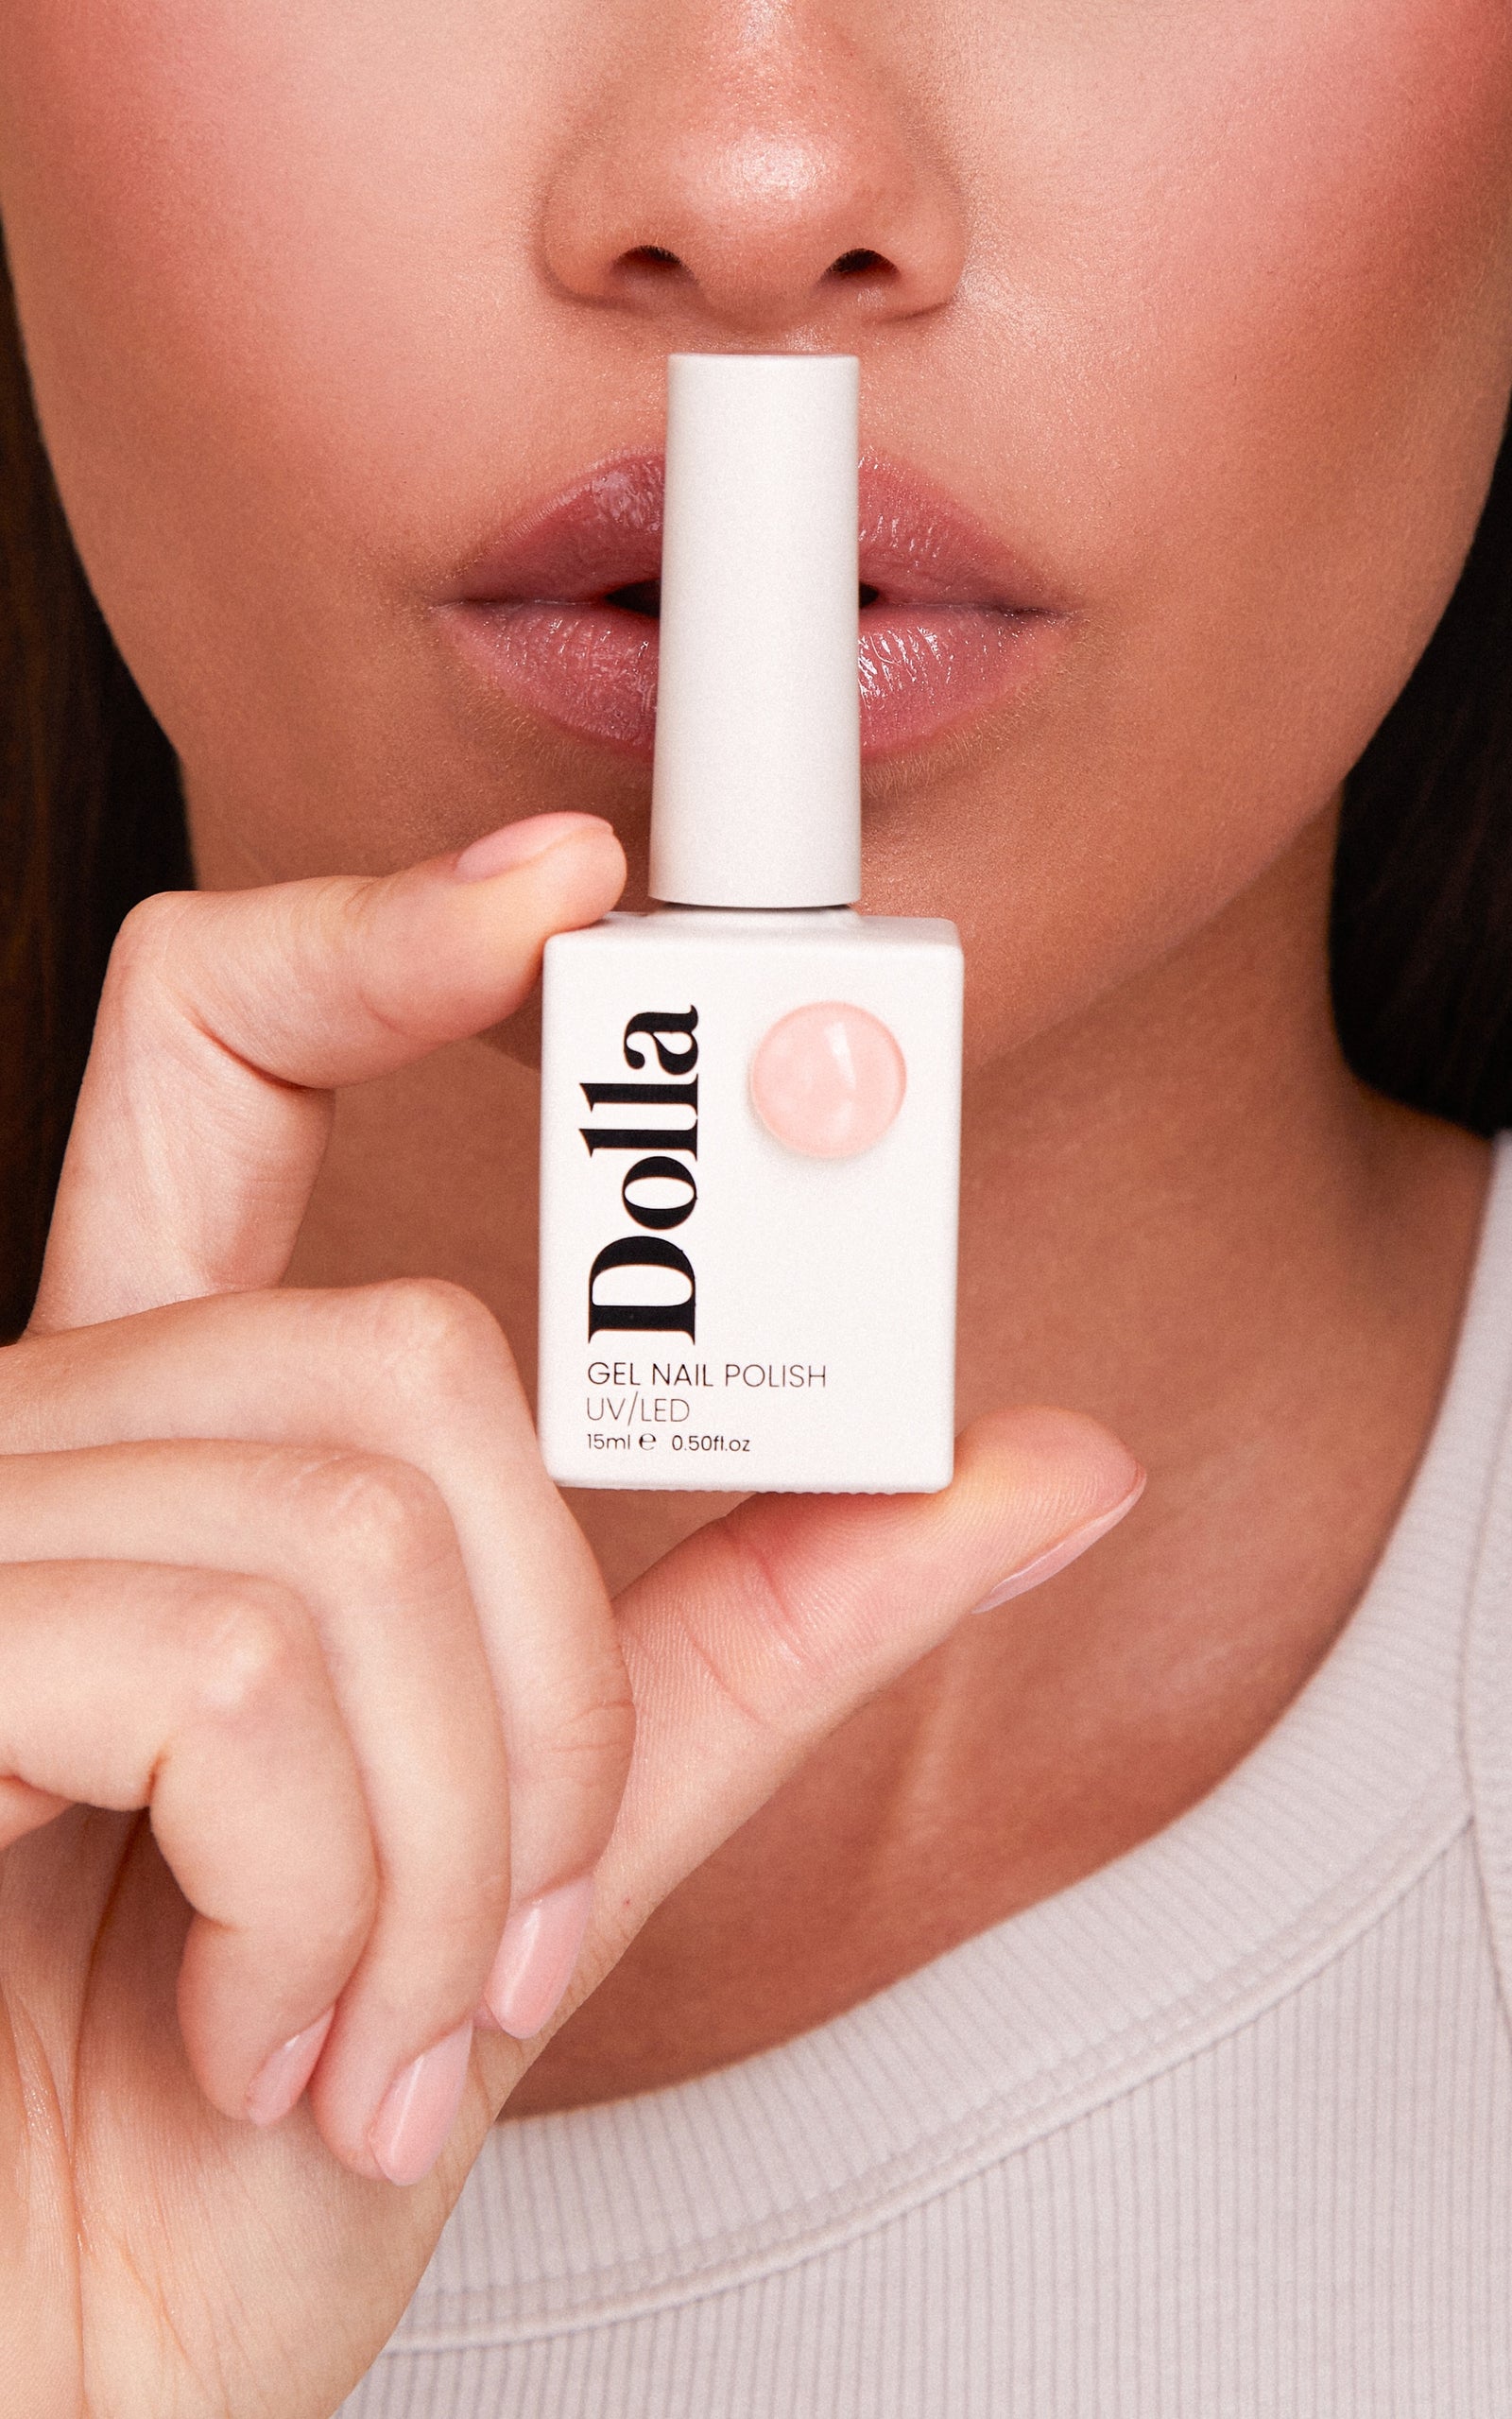
- Base coat, gel polish, and top coat
- UV or LED lamp
- Cleanser and lint-free wipes
- Cuticle oil (optional)
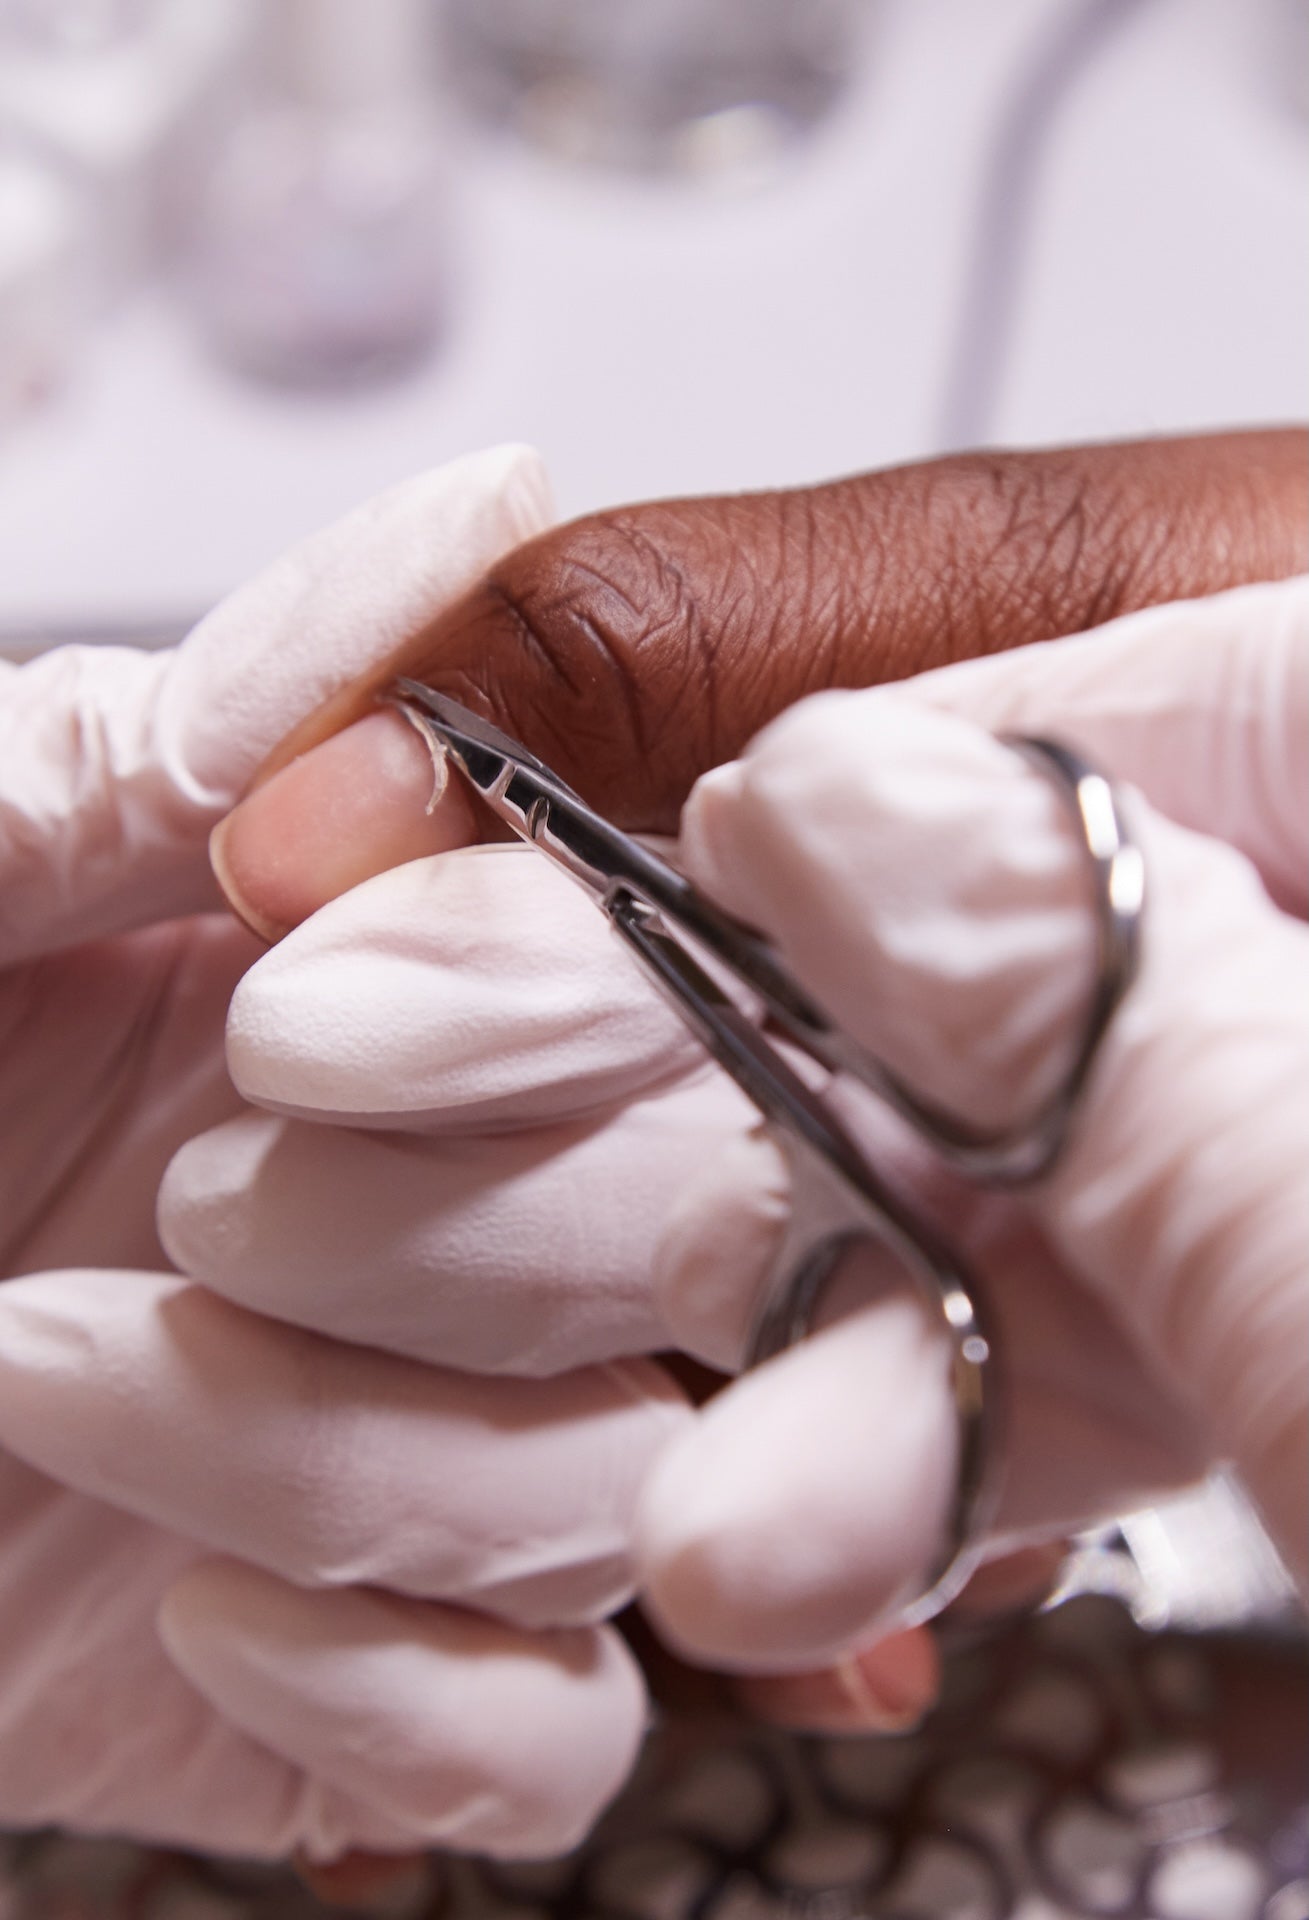
Step 1: Preparation
Start by preparing your nails. File them to your desired shape and gently buff the surface to remove any shine. This helps the gel polish adhere better. Push back your cuticles but avoid cutting them.

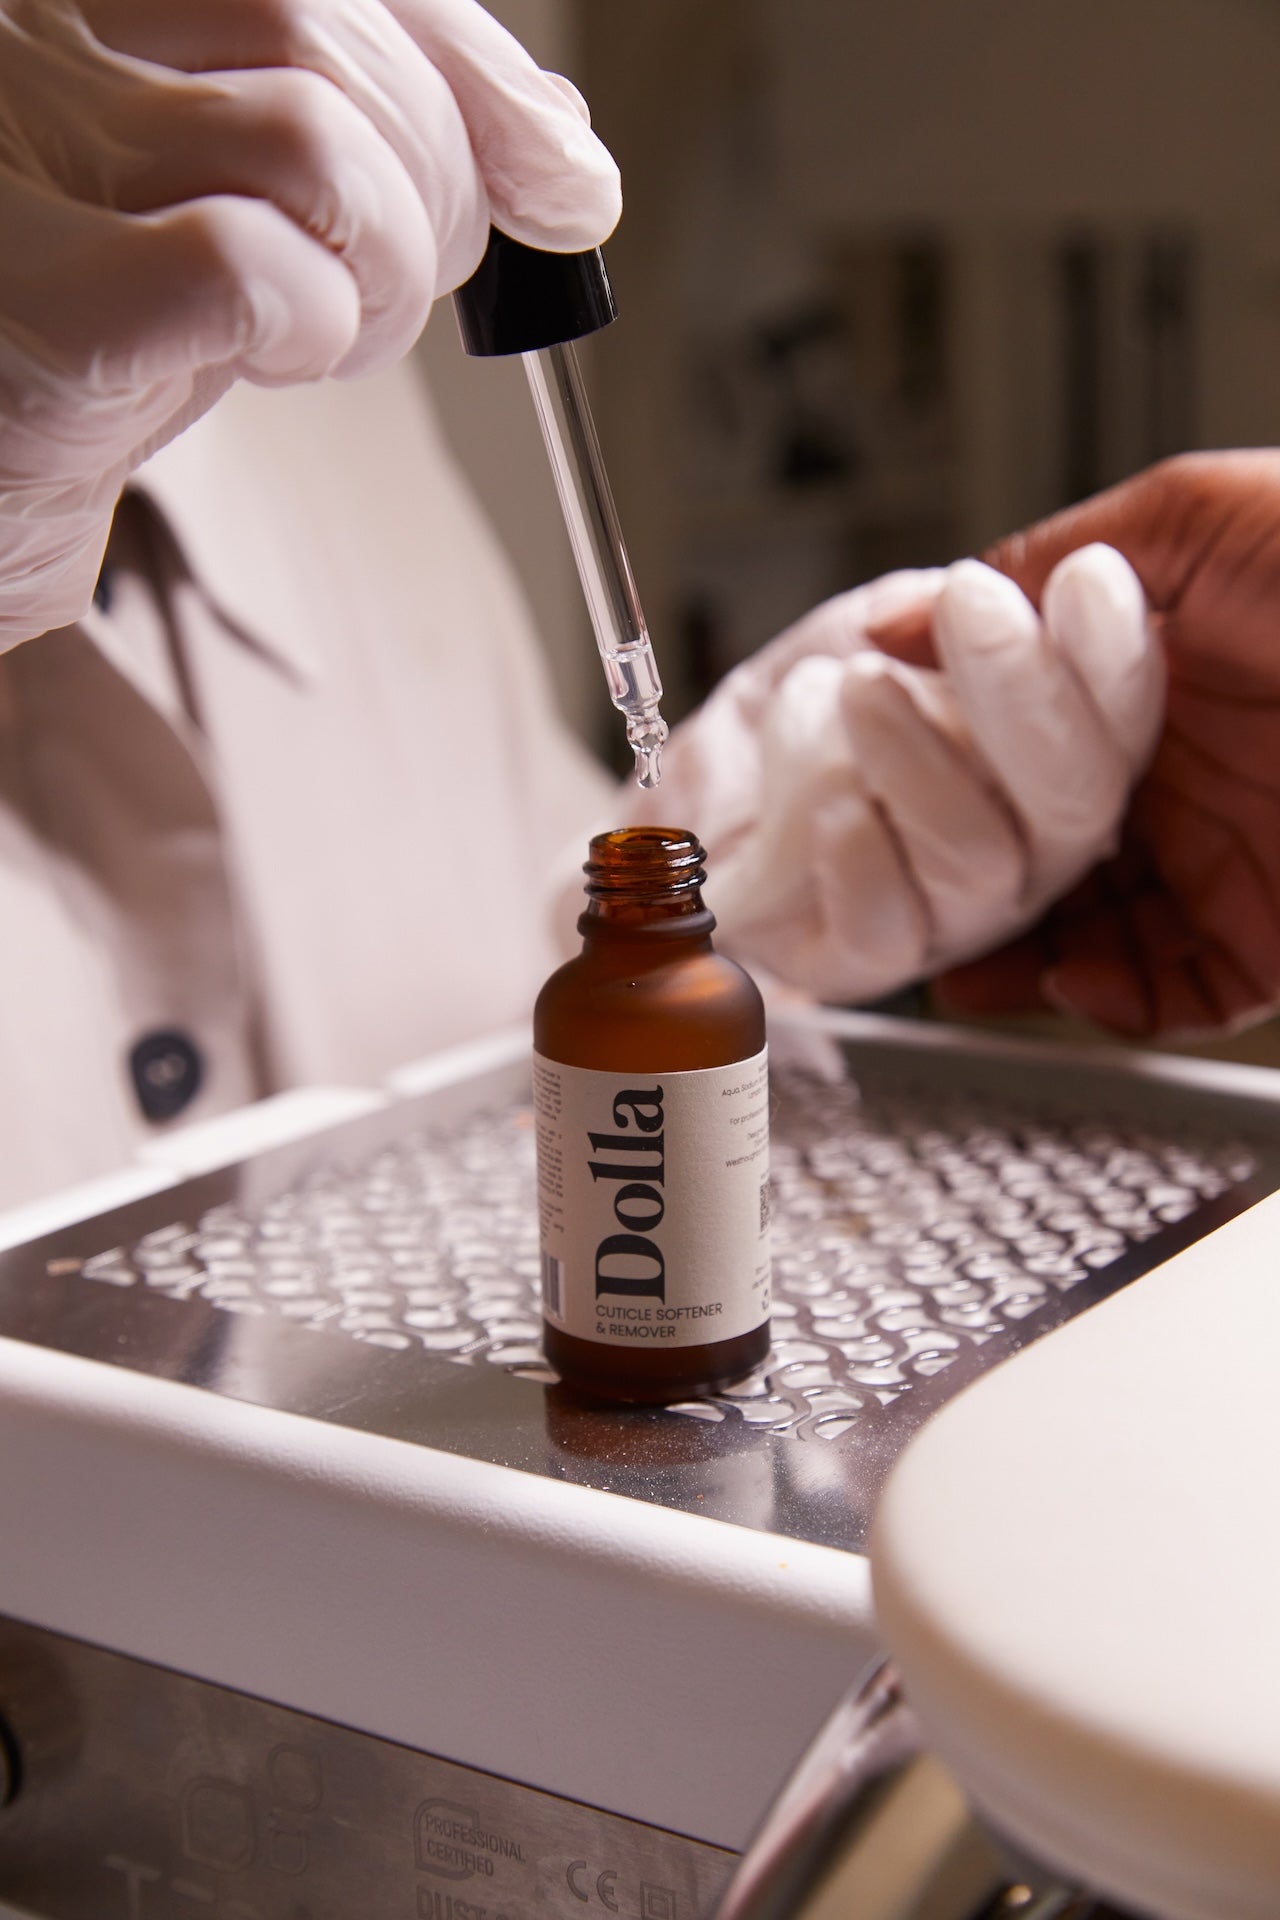
Step 2: Cleanse
Clean your nails with a nail cleanser or alcohol to remove oils and debris. Use a lint free wipe to avoid leaving any fibers behind.

Step 3: Base Coat
Apply a thin layer of base coat to your nails. This layer is crucial as it protects your natural nails and helps the colour coat stick better. Cure it under a UV or LED lamp according to the manufacturer's instructions.
Step 4: Gel Polish Application
Apply a thin layer of your chosen gel polish colour. Make sure to cap the free edge of your nail. Avoid getting the polish on your cuticles or skin. Cure under the lamp. For a more opaque finish, apply a second coat and cure again.

Step 5: Top Coat
Apply a thin layer of top coat to seal in the colour and give your nails a glossy finish. Cure under the lamp. The top coat not only adds shine but also protects your manicure from chipping and peeling.

Step 6: Cleanse Again
Some top coats leave a sticky residue. If yours does, wipe your nails with a cleanser and a lint free wipe.Step 7: Hydrate
Finish by applying cuticle oil to hydrate your nails and cuticles. This step is optional but recommended for healthy nail growth.
Tips:
- Always work in thin layers to prevent the polish from lifting.
- Avoid exposure to harsh chemicals without gloves to extend the life of your manicure.
- When it's time to remove your gel polish, do so gently to avoid damaging your natural nails.
Enjoy your beautiful, long lasting gel polish manicure!
Leave a comment
Comments will be approved before showing up.