


How to Achieve Perfectly Shaped Nails Every Time: A Step-by-Step Guide


How to Achieve Perfectly Shaped Nails Every Time: A Step-by-Step Guide
As a nail technician, one of your most important skills is shaping nails to perfection. Whether you're working with natural nails or enhancing them with acrylics or gels, a perfect shape can completely transform the look of your manicure. But getting that shape just right isn’t always easy. Here’s a simple, step-by-step guide to help you shape nails flawlessly, every time.
Step 1: Start with Clean Nails
Before you begin shaping, it's essential that the nails are clean and free from any oils, dirt, or remnants of old polish. This ensures that you’re working on a smooth and fresh surface.
Tip: Always use a nail cleanser or prep solution like those offered by Dolla Nails Pro to clean the nail plate. This ensures better adhesion of any products you apply later on.
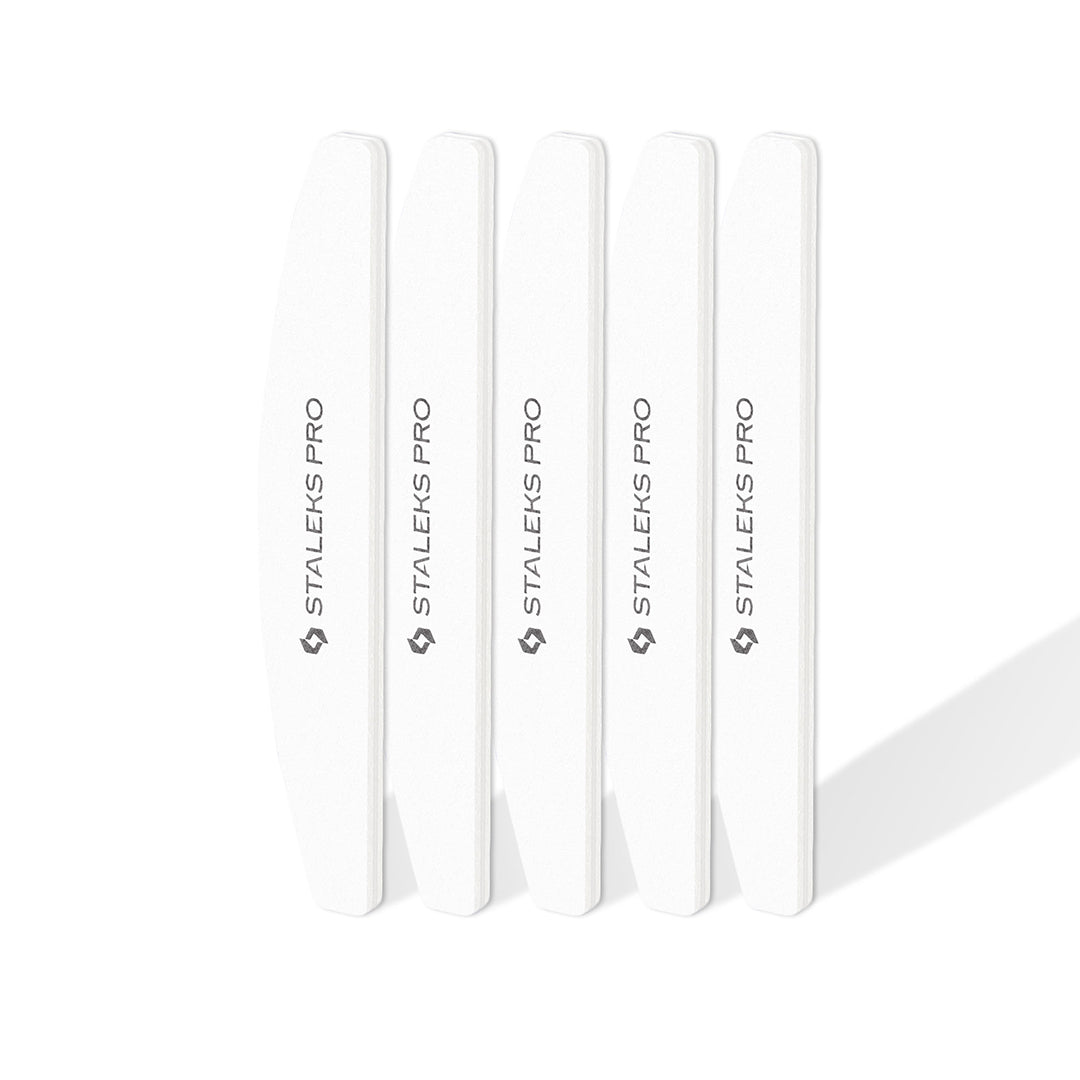
Step 2: Choose the Right Nail File
The tool you use to shape nails is just as important as your technique. The right nail file can make a huge difference in achieving the shape you want, and it's essential to have a range of files on hand.
Tip: Opt for a medium or coarse grit file for natural nails, and a finer grit for smoothing out acrylic or gel nails. Having a variety of files on hand will allow you to adjust for different nail types and the material you're working with.
Step 3: Decide on the Nail Shape
Different nail shapes work best for different hand types and personal preferences. Whether your client wants a round, square, or almond-shaped nail, the key is to choose a shape that suits their hands and lifestyle.
Common Shapes:
- Square: Great for clients who want a bold, modern look.
- Round: Perfect for those with shorter nails or clients who want a natural, simple style.
- Almond: A sophisticated, elongated look that works well with longer nails.
-
Coffin/Ballerina: A stylish and dramatic shape, ideal for clients who want something unique.
Tip: For most clients, I recommend starting with a basic shape like square or round. Then, you can experiment with more complex shapes like almond or stiletto as your skills improve.
Step 4: Shape the Free Edge
This is the most important step in getting the perfect nail shape. Begin by gently filing the free edge of the nail in the desired shape. For round nails, follow the natural curve of the fingertip. For square nails, file the edge straight across.
Tip: Always file in one direction to avoid damaging the nail plate. A back-and-forth motion can cause the nails to weaken or split.
Step 5: Refine the Sidewalls
Once the free edge is shaped, move on to the sidewalls of the nail. To maintain symmetry, you’ll need to make sure the sidewalls are even on both sides. Gently file from the side of the nail towards the centre, making sure to create a clean, neat line.
Tip: If you're working with a client who has wide nail beds, filing the sidewalls slightly more can help elongate the shape. For narrower nail beds, be careful not to file too much, as it can make the nails look too thin.
Step 6: Buff the Surface
After shaping the edges and sidewalls, it’s time to smooth the surface. Buffing the nails gently with a nail buffer will remove any rough spots and give the nails a smooth, polished finish.
Tip: Buff lightly, especially if you’re working with natural nails. Over-buffing can cause thinning and damage.
Step 7: Apply a Base Coat
Once the nails are shaped and buffed, apply a base coat to prepare them for polish or gel application. This helps to protect the natural nails and ensures a smooth surface for colour to adhere to.
Tip: Choose a high-quality base coat, like the ones offered by Dolla Nails Pro, which provides a durable foundation for any type of manicure.
Step 8: Finish with a Top Coat
To seal in the colour and give your client’s nails a beautiful glossy finish, apply a top coat. This helps to maintain the shape and ensures that the nails stay protected from chips and scratches.
Tip: Consider using a no-wipe top coat for a super glossy, smudge-free finish. Dolla Nails Pro’s top coat products can provide a long-lasting shine that’ll keep nails looking fresh for weeks.
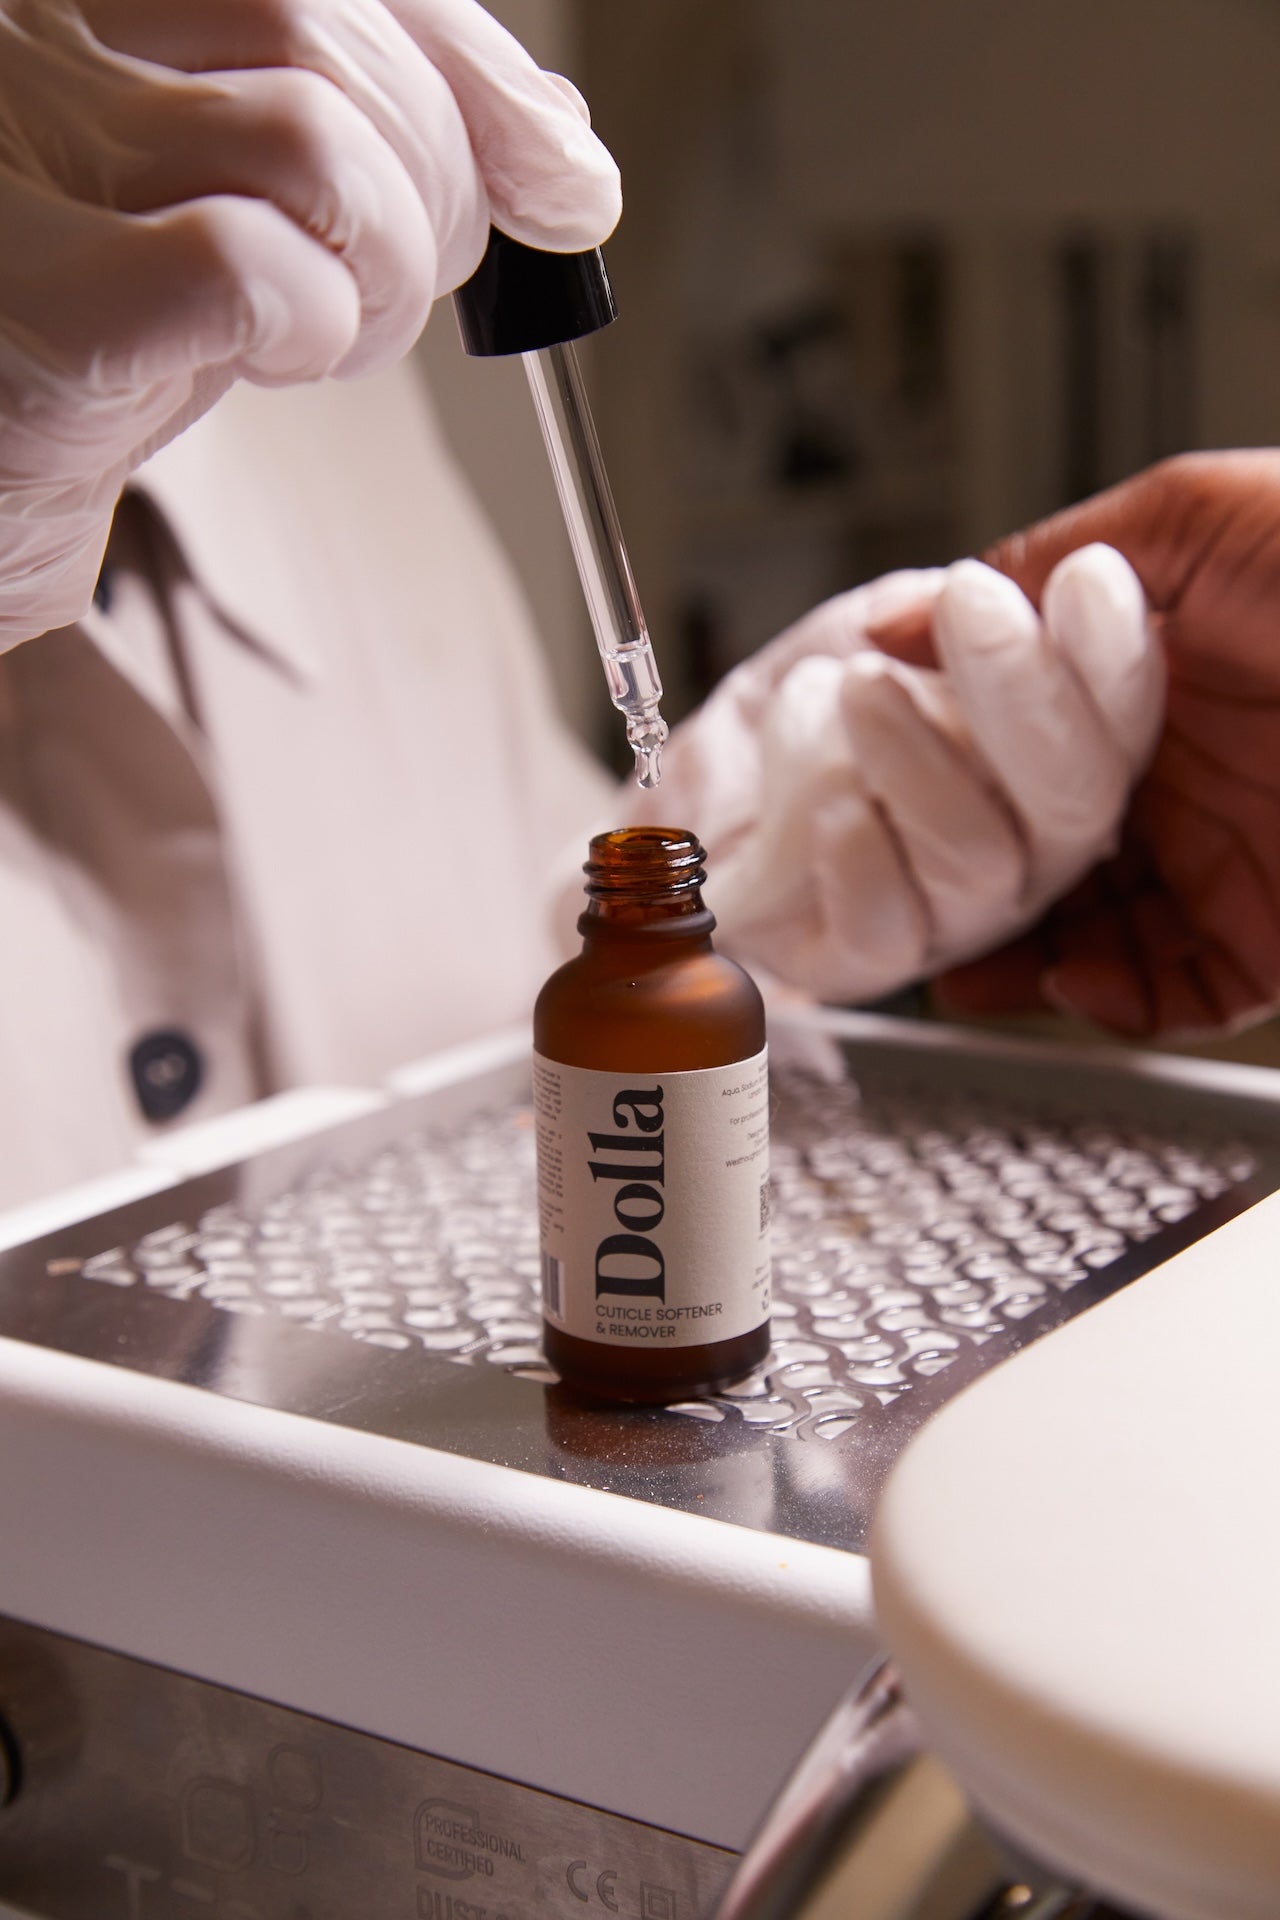
Step 9: Hydrate the Cuticles
To finish the process, don’t forget to apply cuticle oil. Hydrating the cuticles is essential for maintaining healthy nails and keeping the surrounding skin smooth and moisturised.
Tip: Dolla Nails Pro’s nourishing cuticle oil is perfect for this. Apply it after your final top coat and massage it into the cuticles for soft, smooth skin.
Conclusion
With the right technique and tools, shaping nails doesn’t have to be a challenge. By following these steps, you’ll be able to deliver perfectly shaped nails every time, ensuring your clients leave the salon with beautiful, long-lasting results. Remember, consistency is key, and with practice, you’ll develop your own style and technique that works best for you and your clients.
Leave a comment
Comments will be approved before showing up.