


How to Correctly Apply Nail Extensions Using Gel


Nail extensions are a popular service for clients who desire longer nails without waiting for natural growth. However, applying nail extensions using gel requires precision and proper technique to ensure the best results. Here's how to create perfect gel nail extensions every time:
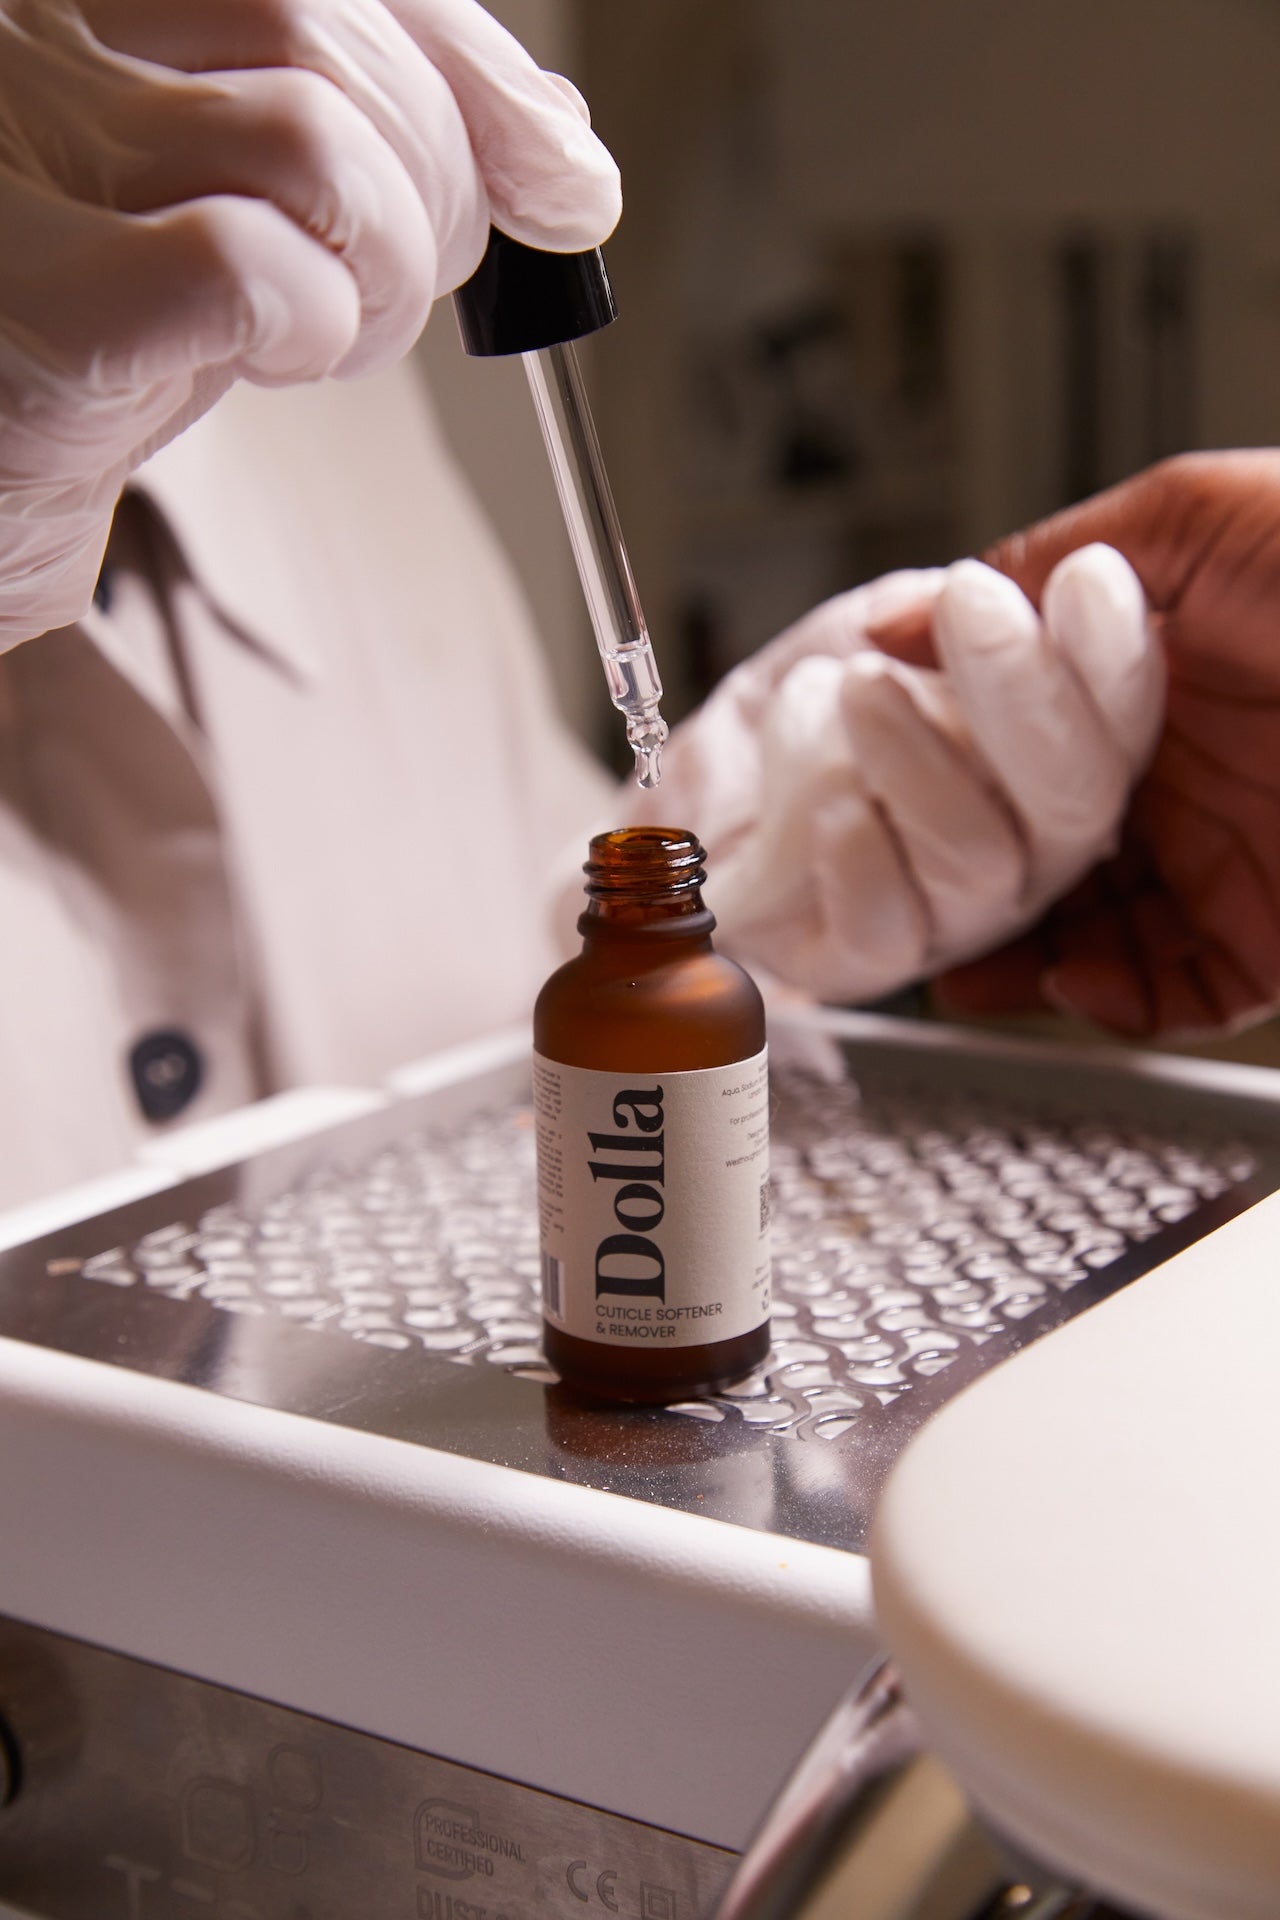
1. Nail Prep is Essential
Before applying gel extensions, you must properly prepare the nail. Start by removing any old polish or enhancements and gently push back the cuticles. Use a buffer to lightly roughen the nail surface to ensure better gel adhesion.
2. Choose the Right Gel
When applying gel extensions, opt for a builder gel or sculpting gel. These gels are thick enough to provide structure but flexible enough to create the perfect extension. Choose a gel that suits your client’s desired look and nail strength.
3. Apply a Thin Base Layer
Before sculpting, apply a thin base coat of gel to the natural nail. This ensures a smooth foundation for the extension and improves the bond between the natural nail and the builder gel. Cure the base layer thoroughly under the lamp.
4. Sculpt the Extension
For extensions, apply the builder gel in thin layers, gradually building the length of the nail. Use a form or tip depending on your technique and client preferences. Be sure to leave enough time between each layer for proper curing.
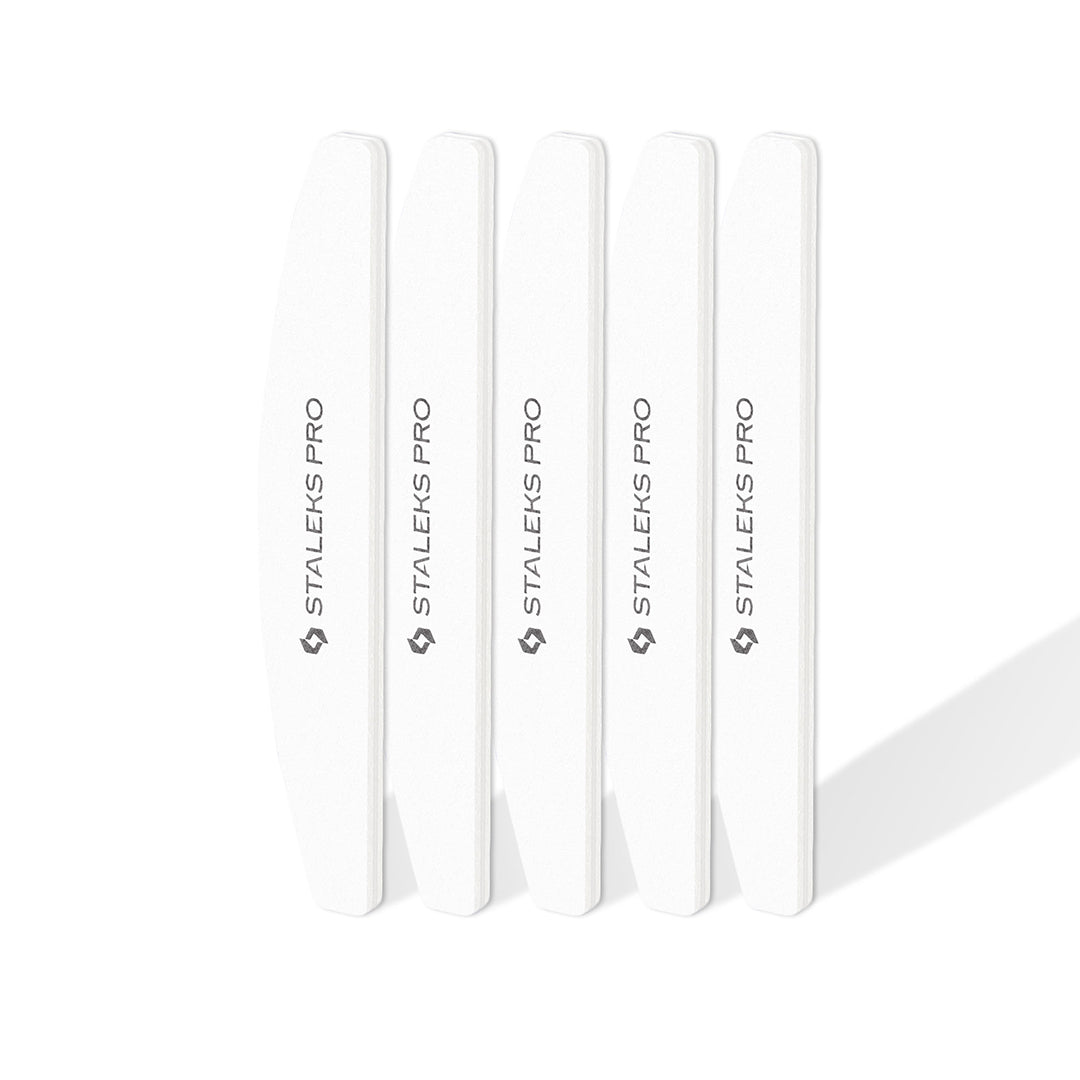
5. Cure and Refine
Once the extension is formed, cure it under an LED lamp. After curing, use a file to refine the shape and length of the extension. Shape the nails according to your client’s preferences—whether they want square, almond, or stiletto nails.
6. Finish with Top Coat and Aftercare
After shaping, apply a top coat to seal in the extension and give it a glossy finish. Make sure to cap the free edge to prevent chipping. Advise clients on proper aftercare, including regular moisturizing and avoiding heavy use of nails as tools.
Mastering gel extensions can be a game-changer for your services, providing clients with flawless, long-lasting nails that look natural and stylish.
Leave a comment
Comments will be approved before showing up.