


How to Customize Nail Sliders: Personalize Your Nail Art with Ease


Nail art is not just a trend; it's a way to express your unique style. In the UK's ever-evolving beauty industry, customizing nail sliders has become a game-changer. Here's how you can personalize your nail art effortlessly.
Choose Your Design: Start with a theme or inspiration. Whether it's floral patterns, geometric shapes, or something uniquely you, the key is to pick designs that resonate with your personal style.
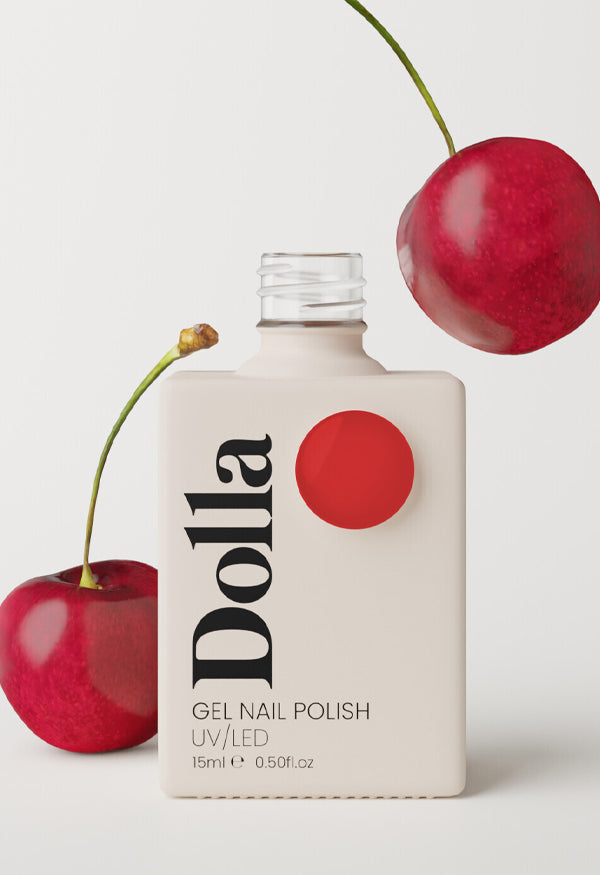
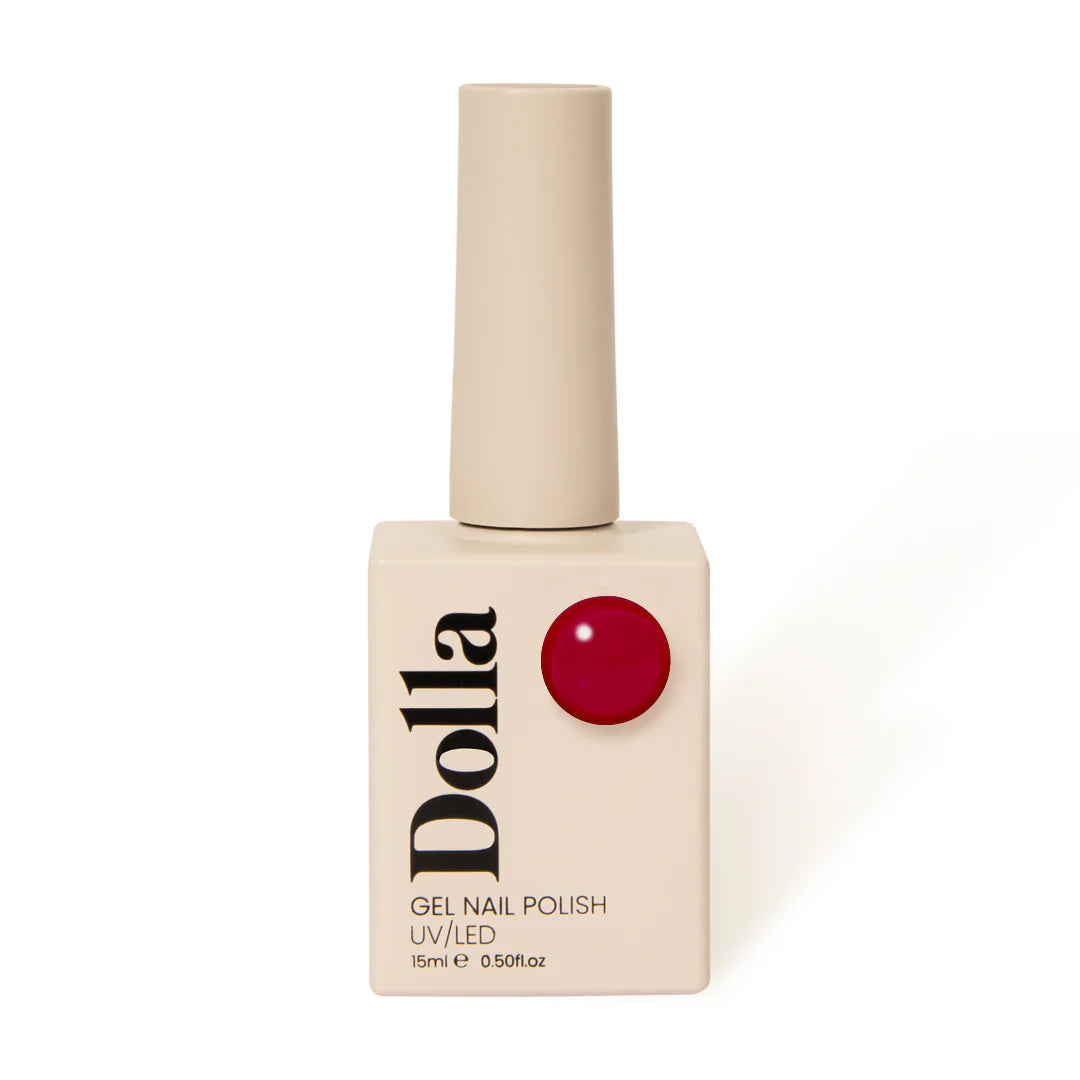
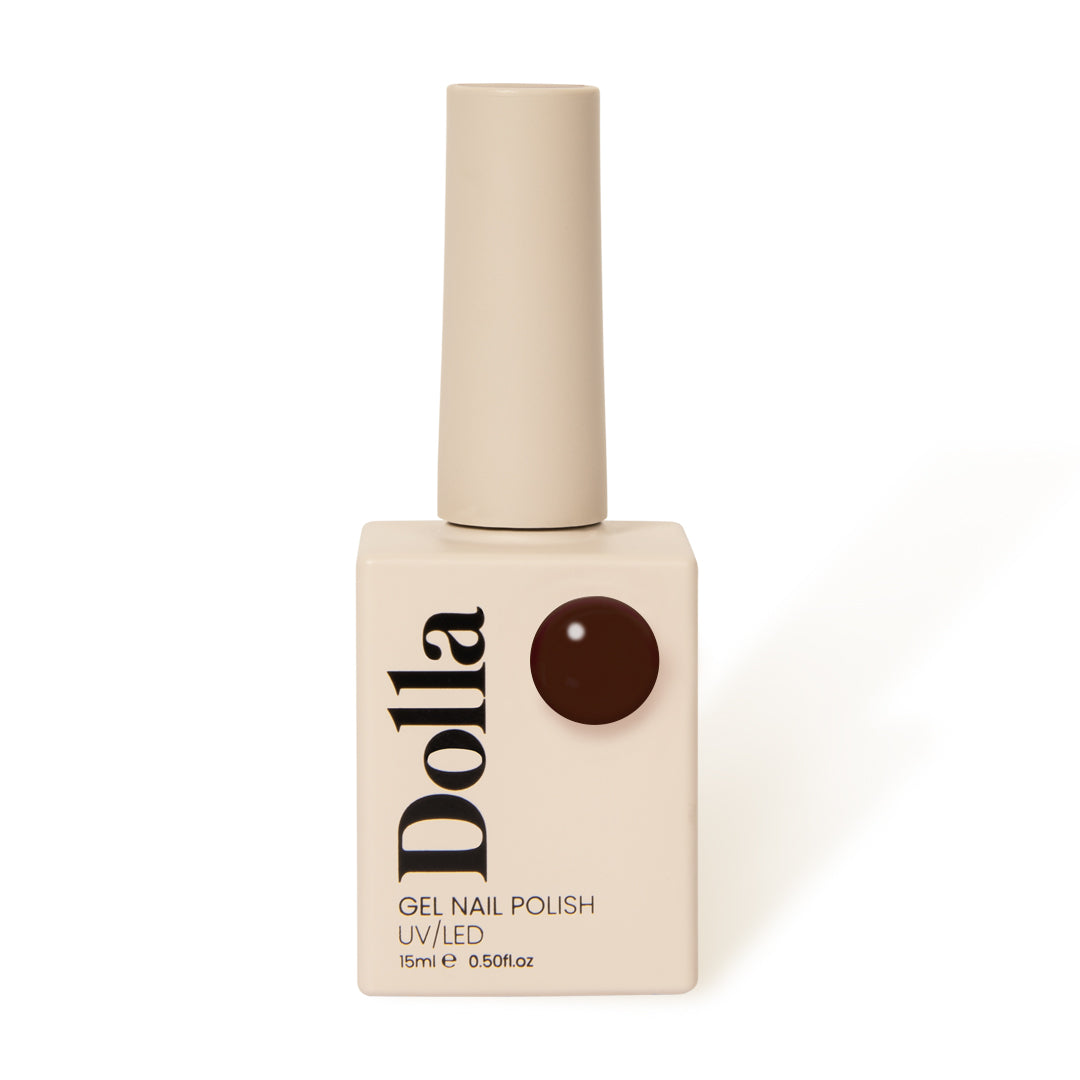
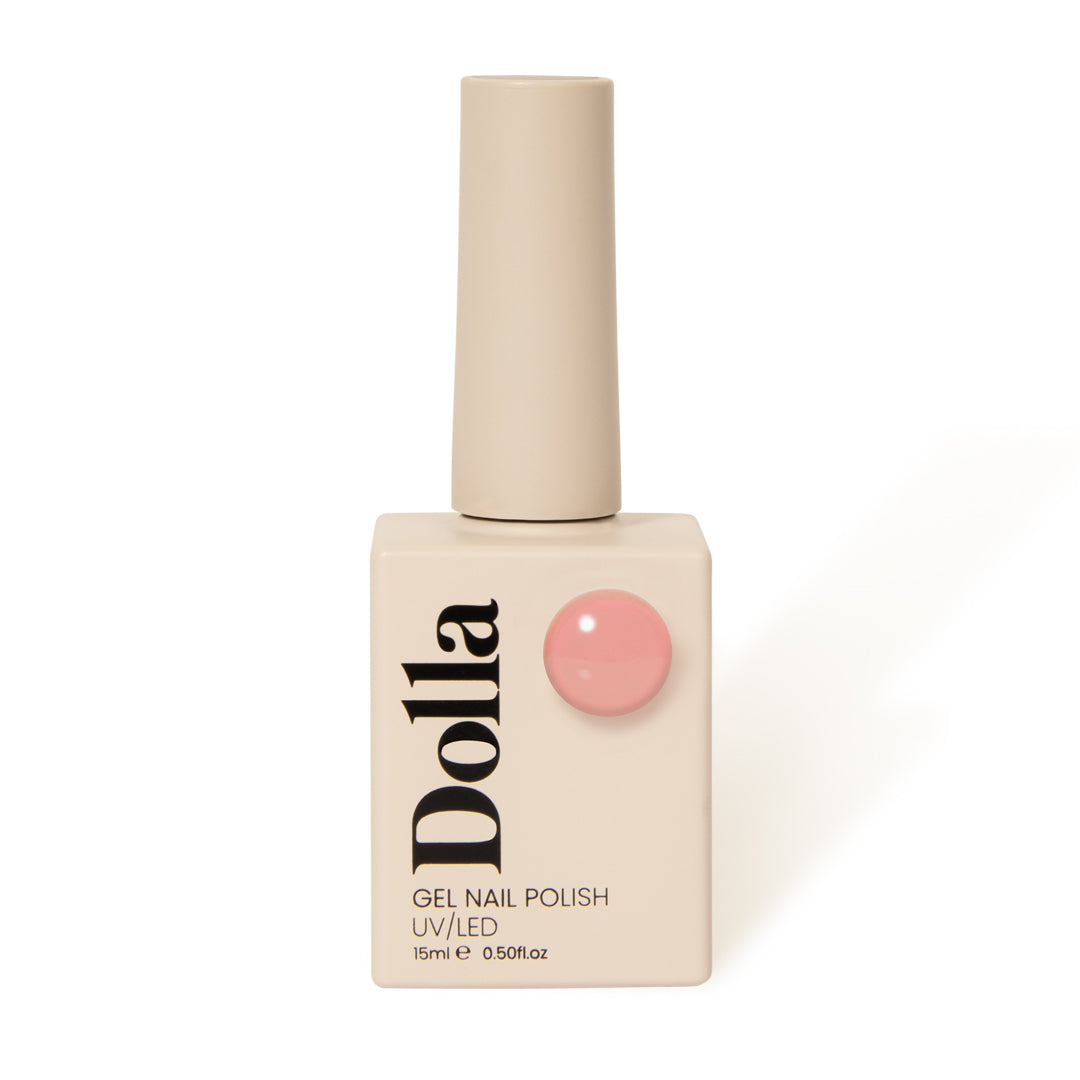
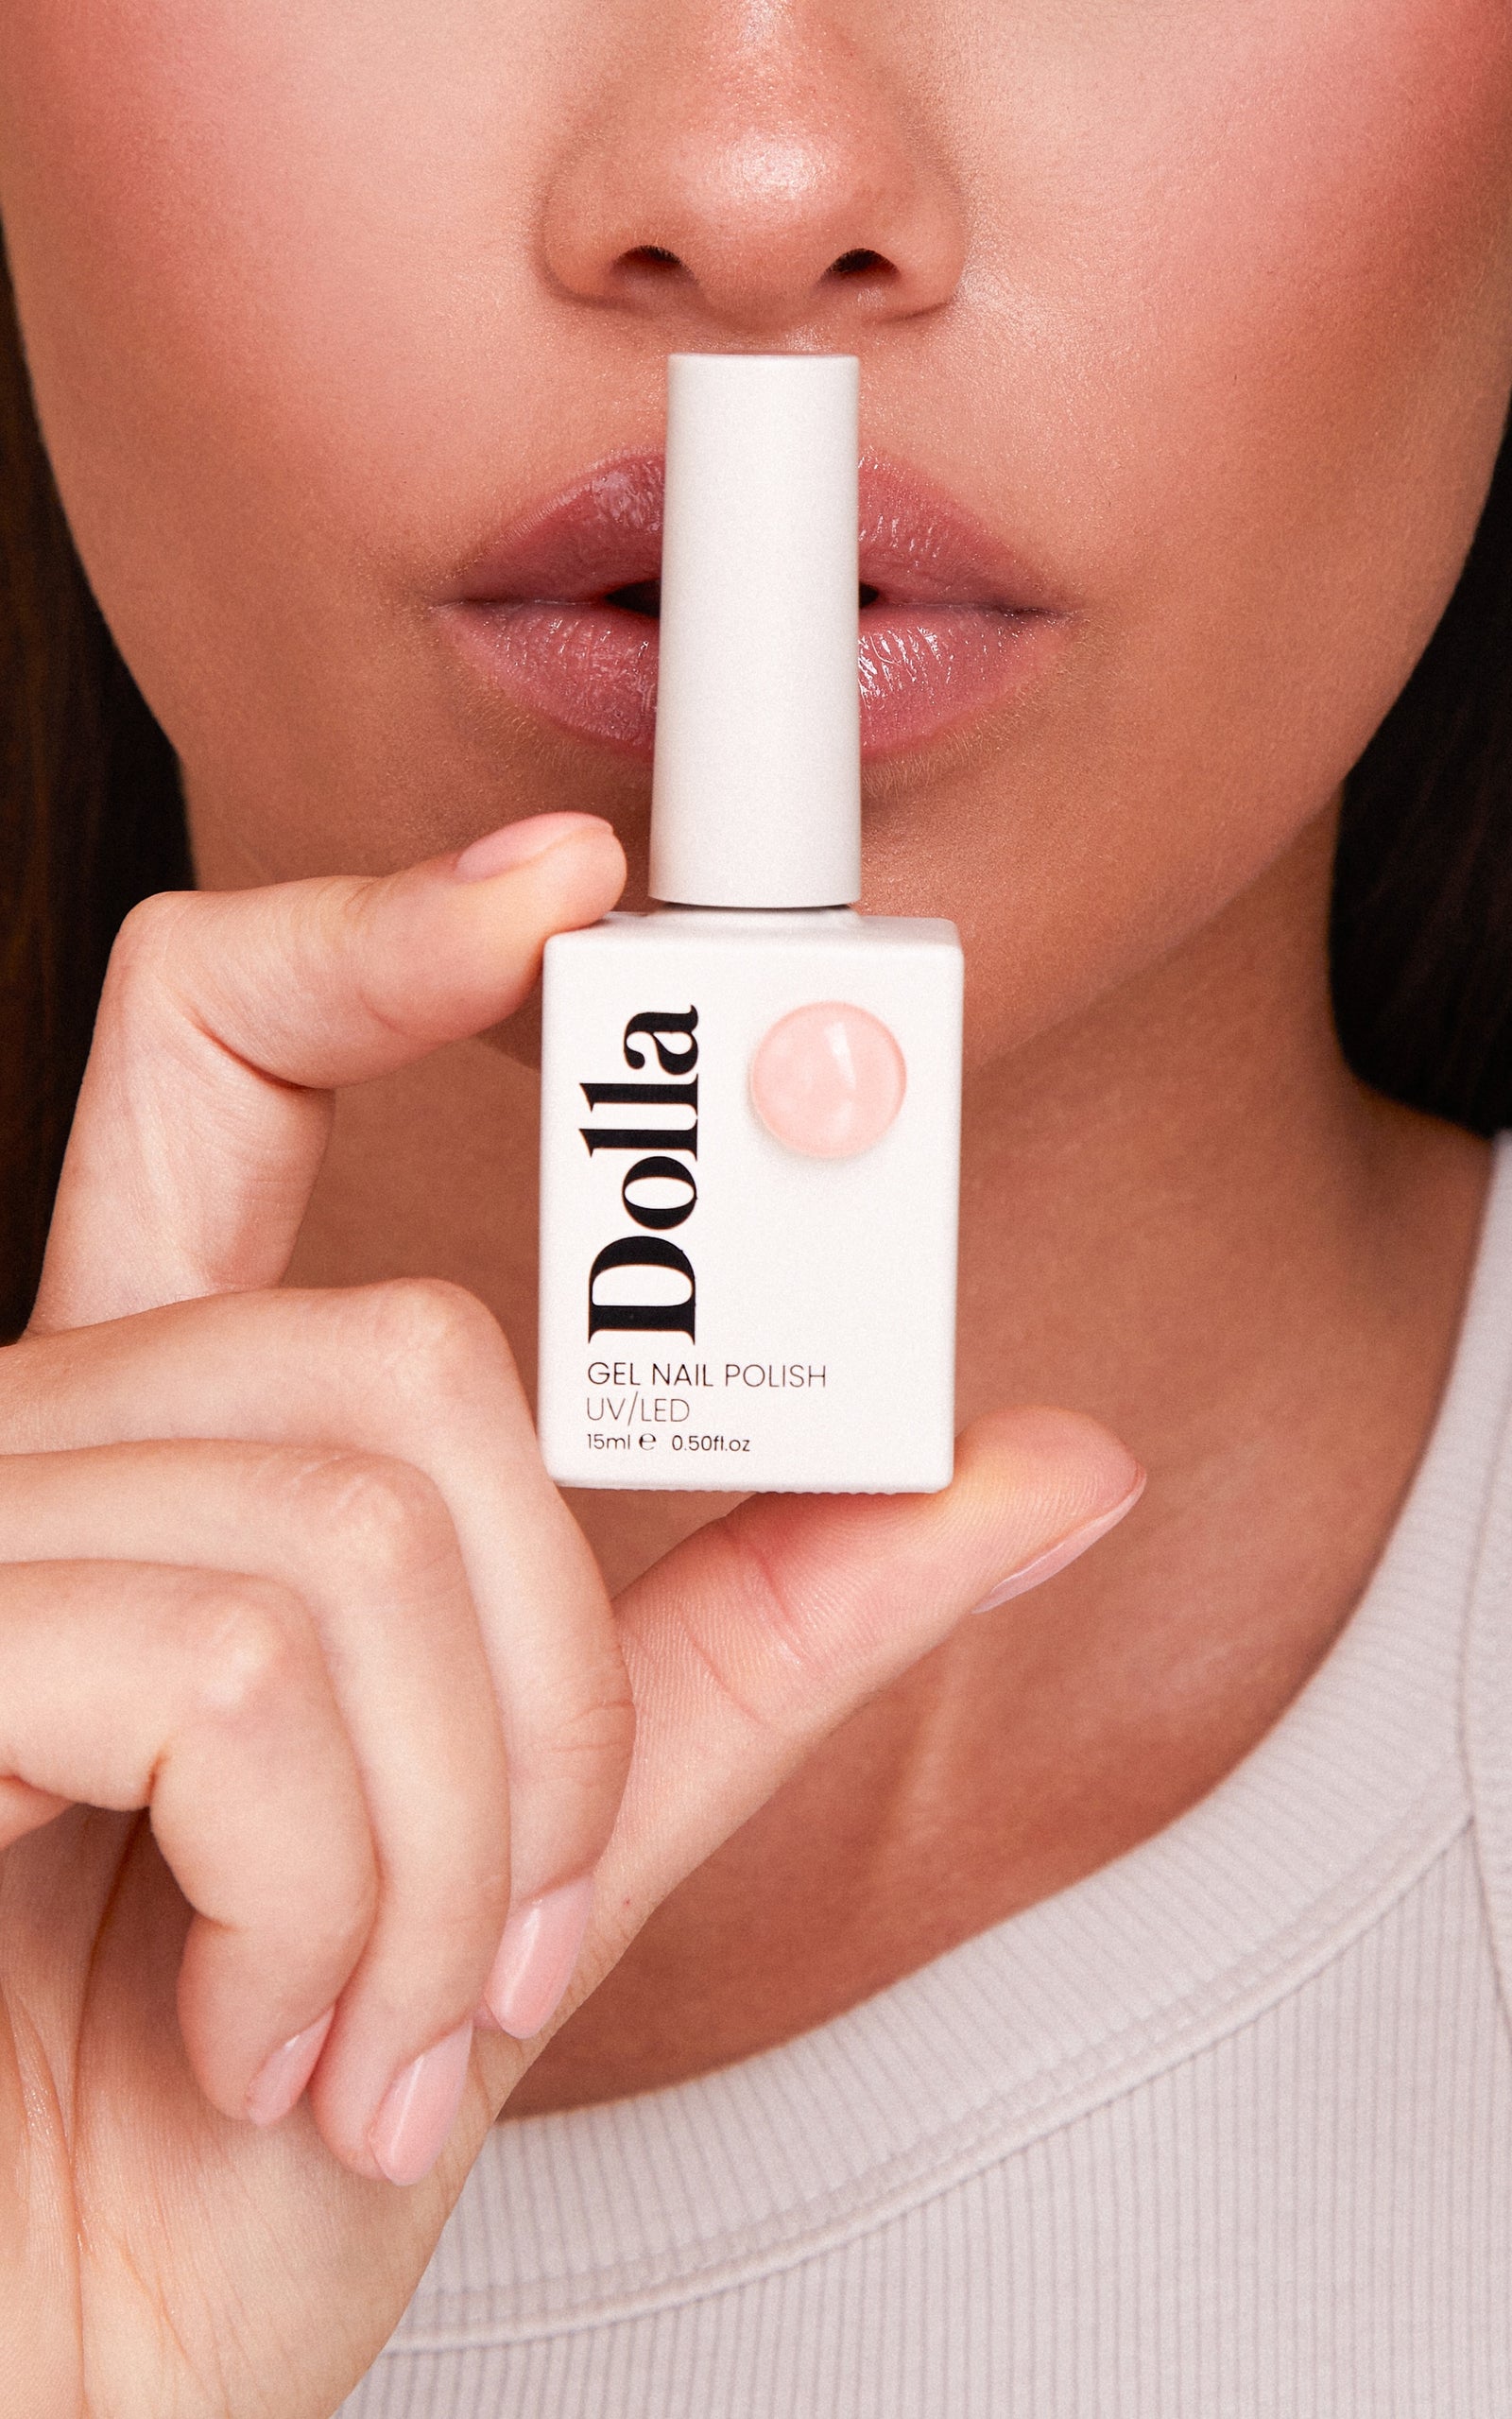
Select Quality Nail Sliders: For lasting wear and vivid colors, invest in high-quality nail sliders. Look for reputable brands in the UK beauty market to ensure your nail art looks professional and stays longer.
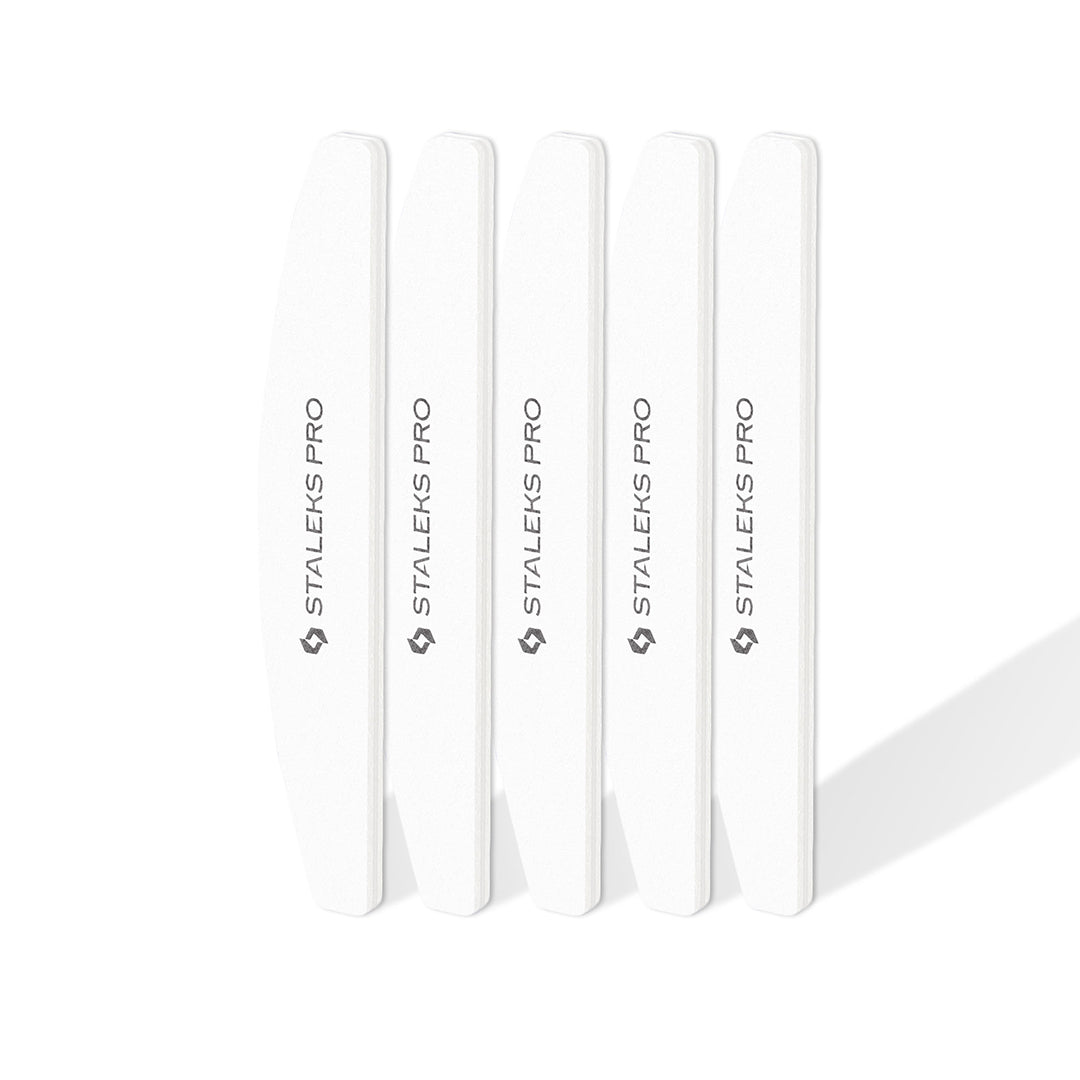
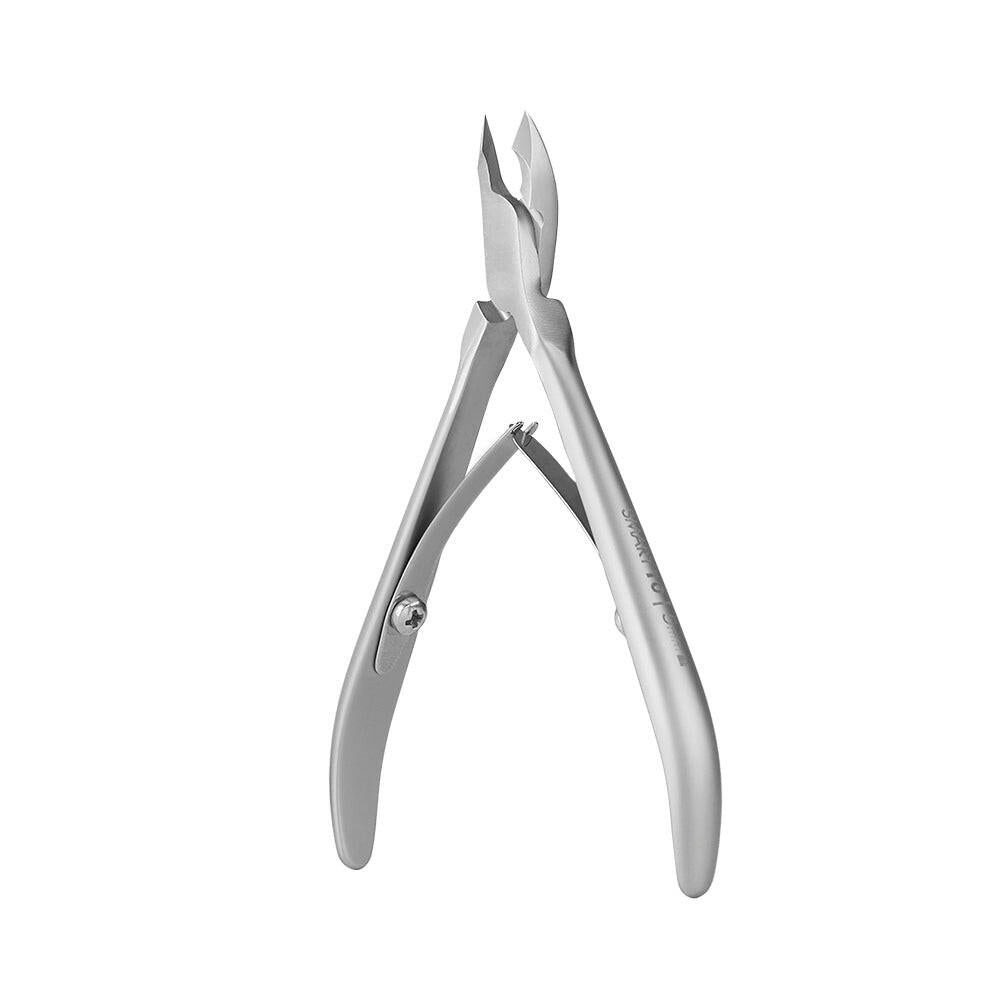
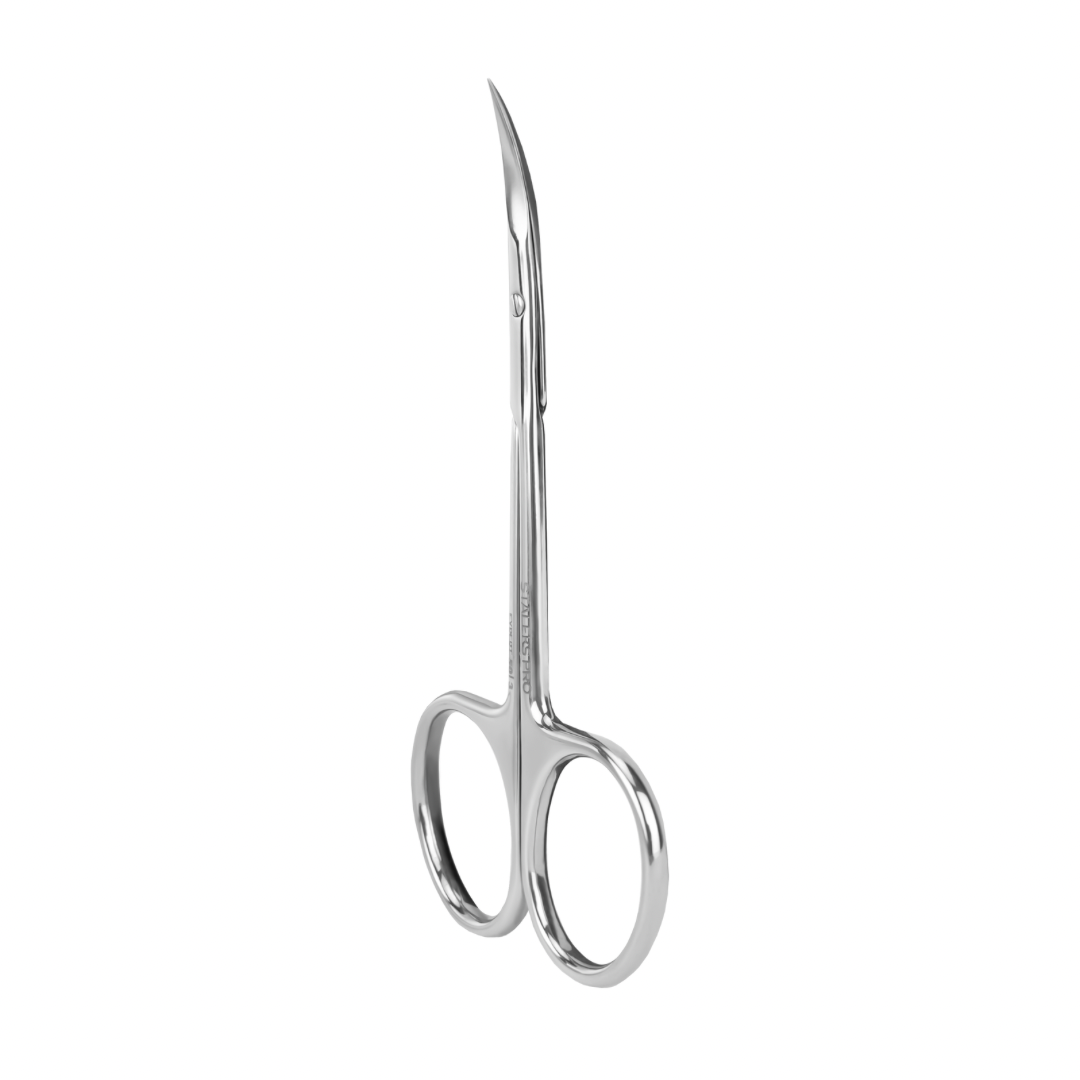
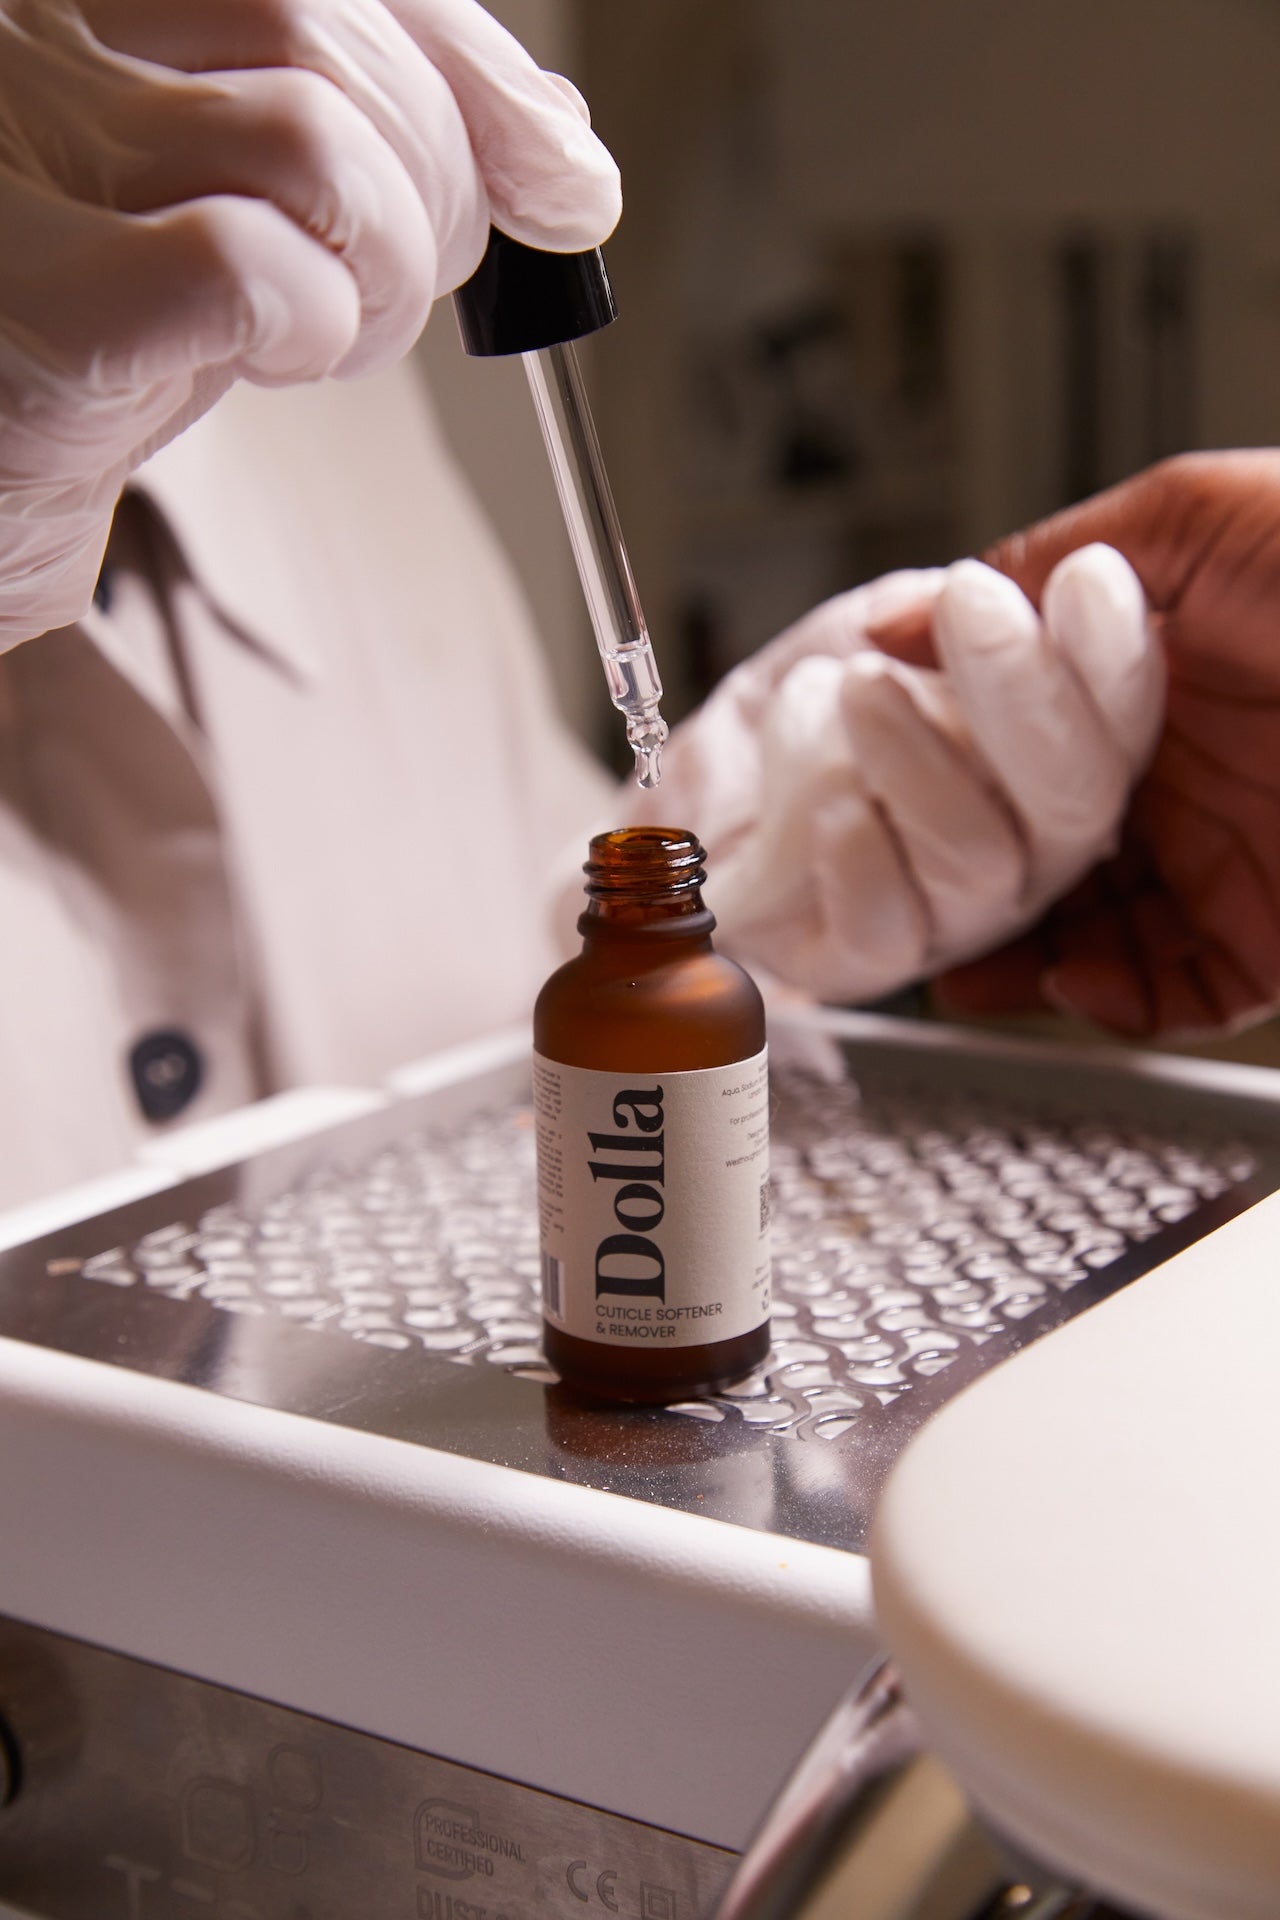
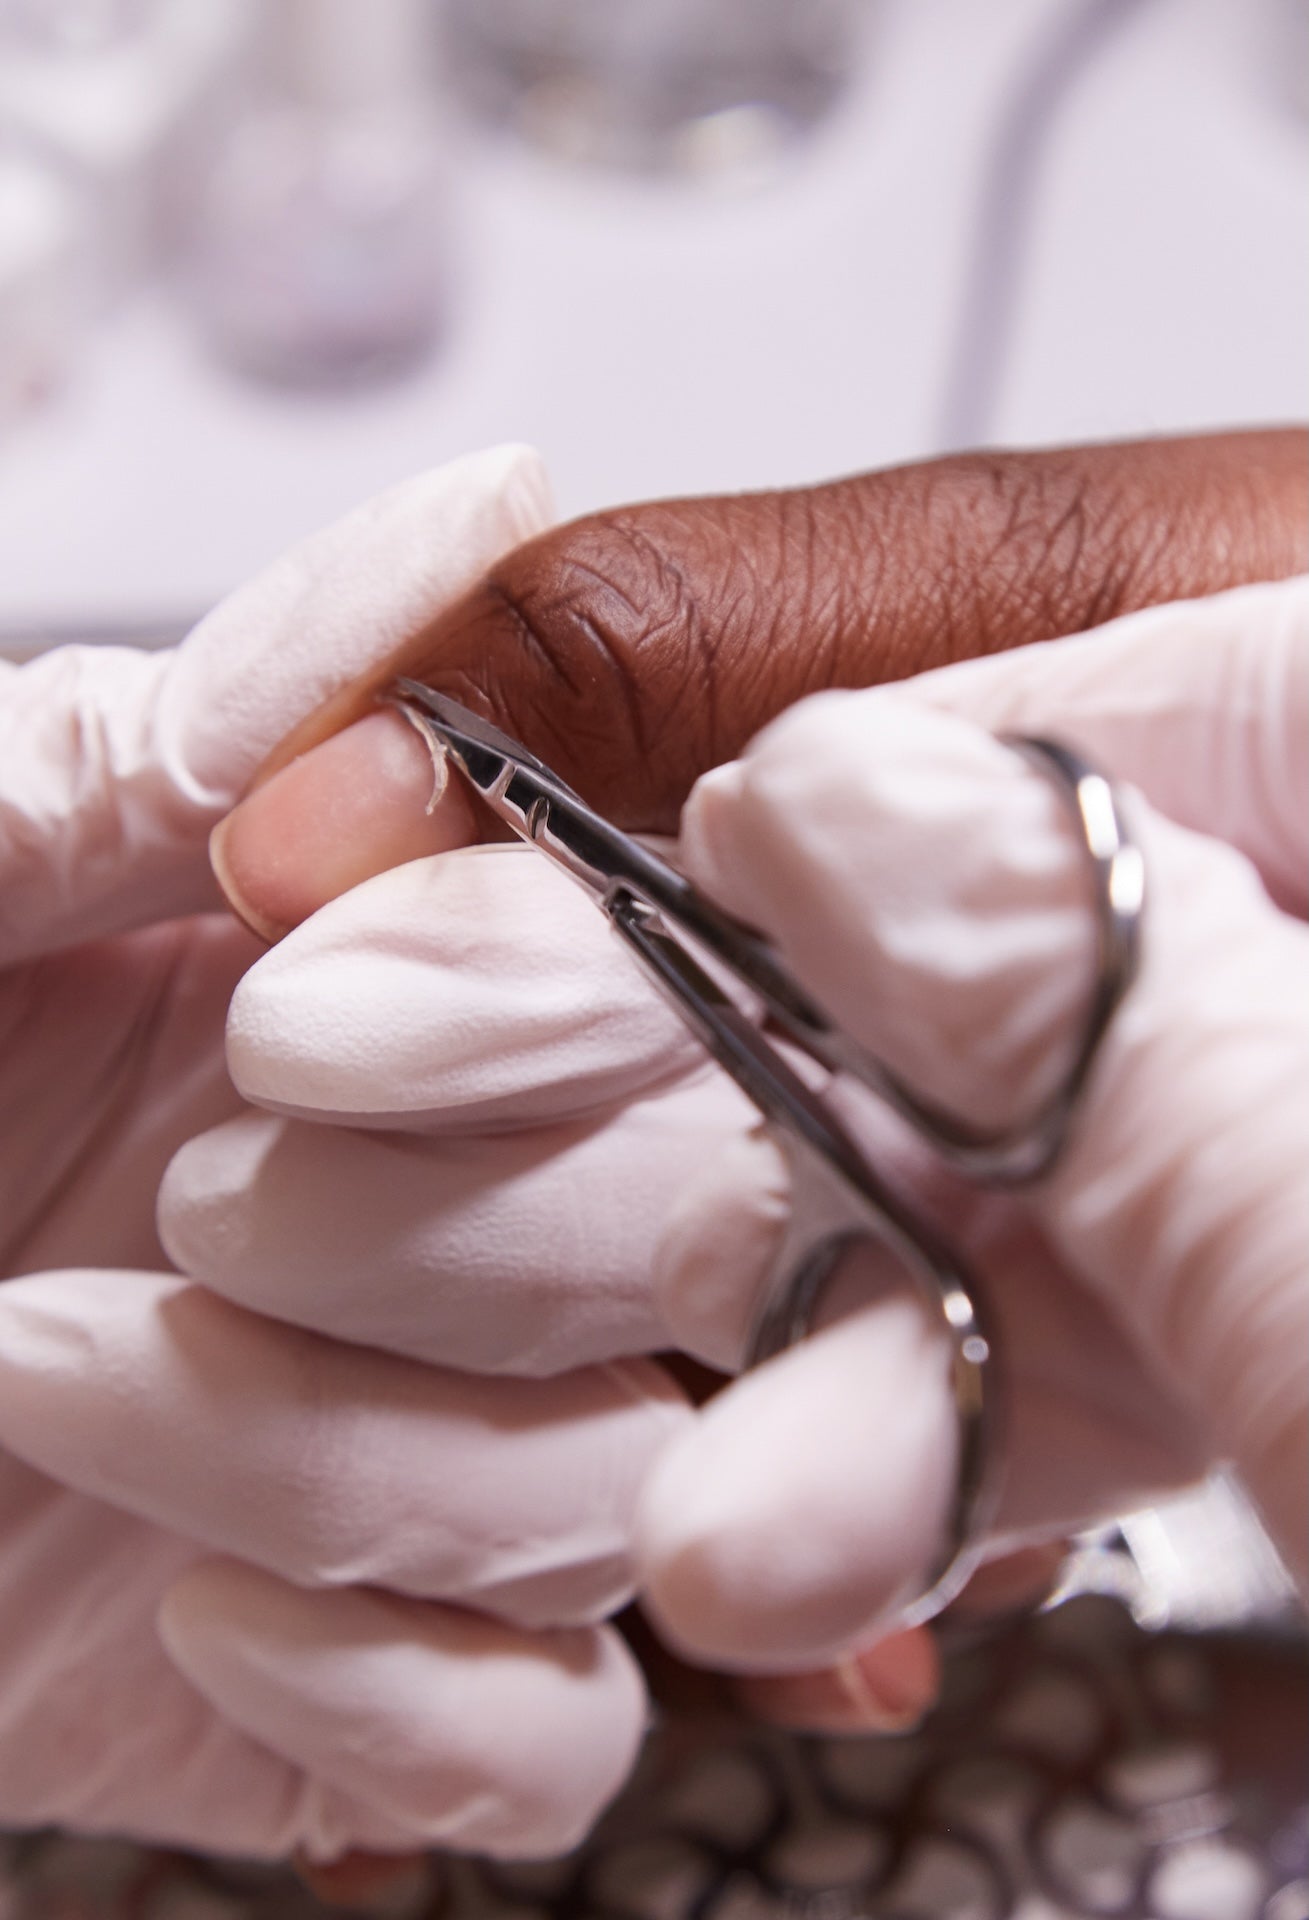
Prep Your Nails: Clean and shape your nails for the perfect canvas. A good base coat not only protects your nails but also enhances the adhesive quality of nail sliders.
Application: Cut the slider to fit your nail size. Using a tweezer, place the slider on a wet nail or apply it with a special slider solution. Gently smooth out any bubbles or wrinkles.
Seal the Deal: Apply a top coat to seal your nail art. This step is crucial for longevity and gives your nails a glossy finish, making your custom design pop.
Experiment: Don't be afraid to mix and match. Combine different sliders or incorporate them into your traditional nail polish routine for a unique look.
Nail Care: Remember, healthy nails are the best canvas. Regularly moisturize and take care of your nails to keep them strong and ready for your next nail art adventure.
Customizing nail sliders is a fun and easy way to express your creativity through your nails. Whether you're preparing for a special occasion or just want to add a splash of personality to your look, personalized nail sliders are the way to go. Dive into the world of nail art and make your mark!
Leave a comment
Comments will be approved before showing up.