professional only brand
professional only brand
Best Sellers
Gel Products
Essentials & Accessories
Staleks
How to Remove Pro Gel Polish: Miss Dolla’s Expert Advice
May 20, 2024 3 min read

Removing professional gel nail polish can be tricky, but with the right technique and products, you can safely and effectively do it at home. Miss Dolla provides expert advice on how to remove gel polish without damaging your nails, ensuring they remain healthy and strong. Follow this step-by-step guide to achieve salon-quality results in the comfort of your own home.
What You’ll Need
- Acetone (preferably 100% pure)
- Cotton balls or pads
- Aluminum foil or reusable nail clips
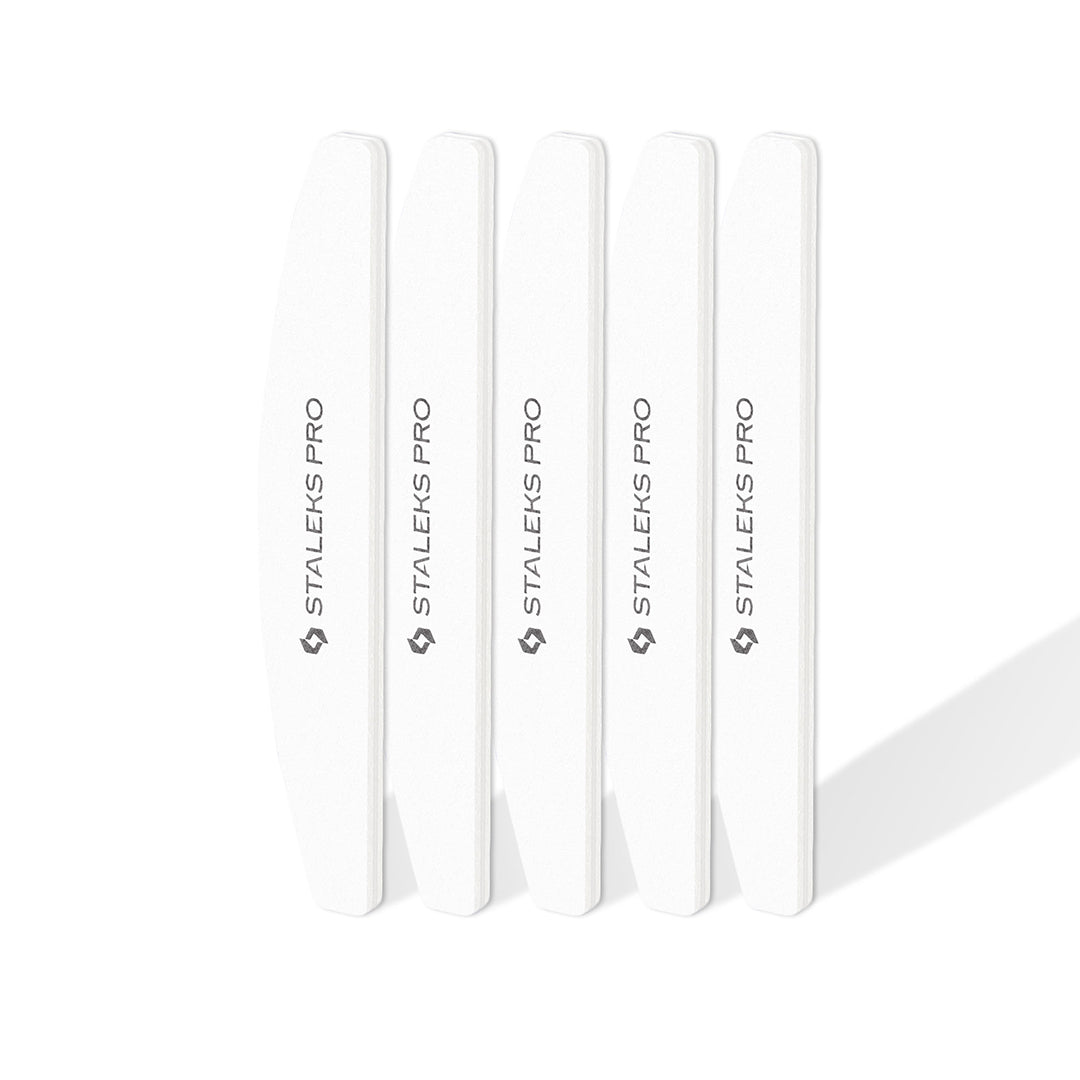
- Nail file (coarse grit)
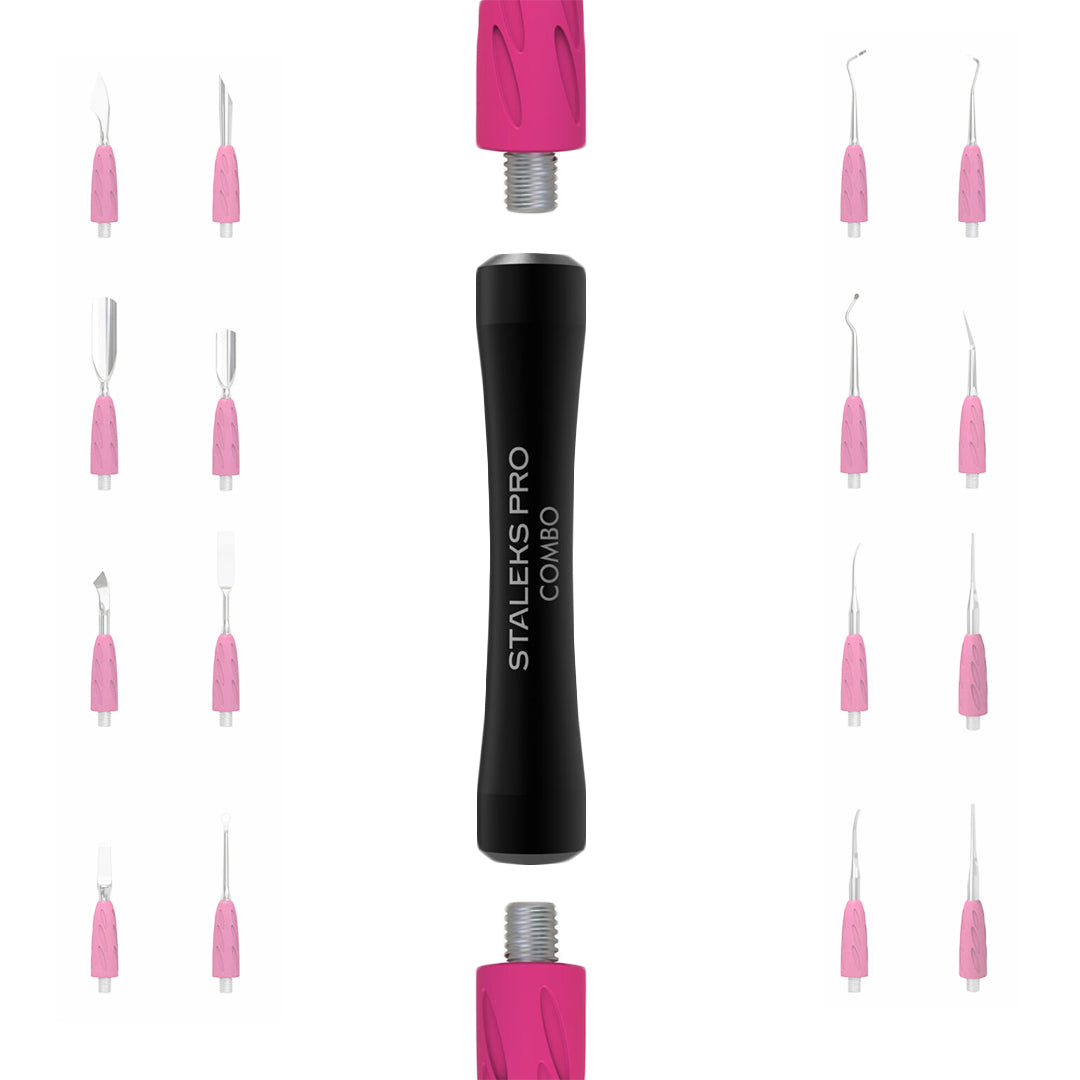
- Cuticle pusher or orange stick
- Nail buffer
- Cuticle oil
- Moisturizing hand cream
- Nail Strengthener (optional for post-removal care)
Step-by-Step Guide
Step 1: Prep Your Nails
Begin by using a coarse nail file to gently roughen the surface of the gel polish. This breaks the top seal, allowing the acetone to penetrate the polish more effectively. Be gentle to avoid filing into your natural nails.
Step 2: Soak Cotton Balls in Acetone
Soak enough cotton balls or pads in 100% pure acetone. Ensure they are saturated but not dripping. Acetone is the most effective solvent for breaking down the gel polish.
Step 3: Secure the Cotton Balls
Place the acetone-soaked cotton balls directly on top of your nails. To secure them, wrap each fingertip with a small piece of aluminum foil or use reusable nail clips. This will hold the cotton balls in place and prevent the acetone from evaporating too quickly.

Step 4: Wait
Allow your nails to soak for about 10-15 minutes. The acetone will work to break down the gel polish, making it easier to remove. Patience is key here; resist the urge to check on your nails too frequently.
Step 5: Remove the Foil and Cotton
Carefully remove the foil and cotton balls from one finger at a time. The gel polish should appear to be lifting away from the nail. If you see that the polish is still firmly attached, reapply the acetone-soaked cotton and wait a few more minutes.
Step 6: Gently Push Off the Gel Polish
Using a cuticle pusher or orange stick, gently push off the loosened gel polish. Start at the base of the nail and move towards the tip. If you encounter resistance, soak your nails for a few more minutes to avoid damaging your natural nails.
Step 7: Buff and Smooth
Once the gel polish is completely removed, use a nail buffer to smooth the surface of your nails. This will remove any remaining polish residue and restore the natural texture of your nails.
Step 8: Hydrate and Nourish
After removing the gel polish, your nails may be dehydrated from the acetone. Apply a generous amount of cuticle oil to nourish your cuticles and nails. Follow up with a moisturizing hand cream to keep your skin soft and hydrated.

Step 9: Strengthen Your Nails
To help your nails recover and stay strong, consider applying Miss Dolla Nail Strengthener. This product is enriched with biotin and keratin to enhance nail resilience and promote healthy growth. It’s an excellent way to maintain nail health after the removal process.
Miss Dolla’s Additional Tips
- Avoid Peeling: Never peel off gel polish, as this can strip away layers of your natural nail, causing damage and weakening the nails.
- Use Quality Products: Always use high-quality acetone and nail care products to ensure effective removal and nail health.
- Take Breaks: If possible, give your nails a break between gel applications to allow them to breathe and recover.
- Regular Care: Maintain a regular nail care routine with hydration and strengthening treatments to keep your nails in optimal condition.
Removing professional gel nail polish at home doesn’t have to be a daunting task. With Miss Dolla’s expert advice and the right tools, you can safely and effectively remove gel polish, ensuring your nails remain healthy and strong. Follow this step-by-step guide to achieve flawless results and maintain beautiful, resilient nails.
Leave a comment
Comments will be approved before showing up.
Subscribe
Sign up to get the latest on sales, new releases and more …
