


Mastering Liquid Builder Gels: Techniques and Troubleshooting Tips


Liquid builder gels are the secret weapon of many nail technicians, offering unparalleled versatility and strength. But as with any product, using them effectively requires a blend of technique, knowledge, and practice. Here, we’ll dive into essential application tips and tackle common issues to ensure flawless results every time.
What Makes Builder Gels Unique?
Liquid builder gels are thicker than regular gel polish but more fluid than hard gels. They’re loved for their ability to self-level, making application smoother and more forgiving. Whether you’re creating extensions, overlays, or repairing a broken nail, builder gels can handle it all.
Step-by-Step Application
To get the most out of builder gels, follow these key steps:
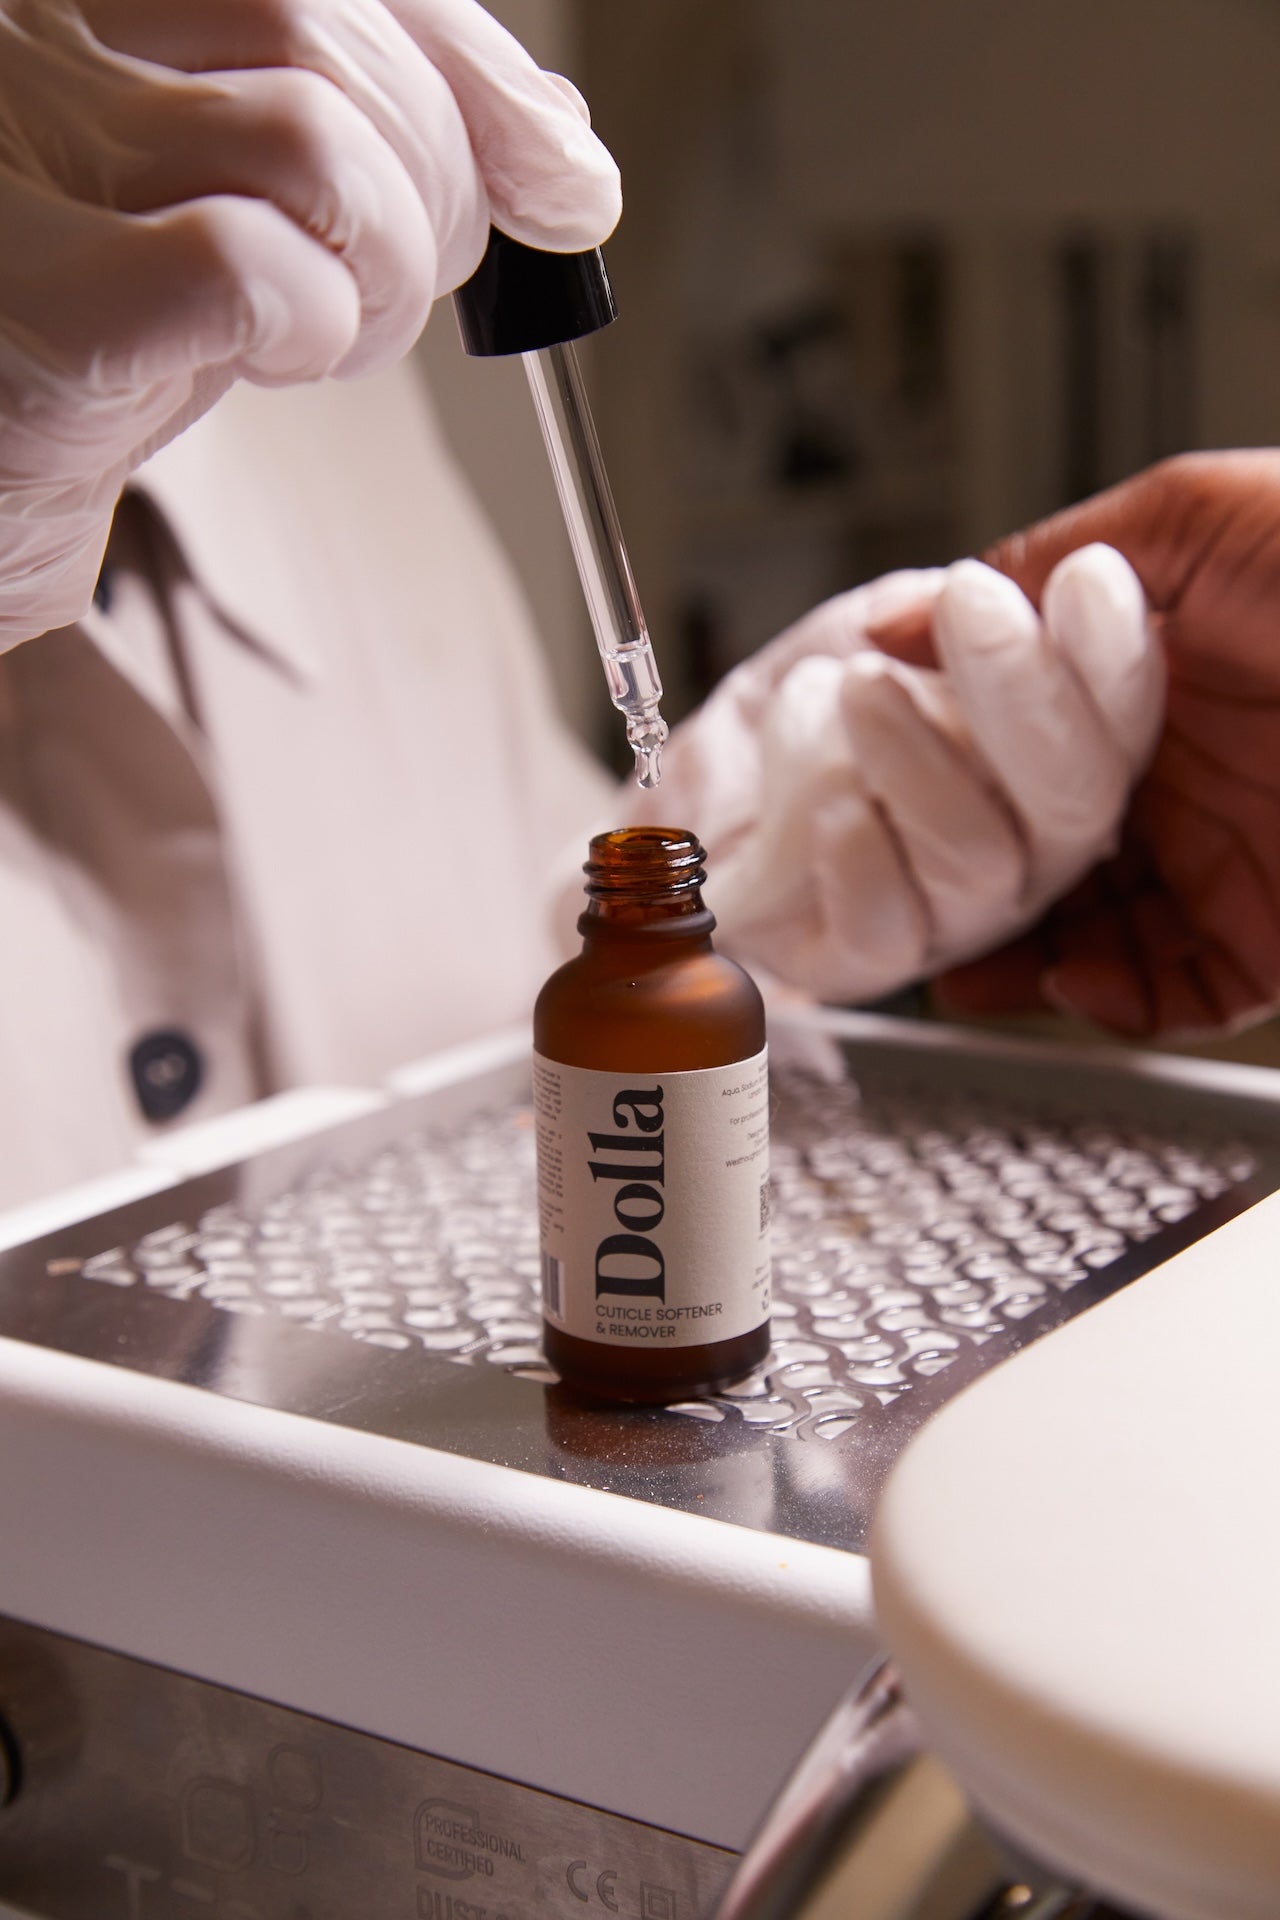
Preparation: Start with clean, dry nails. Push back cuticles and remove any dead skin from the nail plate. Gently buff the nail surface to remove shine and improve adhesion.
Base Layer: Apply a thin layer of gel base coat to protect the natural nail and promote adhesion. Cure it under a UV/LED lamp.
Building the Structure: Scoop a small bead of builder gel onto a gel brush. Place the bead near the center of the nail and gently guide it towards the edges without flooding the cuticles. Let the gel self-level for a smooth finish, then cure.
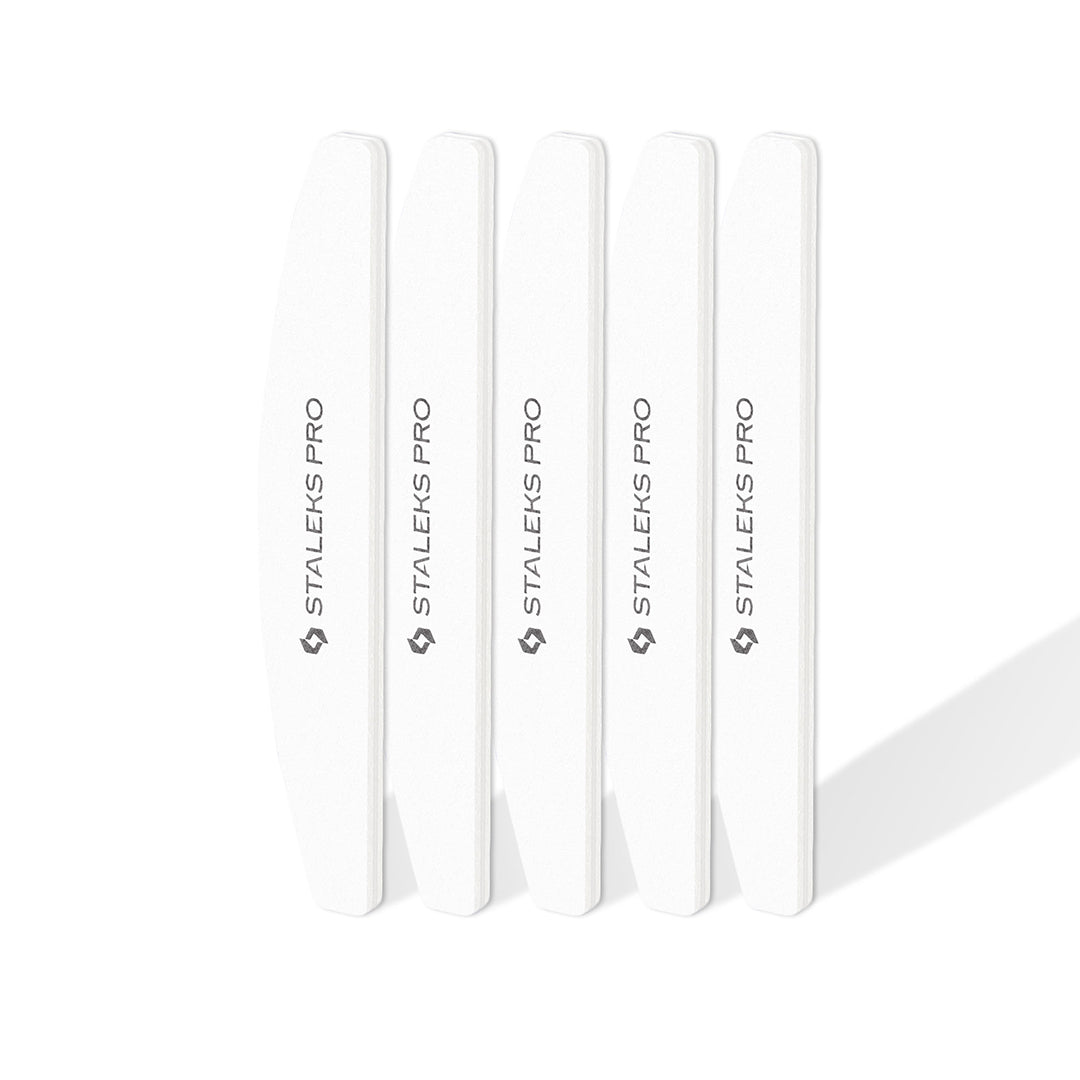
Shaping and Refining: If needed, use a nail file to refine the shape after curing. Keep the edges smooth and even.
Finishing Touches: Seal the look with a top coat for added shine and durability. Cure once more.
Troubleshooting Common Issues
Issue 1: Gel Lifting - Cause: Poor nail prep or inadequate curing. Solution: Ensure the nail plate is free of oils and debris. Cure each layer thoroughly as per the manufacturer’s instructions.
Issue 2: Uneven Surface - Cause: Uneven application of gel. Solution: Use the self-leveling property of the gel. Hold the nail upside down for a few seconds before curing to help create an even apex.
Issue 3: Weak Extensions - Cause: Insufficient thickness at stress points. Solution: Focus on building a proper apex to strengthen the nail and prevent breakage.
Issue 4: Heat Spikes During Curing - Cause: The gel curing too quickly. Solution: Use a low-heat setting on your lamp or cure in shorter bursts.
Tips for Perfect Results
Work in thin layers. Builder gels are strong, so you don’t need a thick application. Keep your workspace clean to avoid introducing dust or lint into the gel. Always follow the curing times recommended by the manufacturer for consistent results.
Why Builder Gels Are Worth the Effort
Builder gels provide a natural-looking finish that’s lightweight yet durable. For clients who want extensions without the bulk of acrylics, they’re the perfect solution. Additionally, their versatility makes them ideal for quick fixes like repairing a cracked nail or reinforcing weak spots.
Liquid builder gels are an essential tool in every nail technician’s arsenal. With proper techniques and a few troubleshooting tricks, you’ll create stunning, durable nails that clients can’t stop raving about.
Leave a comment
Comments will be approved before showing up.