


Mastering the French Manicure: Nail Technicians’ Secret to Perfection


The French manicure is a timeless classic, and as a nail technician, it’s one of those designs I always look forward to perfecting. However, despite its popularity, it’s not as simple as it seems. When I first began working on French tips, I was determined to make them flawless, but the process wasn't always smooth sailing. Over time, though, I discovered some essential steps that guarantee perfect results.
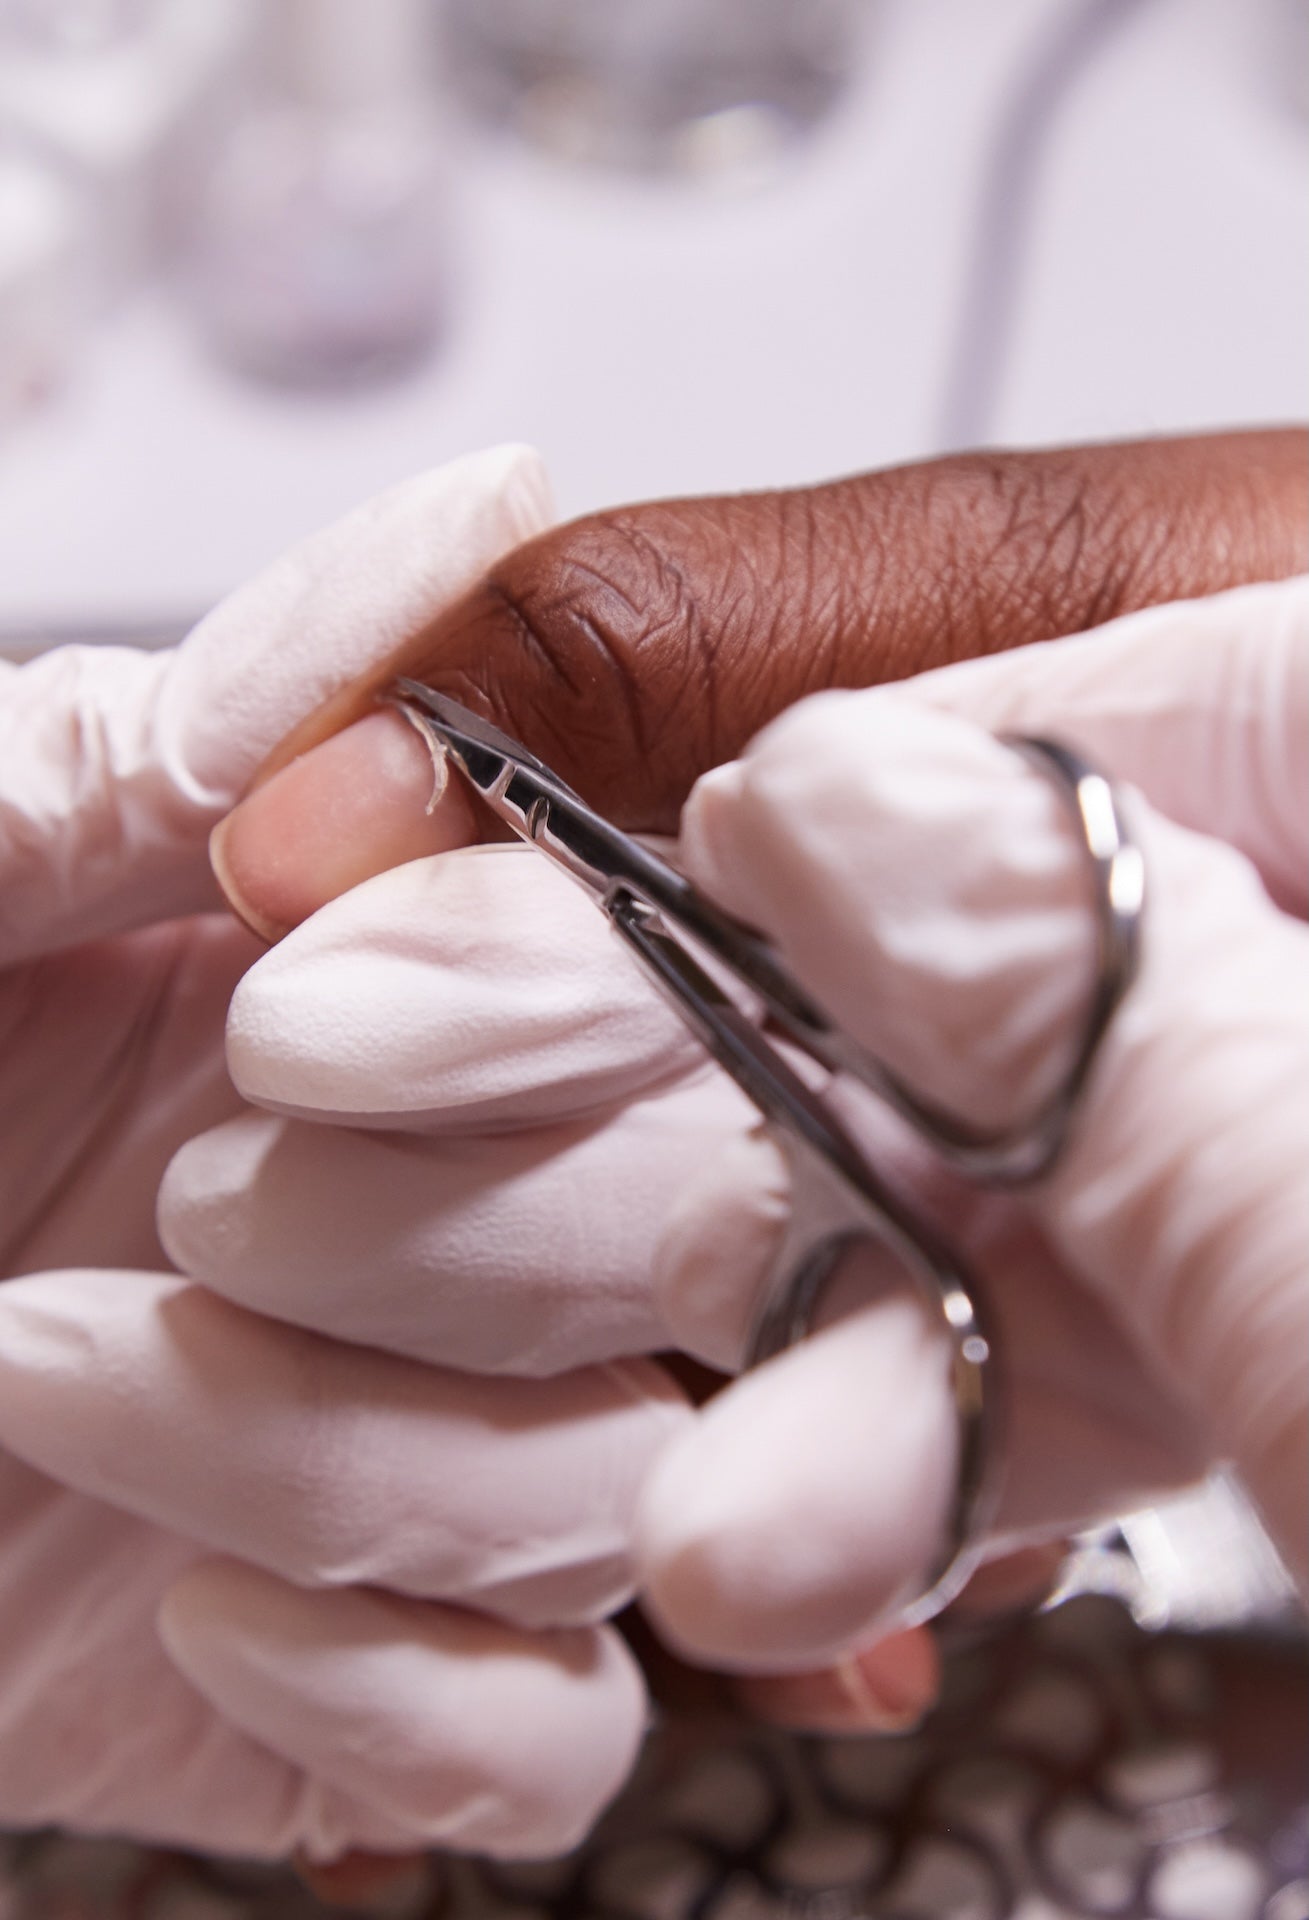
It all starts with proper nail preparation. I've learned that clean nails are the foundation of every good manicure, especially for a French design. I always make sure my client's nails are free from oils or any lingering dirt by giving them a gentle cleanse. Pushing back the cuticles is another crucial step in ensuring the white tips adhere properly. I also buff the surface lightly to create a smooth canvas for the polish. And of course, no matter how simple it may seem, applying a good base coat is key to giving the polish something to grip onto. A well-prepped nail ensures a longer-lasting French manicure with no chips or lifting.
When it comes to those crisp, white tips, I quickly realised that precision is everything. In the beginning, I tried using just any old brush, but that only led to uneven lines and frustration. The moment I switched to a fine-tipped brush, I noticed a massive difference. This small change made applying the white polish so much easier, allowing me to get the sharp, straight lines that every French manicure is known for. If you find yourself struggling with freehanding the lines, French manicure guides can be a lifesaver. They work as stencils and help you achieve perfect lines every time—no stress, just results.
One of the biggest lessons I learned early on was the importance of applying thin layers of white polish. The temptation to rush and apply thick coats is real, but I’ve learned that patience truly pays off. Thin layers help avoid bubbling and create a smooth, professional finish. I’ll apply one thin coat, allow it to dry fully, then go in with a second coat for that bold, crisp tip.
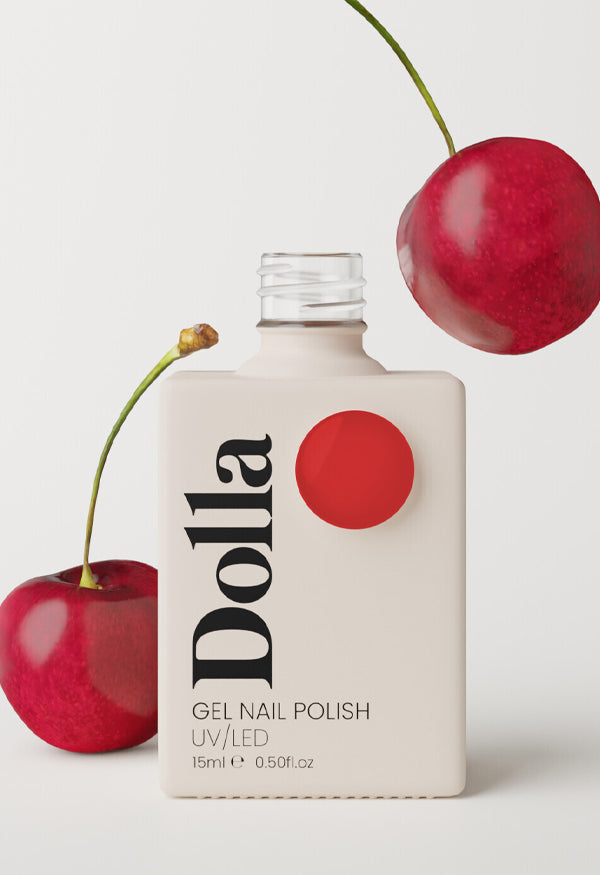
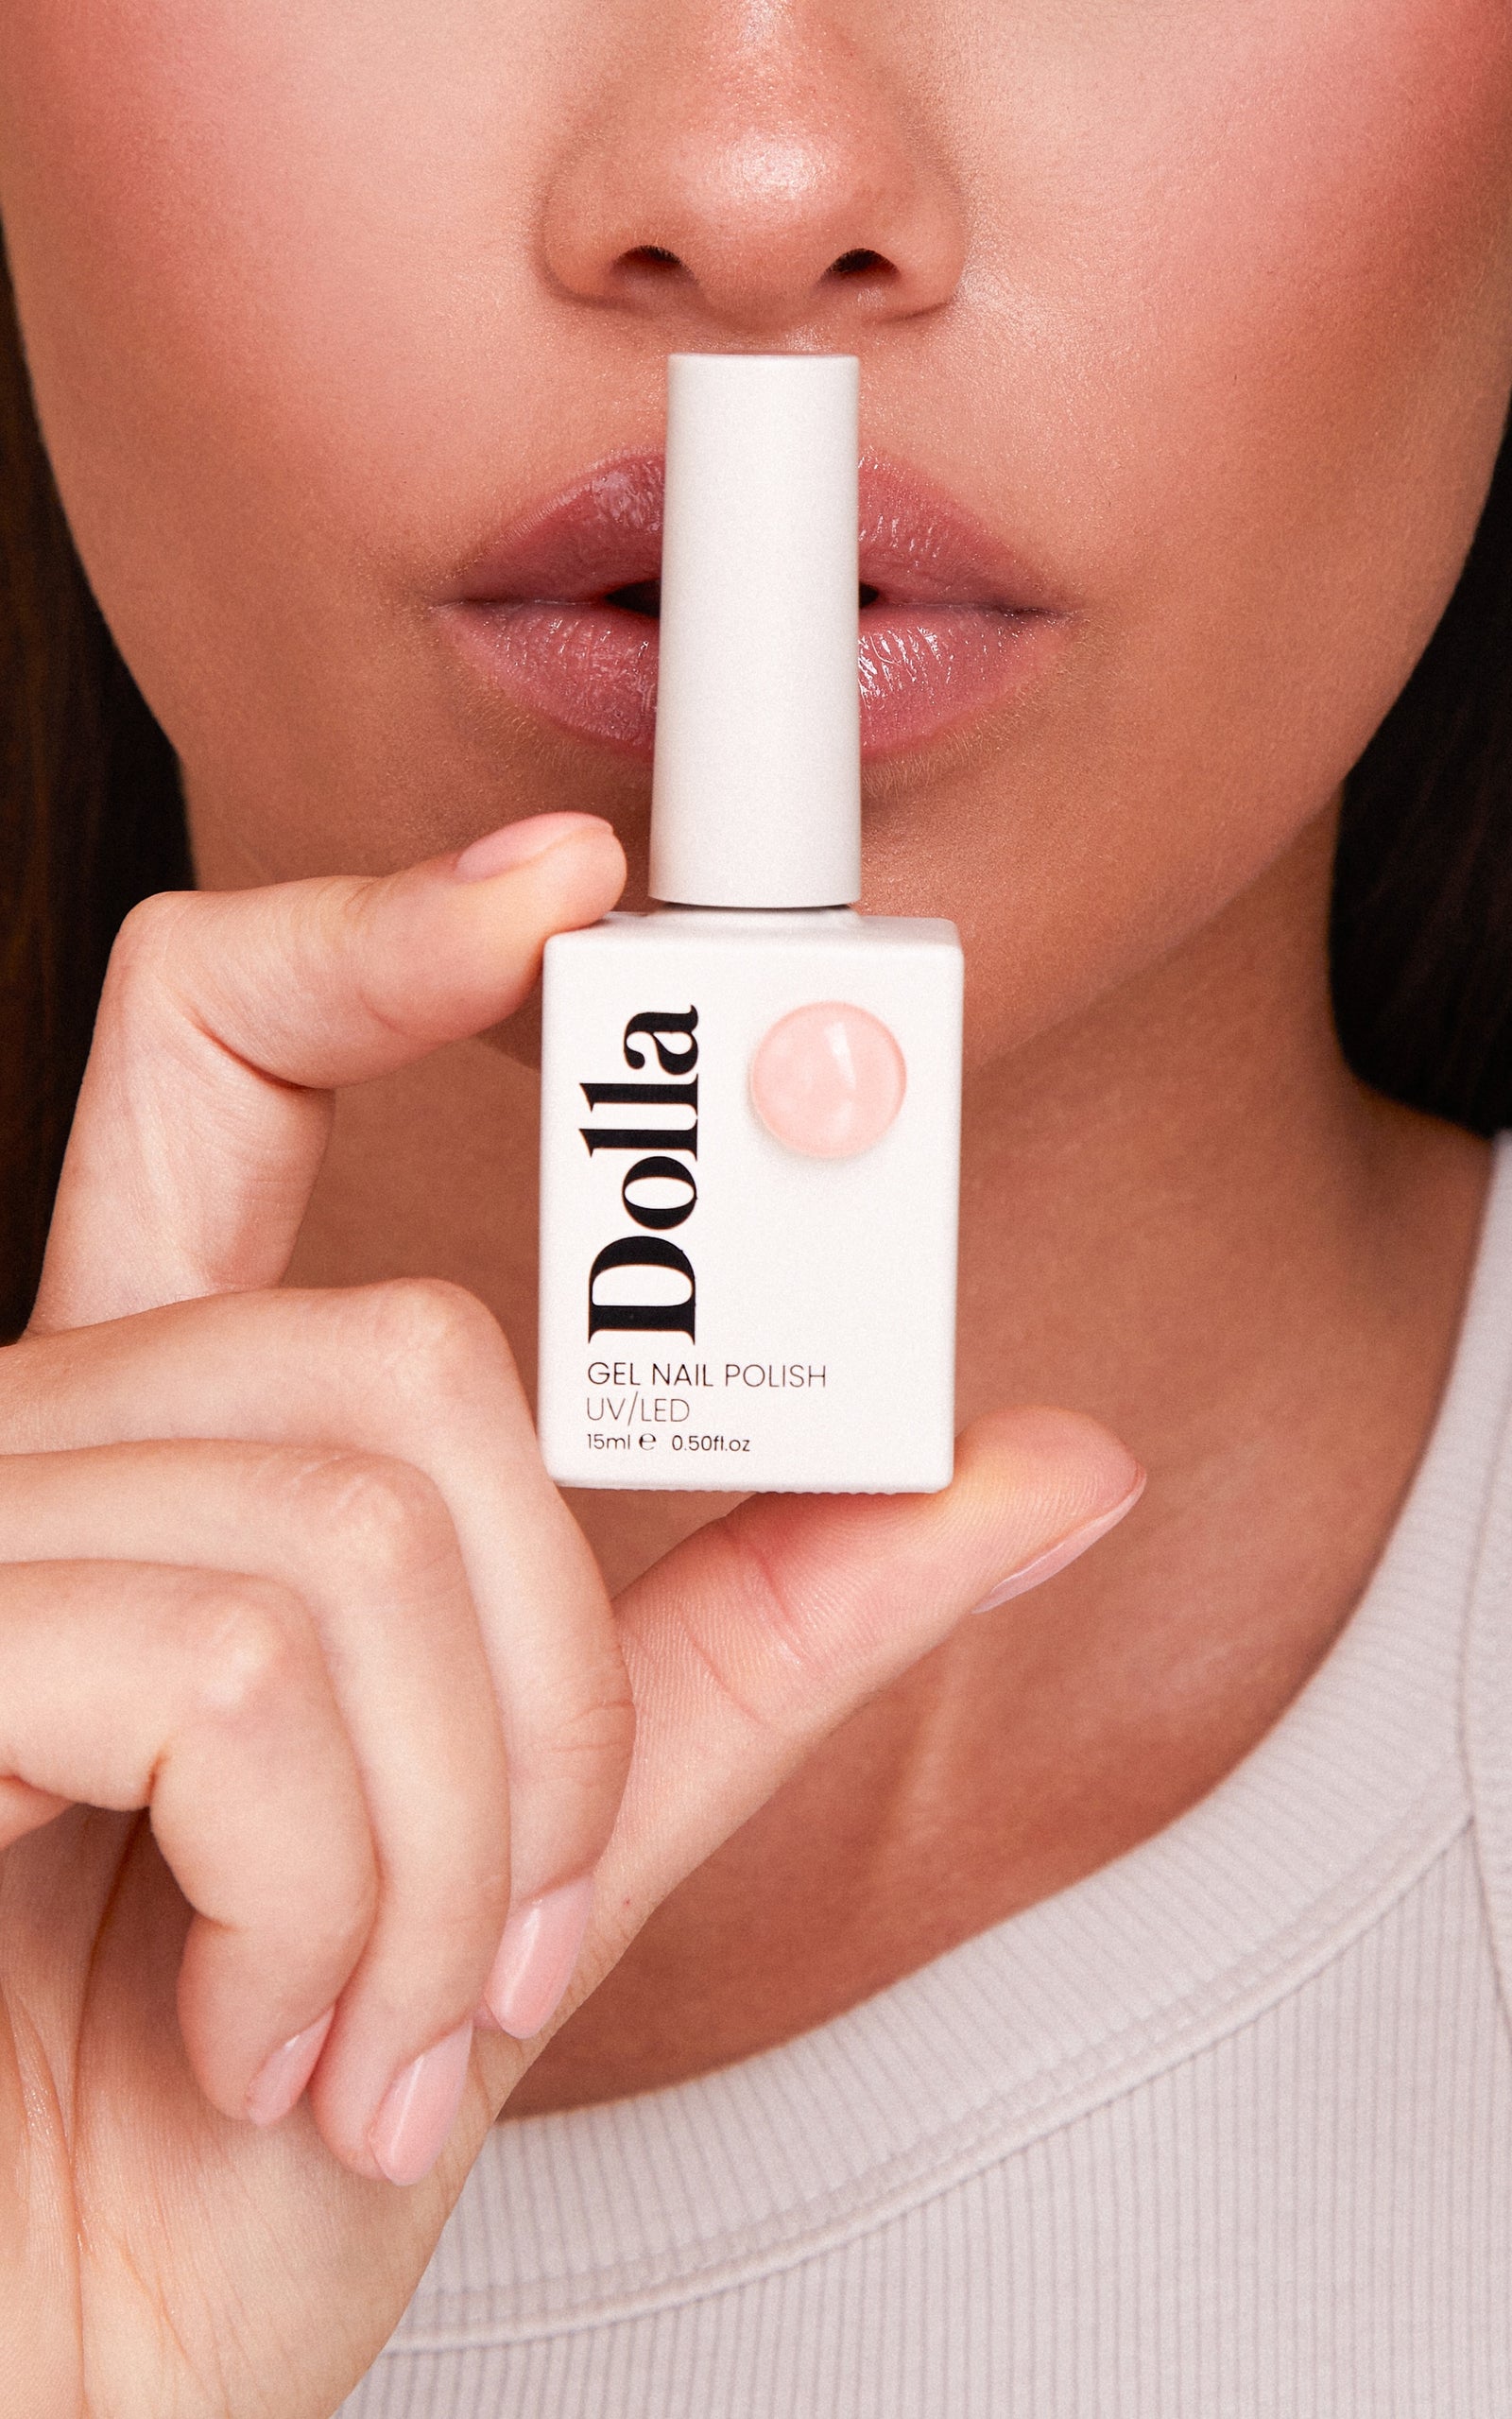
Choosing the right base colour for the nails was another discovery I made along the way. While the white tips are the star of the show, the base colour makes all the difference in creating a balanced, flattering look. A soft pink or nude hue is the ideal choice, offering a natural yet polished finish that contrasts beautifully with the white tips. And, as always, I make sure the base coat is completely dry before moving on to the tips. It’s this attention to detail that brings everything together.
Of course, we all make mistakes, and a French manicure is no exception. I used to panic when a little bit of polish got on the skin or around the edges of the nails, but I quickly realised that a clean-up brush dipped in acetone is a quick fix. It’s a simple trick that helps tidy up the edges, giving the manicure a much more polished and professional look.
Once everything is perfectly in place, the final step is applying a top coat. At first, I didn’t think much about the top coat, but it’s a crucial part of the process. Not only does it add a gorgeous glossy shine, but it also protects the nails from chips and keeps the French tips looking fresh for longer. A well-applied top coat is what truly seals the deal, ensuring your client leaves the salon with flawless nails.
The more I’ve worked with French manicures, the more I’ve come to realise that it’s all about the small details. Taking your time with each step and paying attention to the finer points makes all the difference in achieving the perfect French tips. Every French manicure is a little masterpiece, and with practice, you’ll find that you can create them effortlessly. Whether it’s for a wedding, a special event, or just a little treat, a perfect French manicure is always a win.
Leave a comment
Comments will be approved before showing up.