


Nail Slider Hacks: Tips and Tricks for Perfect Application Every Time


Nail sliders, also known as nail decals or transfers, have become a go-to for adding intricate designs and flawless art to manicures without the time-consuming effort of hand-painting. Perfecting the application of these tiny artworks can be the difference between a manicure that's merely good and one that's truly great. At Miss Dolla, we understand the importance of precision and durability in nail art. That's why we're sharing our top hacks for nail slider application, ensuring that nail technicians can achieve perfection with every application.
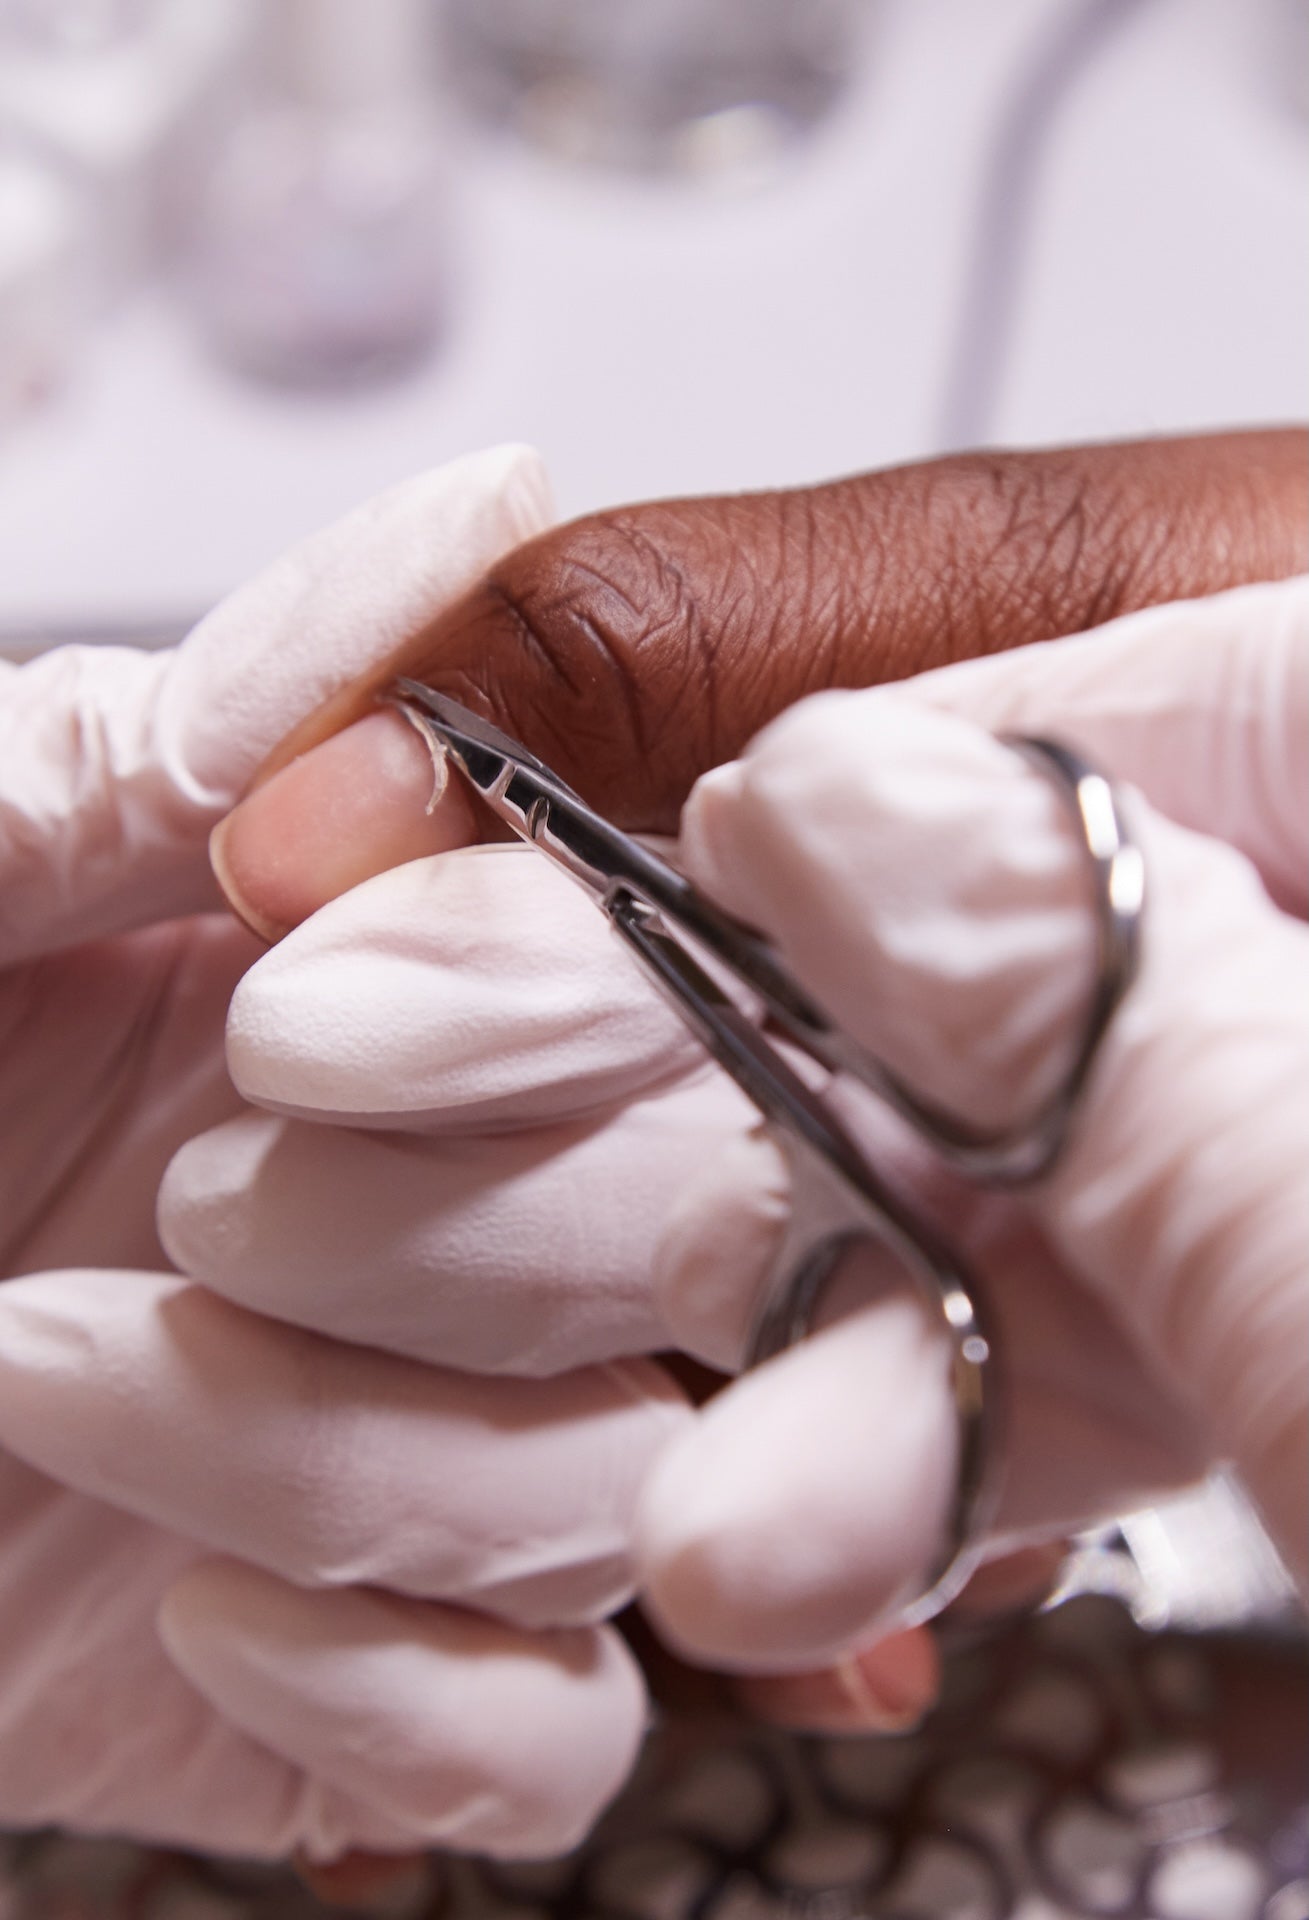
1. Prep the Nail
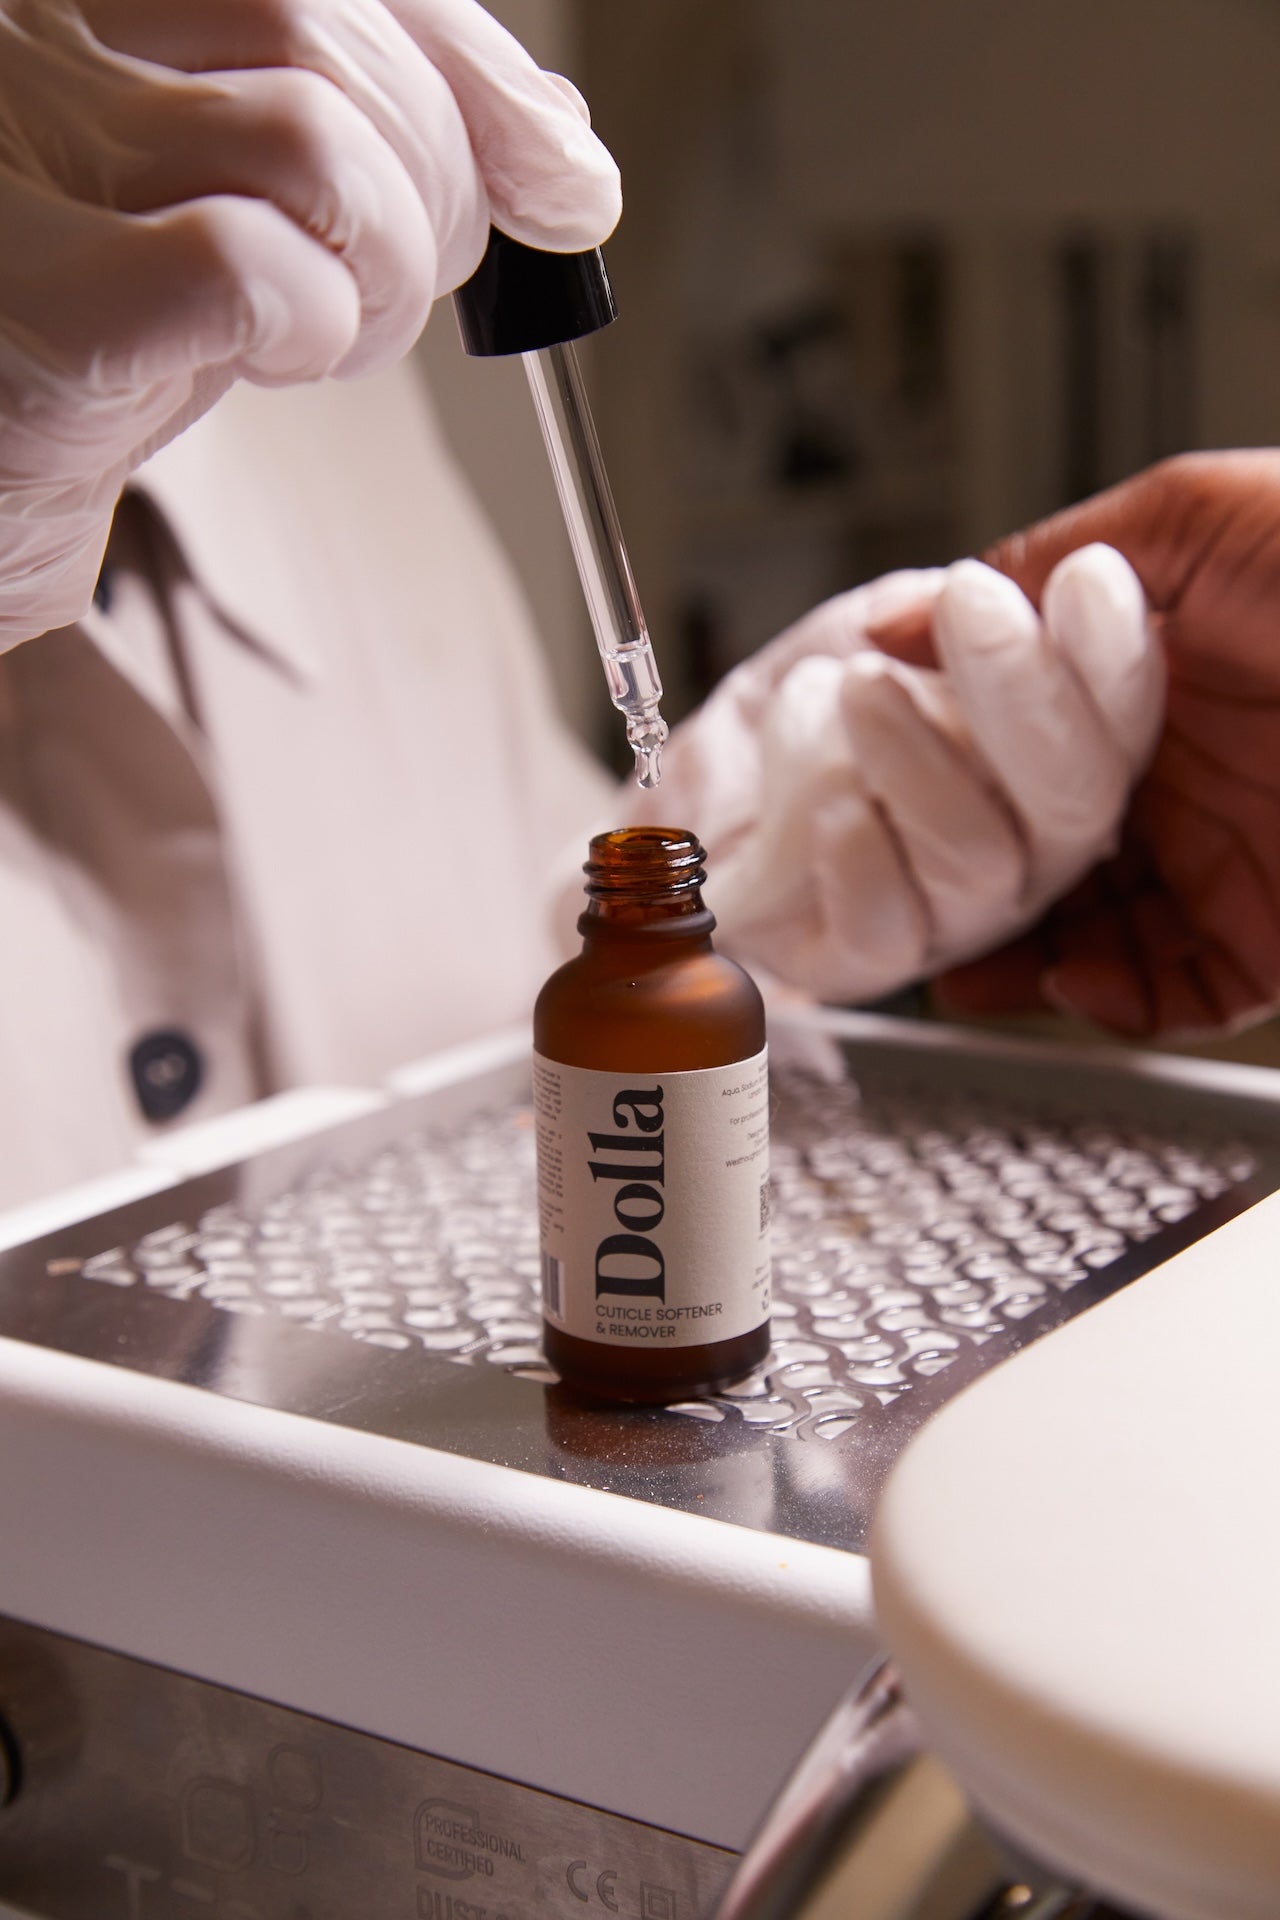
The key to a lasting nail slider application begins with proper nail preparation. Ensure the nail surface is clean, dry, and buffed. Miss Dolla’s prep products provide the ideal base by removing oils and creating a smooth surface for the slider to adhere to. Applying a base coat not only improves adhesion but also protects the natural nail from any potential damage.
2. Choose the Right Size
Selecting a slider that fits the nail is crucial. If a slider is too large, it can wrinkle or fold during application. Miss Dolla offers a variety of slider sizes to ensure a perfect fit for any nail shape and size. Trimming the edges of the slider for a custom fit is also an effective way to achieve a seamless look.
3. Use Water Wisely
Most nail sliders require water to release the decal from its backing. Dip the slider into water for just a few seconds. Too much water can make the decal difficult to handle, while too little may not release it properly. Once applied to the nail, gently pat it dry with a lint-free wipe to remove any excess water and prevent sliding.
4. Seal with a Top Coat
To ensure your beautiful slider design stays put, sealing it with a high-quality top coat is essential. Miss Dolla’s top coats are designed to seal nail art securely, providing a glossy or matte finish that enhances the overall look while protecting the slider from wear and tear. For an extra layer of protection, consider applying two coats.
5. Avoid Heat Immediately After Application
After applying the top coat, advise clients to avoid exposure to heat for at least a couple of hours. Heat can cause the top coat to soften, which might lead to the slider peeling or warping. This simple precaution helps maintain the manicure’s longevity and beauty.
Incorporating these nail slider hacks into your service routine will not only streamline your process but also elevate the quality of your nail art, leaving clients impressed with the durability and detail of their manicures. Explore Miss Dolla’s range of nail art products today and discover how our sliders and application tools can transform your nail services.
Leave a comment
Comments will be approved before showing up.