


Gel Application 101 for Nail Techs


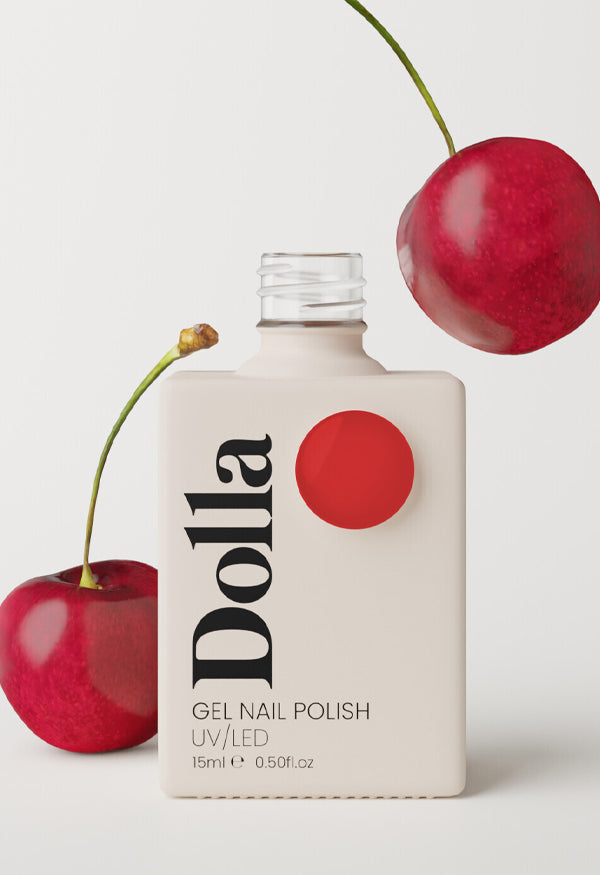
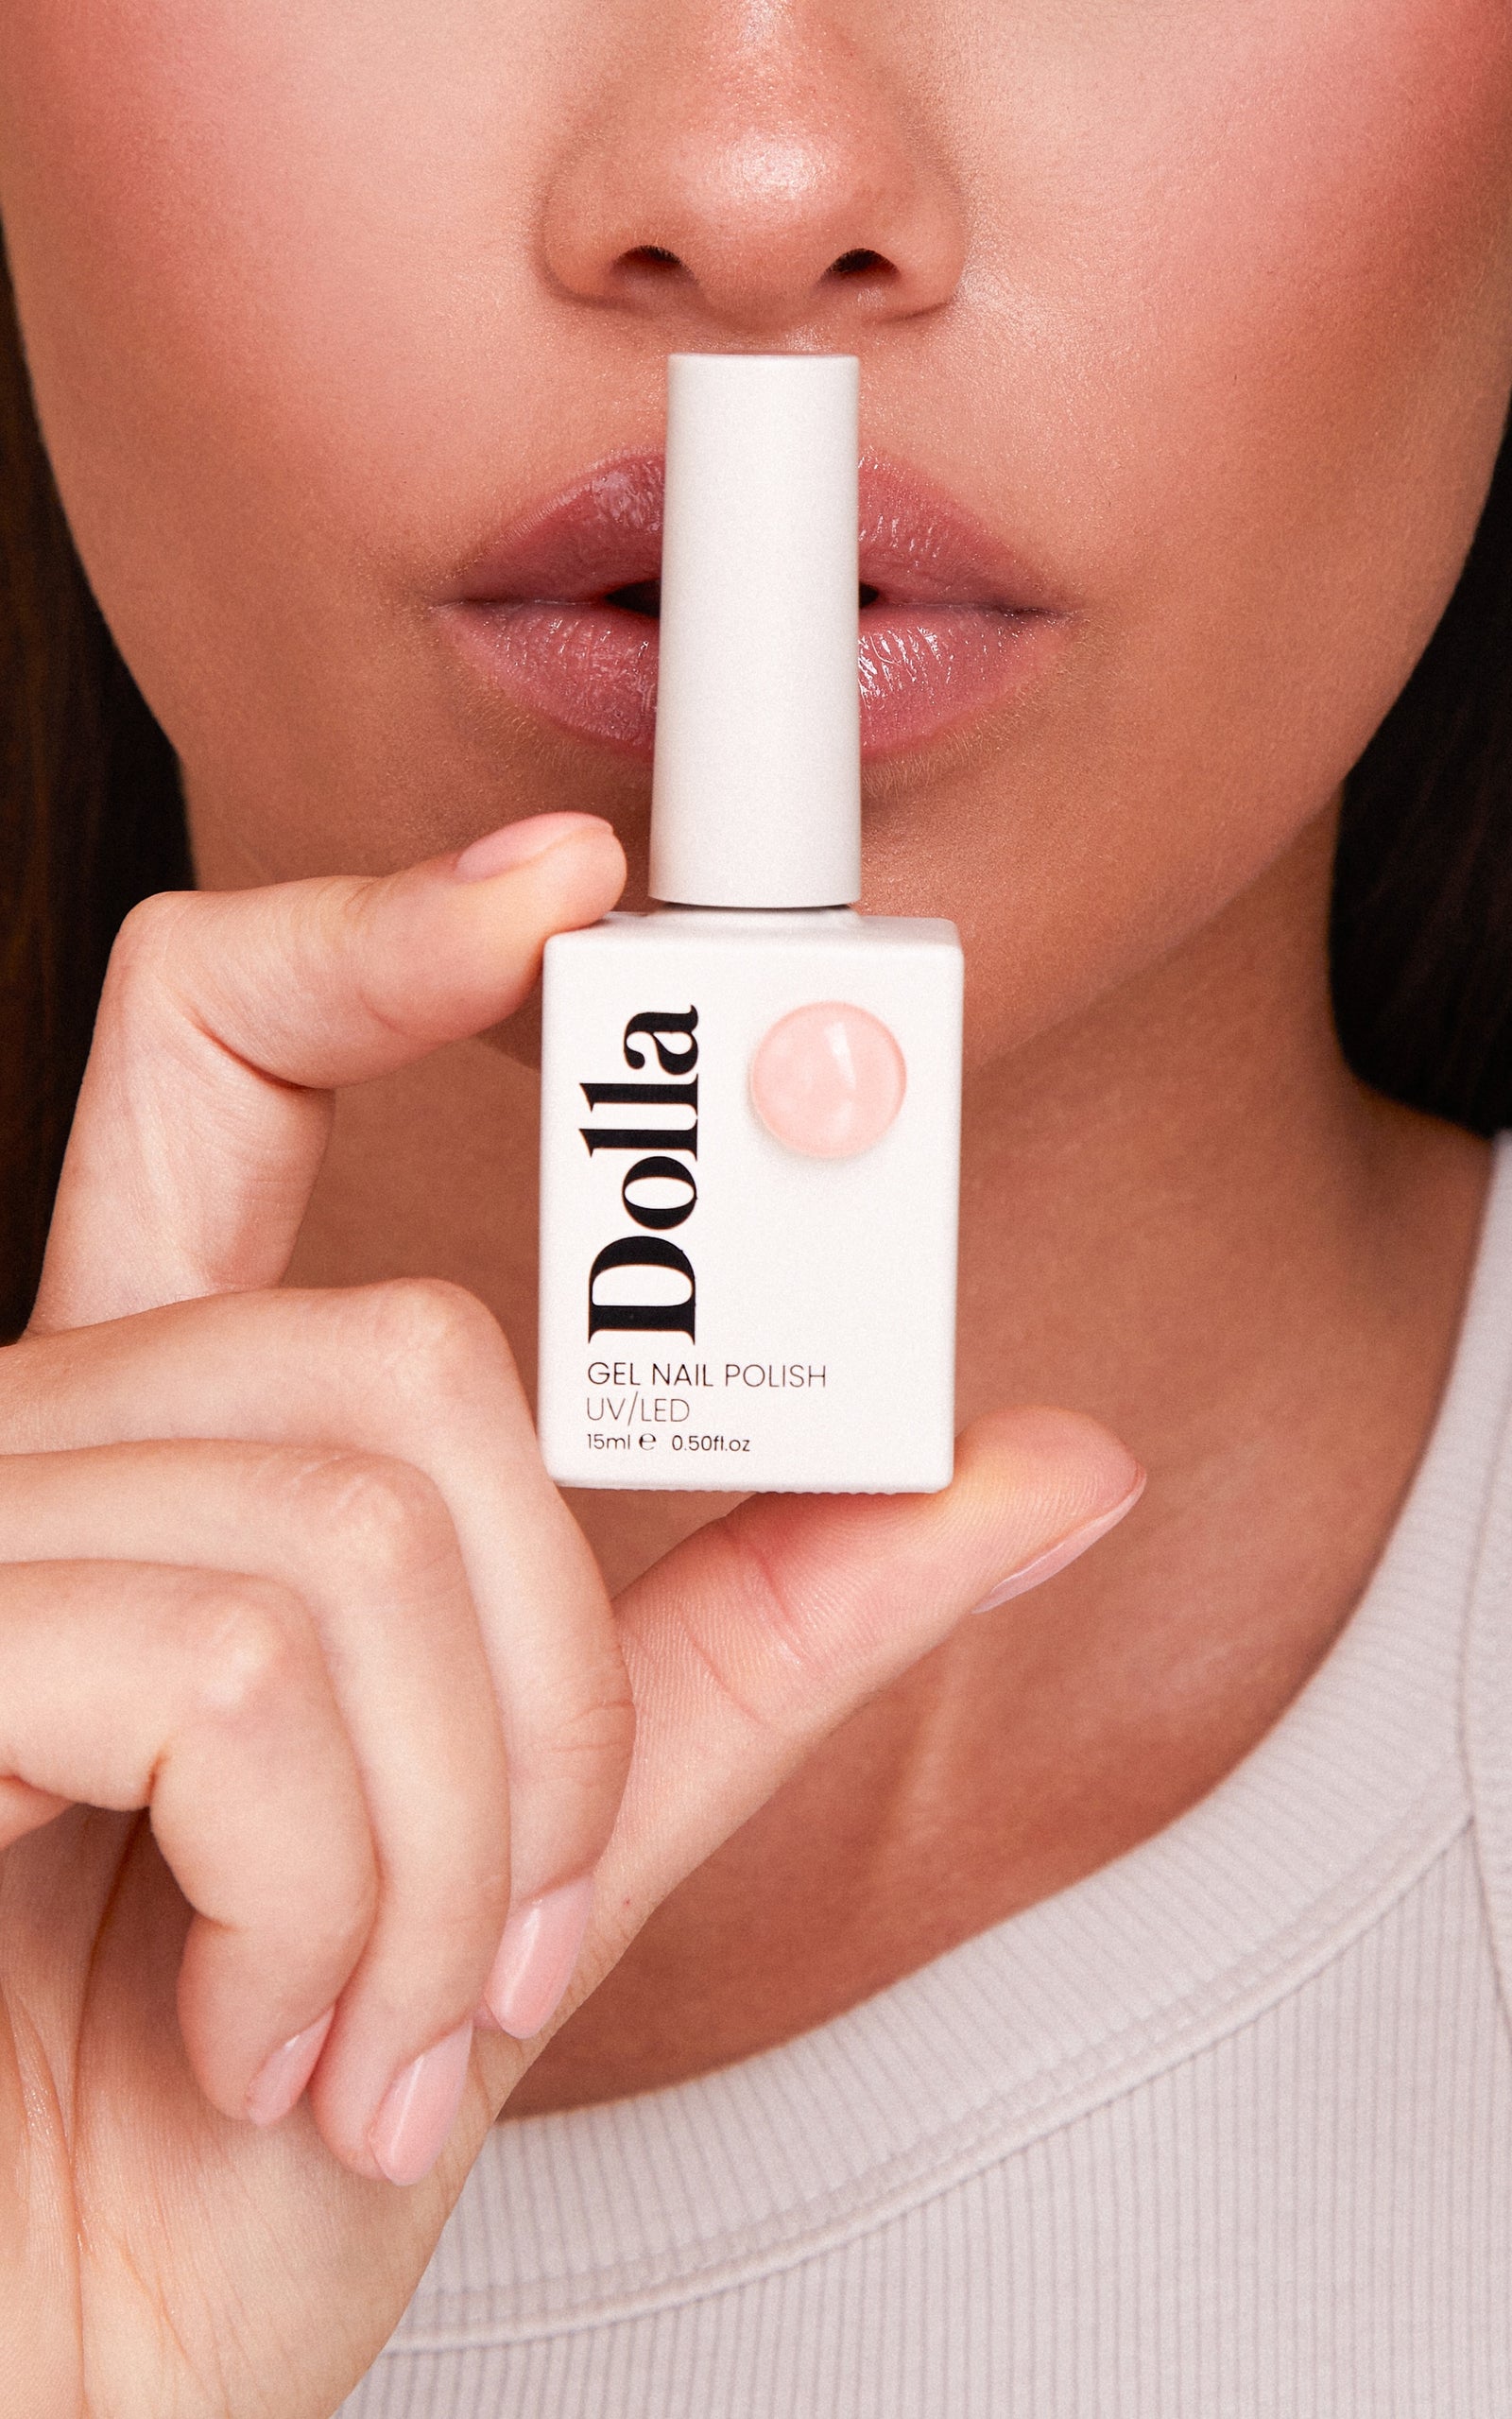
Achieving a perfect gel manicure is more than just applying colour – it's all about the details. Whether you're working with Dolla Nails Pro gel colours or looking to create custom shades, a flawless finish starts with proper prep and technique. Here's your step-by-step guide to applying gel nail polish with ease and confidence, using our high-quality products for a stunning, chip-free look.
Step 1: Nail Prep for Perfect Gel Application
The foundation of any great gel manicure is proper nail prep. Without it, even the best gel nail colours won't last. Here’s how to get started:
-
Disinfect: Start by disinfecting both your hands and your client’s hands. Don't forget to wear gloves for extra hygiene.
-
Assess the Nails: Carefully check the condition of your client’s nails. If there are any contraindications for gel treatment, now is the time to address them.
-
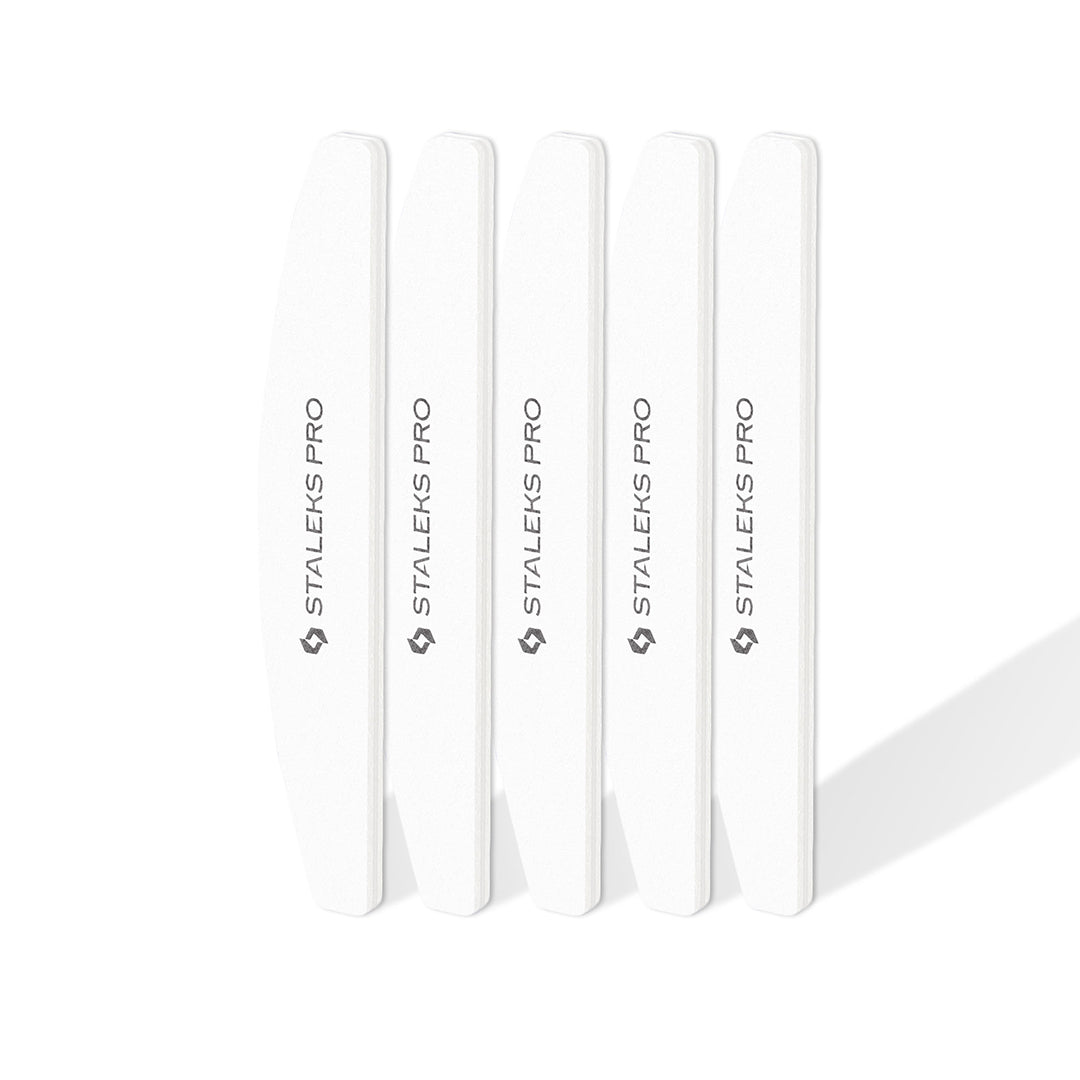
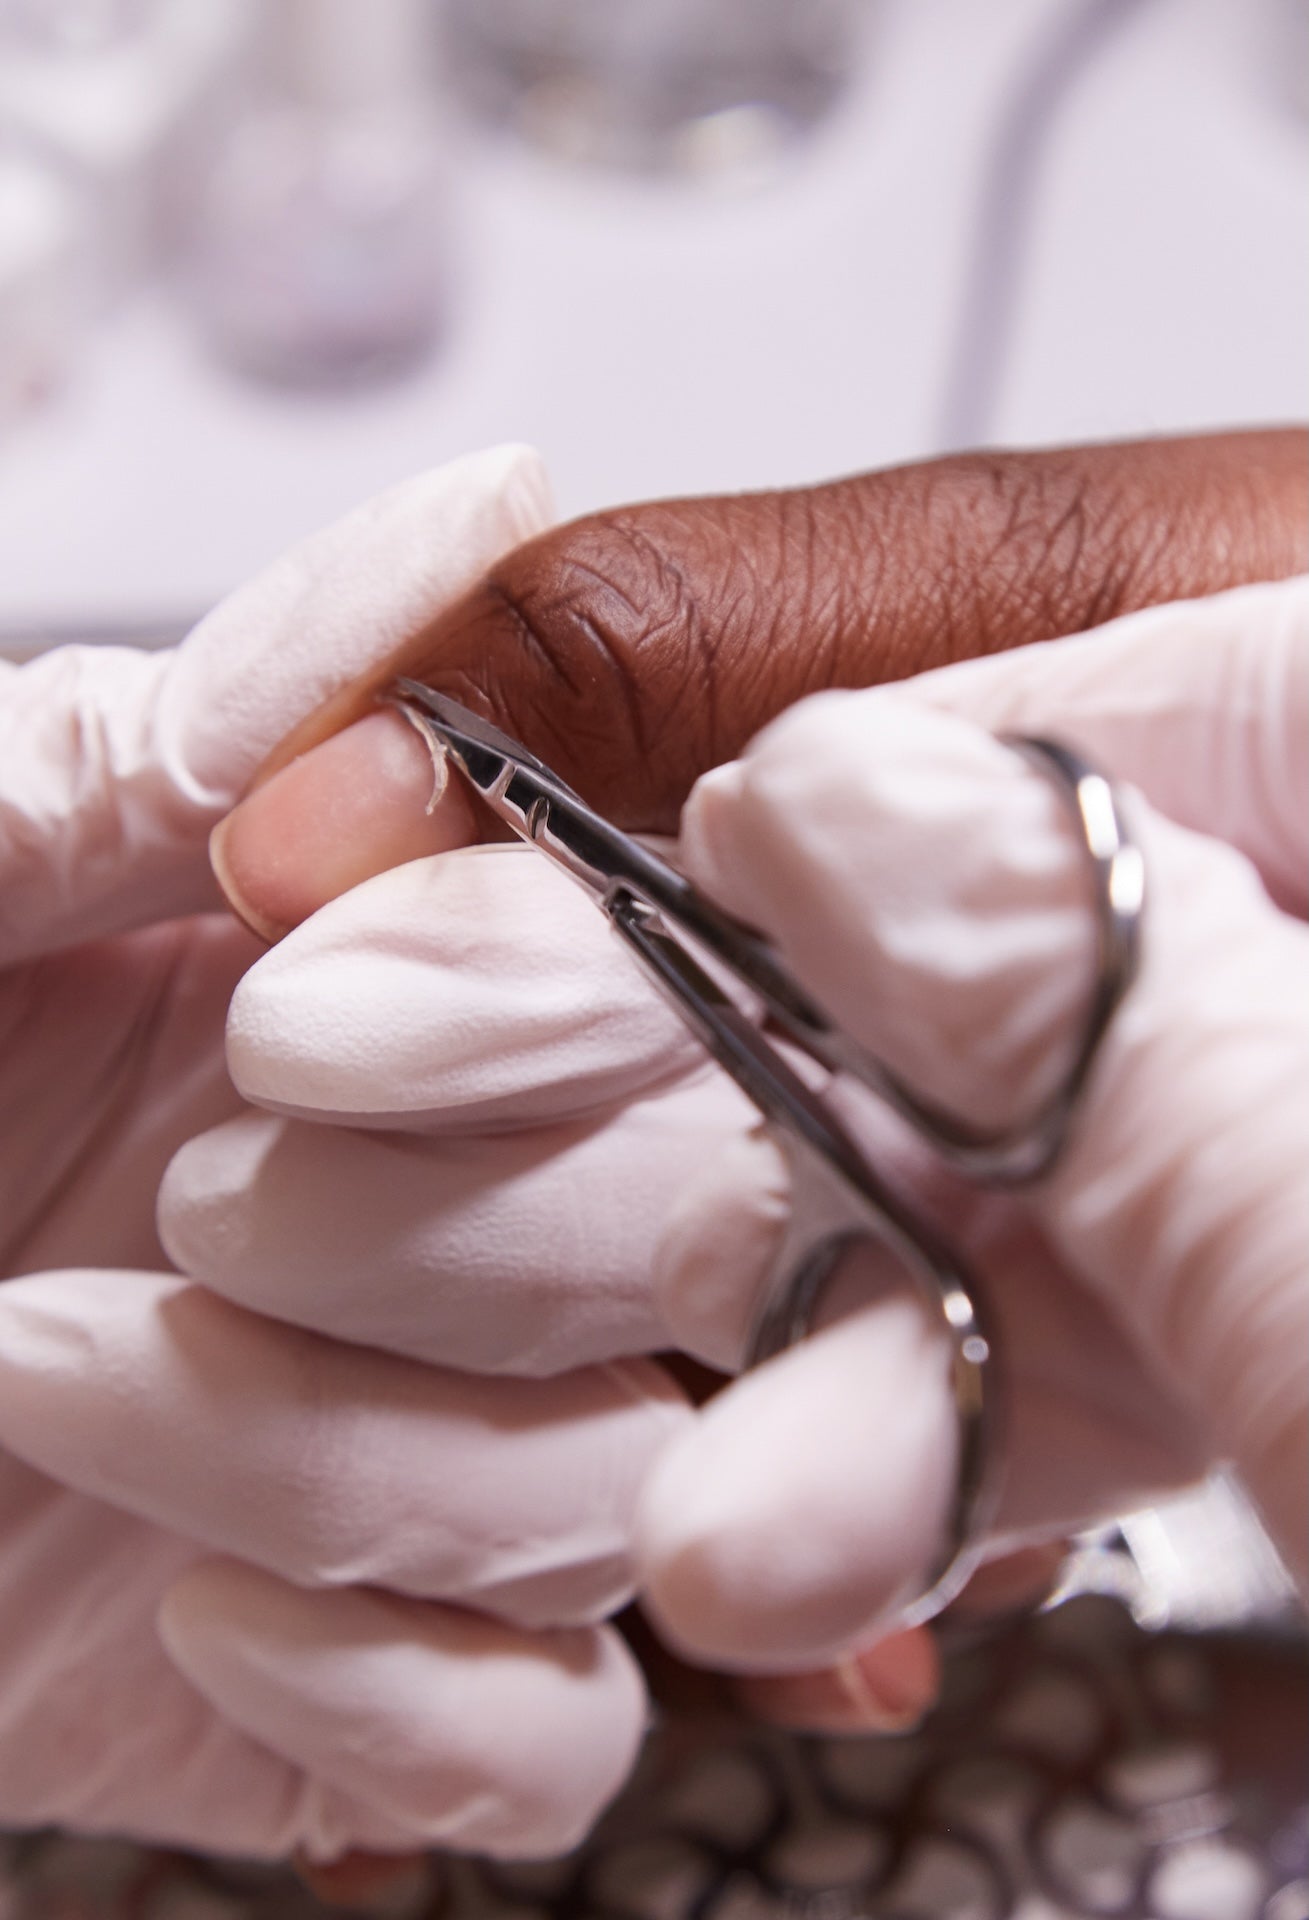
Push Back Cuticles: Gently push back the cuticles using a cuticle pusher or wooden stick. For stubborn cuticles, try using the Staleks nail file for precision.
-
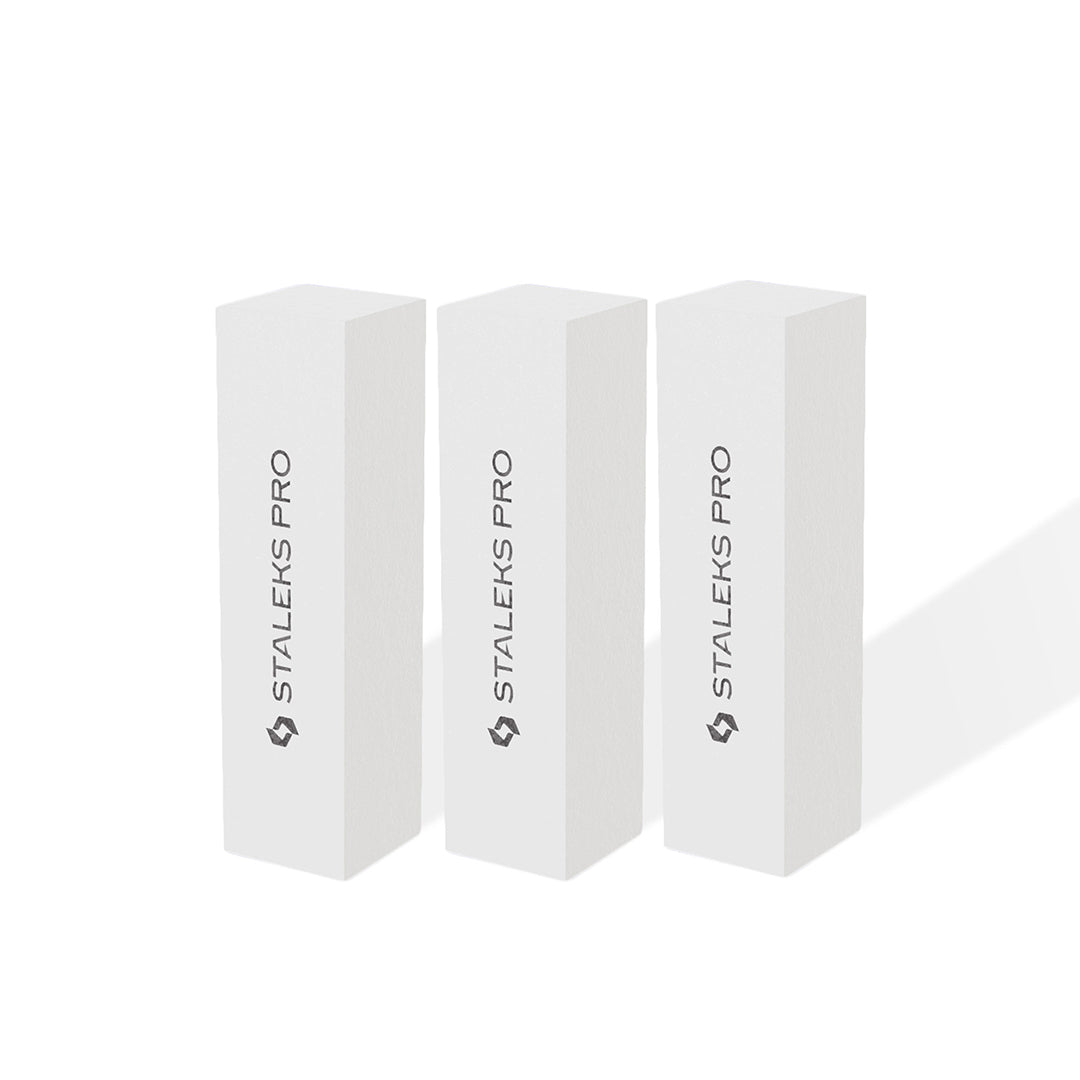
Matt the Nail Plate: Lightly buff the surface of the nails using a 150 or 180 grit nail buffer. This step helps to remove shine and creates an ideal surface for the gel polish to adhere to. Use a soft brush to dust off any excess particles.
-
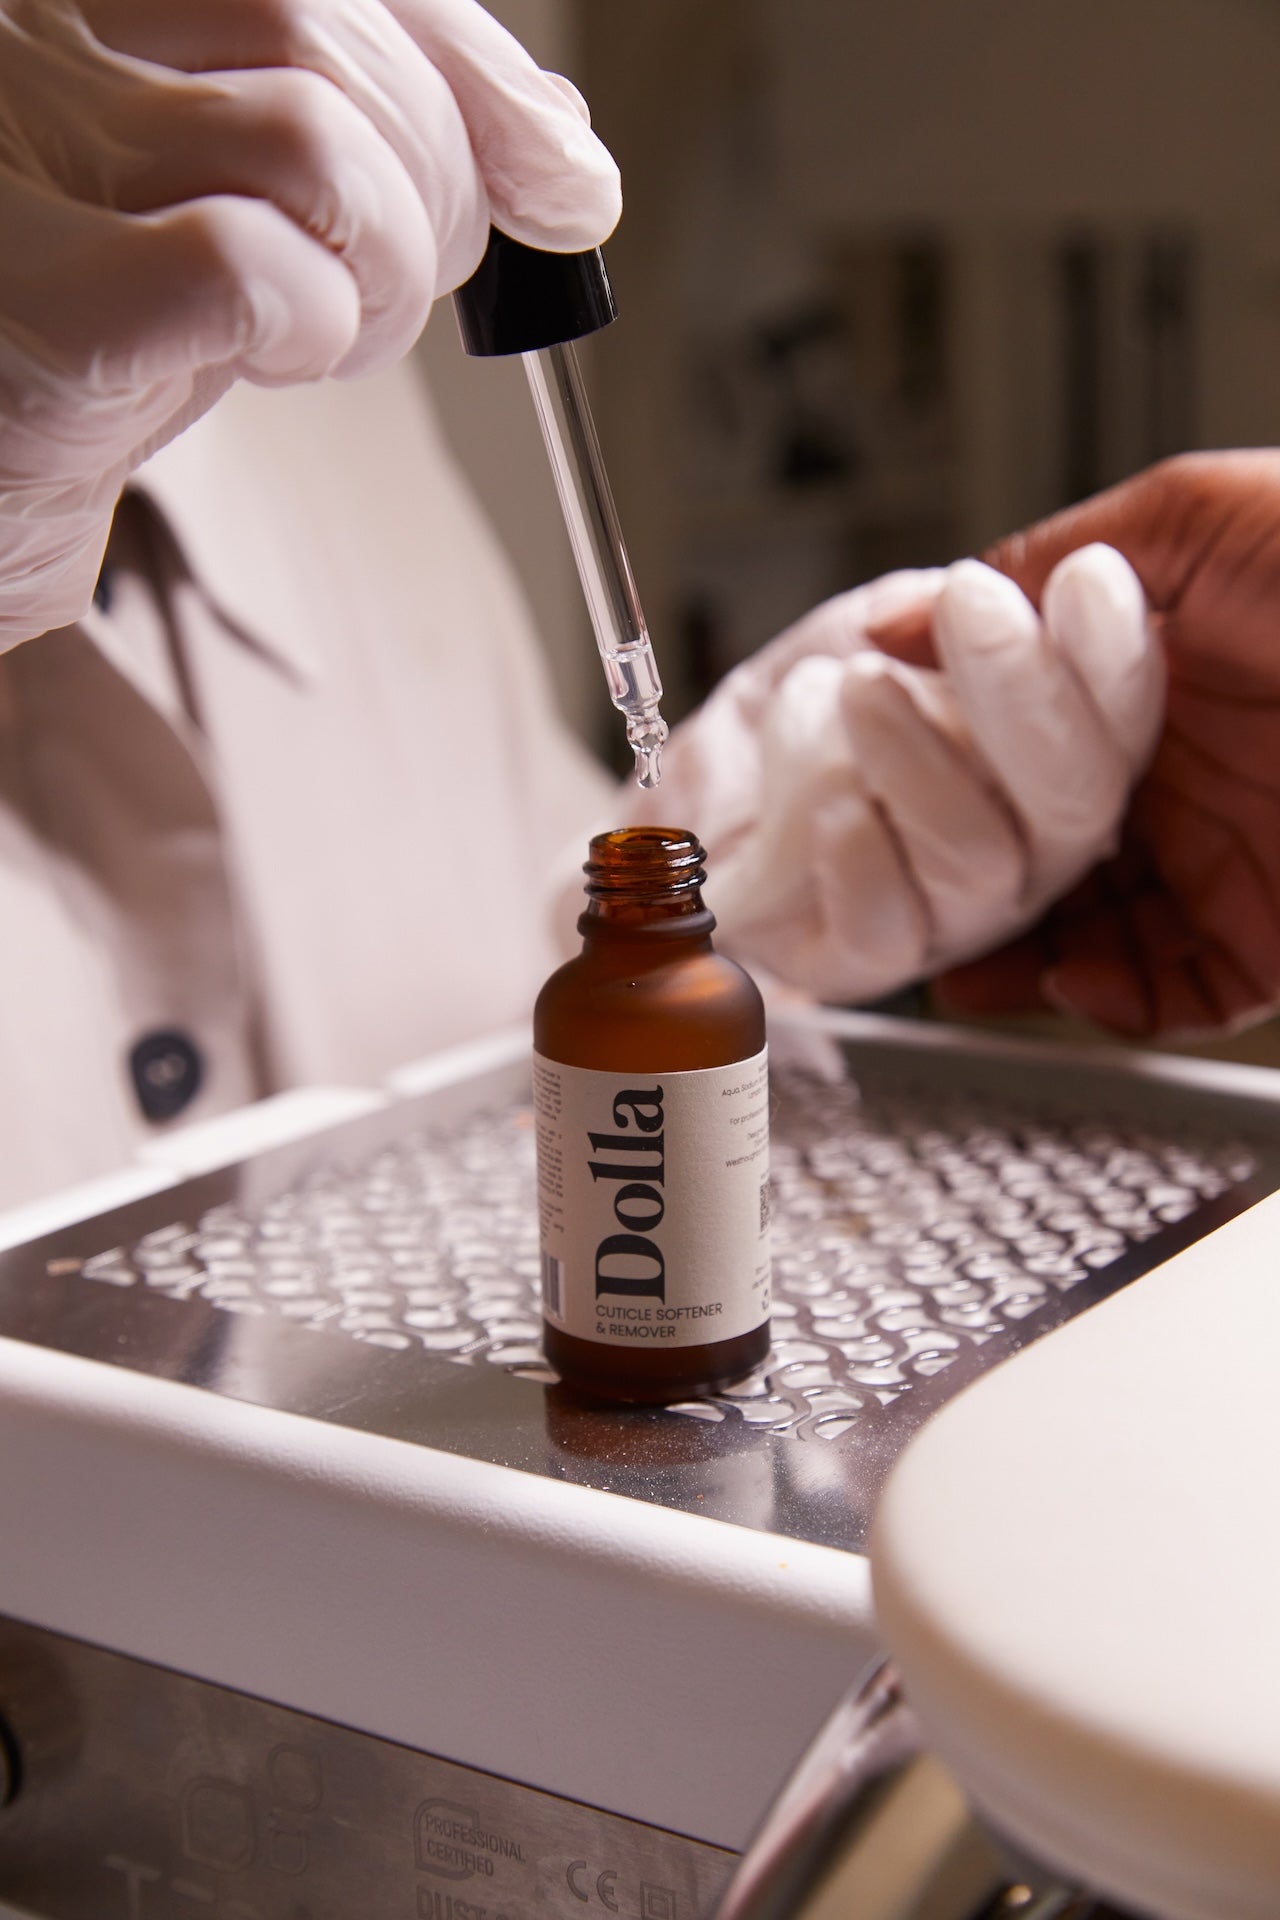
Cleanse the Nails: Soak a lint-free nail wipe with an alcohol-based nail prep solution and wipe each nail thoroughly to remove any oils, dust, or debris. This ensures the nail is completely clean and ready for the gel to bond.

Step 2: Apply Dolla Nails Pro PH Bond and Primer
For a long-lasting and secure application, it’s essential to balance the pH of the nail plate.
-
PH Bond: Apply Dolla Nails Pro PH Bond to balance the pH of the nail. This creates the perfect base for the gel to adhere, preventing peeling or lifting.
-
Primer (If Needed): For clients with more challenging nail plates, apply Dolla Nails Pro Primer. This will help to ensure a stronger bond between the natural nail and the gel. Be sure to apply the primer sparingly, ensuring it only covers the natural nail, and avoid contact with the cuticles.
Step 3: Base Coat Application
The base coat is a crucial step in achieving a long-lasting gel manicure.
-
Apply a Thin Layer of Base Coat: Using Dolla Nails Pro Base Coat, apply a thin, even layer to each nail. Be careful not to get any base coat on the cuticles or skin.
-
Cure Under LED Lamp: Cure the base coat under your LED lamp for 30 seconds.
-
Apply a Thicker Layer of Base Coat: Apply a second, slightly thicker layer of base coat, and cure again for 60 seconds. This ensures full coverage and adhesion.
-
Optional Building Layers: For nails that are naturally weak or flat, use Rubber Base or a builder gel for extra strength. Apply two building layers for added structure, curing each layer as needed.
-
Buff the Surface: If required, remove the sticky layer from the base with a lint-free nail wipe soaked in nail cleaner. Use a 100/180 grit file or buffer to smooth out the base and create an even surface.
-
Clean and Rebuff: Clean the surface again using an alcohol-based solution and dust off any remaining particles with a soft brush.

Step 4: Apply Your Chosen Gel Colour
Now for the fun part! Let’s add the colour and make those nails pop.
-
Apply a Thin Layer of Gel Polish: Choose your Dolla Nails Pro Gel Polish in the perfect shade. Apply a thin, even coat, starting from the centre of the nail and working outward to avoid pooling at the edges.
-
Cure the Colour: Cure the first layer under your LED lamp for 30 seconds. For darker shades or polishes with more pigment, it’s recommended to cure for 60 seconds.
-
Apply a Second Coat: Apply a second thin layer of gel nail polish and cure again for 30 to 60 seconds, depending on the colour.
Step 5: Apply the Top Coat
To seal in your colour and achieve a high-gloss finish, apply a top coat.
-
Top Coat Application: Use Diamond Top Coat for a glossy finish or Matte Top Coat for a trendy matte look. Apply a thin layer, ensuring you seal the edges to prevent chipping.
-
Cure the Top Coat: Cure the top coat for at least 60 seconds under your LED lamp. Both top coats cure without the need for a wipe-off, leaving the nails ready to go.
Step 6: Finish with Moisturising
Now that your gel polish is cured to perfection, it’s time to hydrate.
-
Moisturise: Apply cuticle oil and hand cream to keep the nails and surrounding skin hydrated and healthy.

Final Tips:
-
Thin Layers: Always apply thin, even layers of gel polish to ensure proper curing and prevent bubbling.
-
Curing Time: Make sure you cure each layer for the recommended time to avoid uneven results.
-
Quality Products: Using professional products like Dolla Nails Pro Gel Polishes ensures a flawless, long-lasting gel manicure every time.
By following these steps and using Dolla Nails Pro products, you’ll be able to provide a high-quality gel manicure that lasts for weeks. Ready to create stunning, durable nails for your clients? Start applying your Dolla Nails Pro gel polishes today!
Leave a comment
Comments will be approved before showing up.