


Nail Sliders vs. Wraps: What You Need to Know


As nail art techniques continue to evolve, nail sliders and nail wraps have become two of the most popular options for achieving detailed, salon-quality designs quickly and efficiently. While both offer stunning results, understanding the differences in application, durability, and required training is key to choosing the right option for your clients.
What Are Nail Sliders?
Nail sliders are ultra-thin, pre-designed films that can be transferred onto the nail to create different patterns and effects. Available in a wide range of styles, from florals to abstract art, they offer a fast and versatile way to enhance gel manicure or acrylic sets.
Why nail technicians love them:
-
Simple application: Cut to size, soak in water, and slide onto the nail before sealing with a top coat.
-
No heat required: Ideal for quick nail art with minimal tools.
-
Ideal for detailed designs: Offers precision and complexity without time-consuming hand painting.

What Are Nail Wraps?
Nail wraps are full-coverage, flexible films designed to adhere to the natural nail, offering a smooth, long-lasting finish. They’re ideal for achieving uniform, all-over nail designs with minimal effort and maximum impact.
What sets them apart:
-
Base-applied and cured: Begin by applying a rubber base coat, cure for 60 seconds, then cleanse the nail to create a smooth surface for the wrap.
-
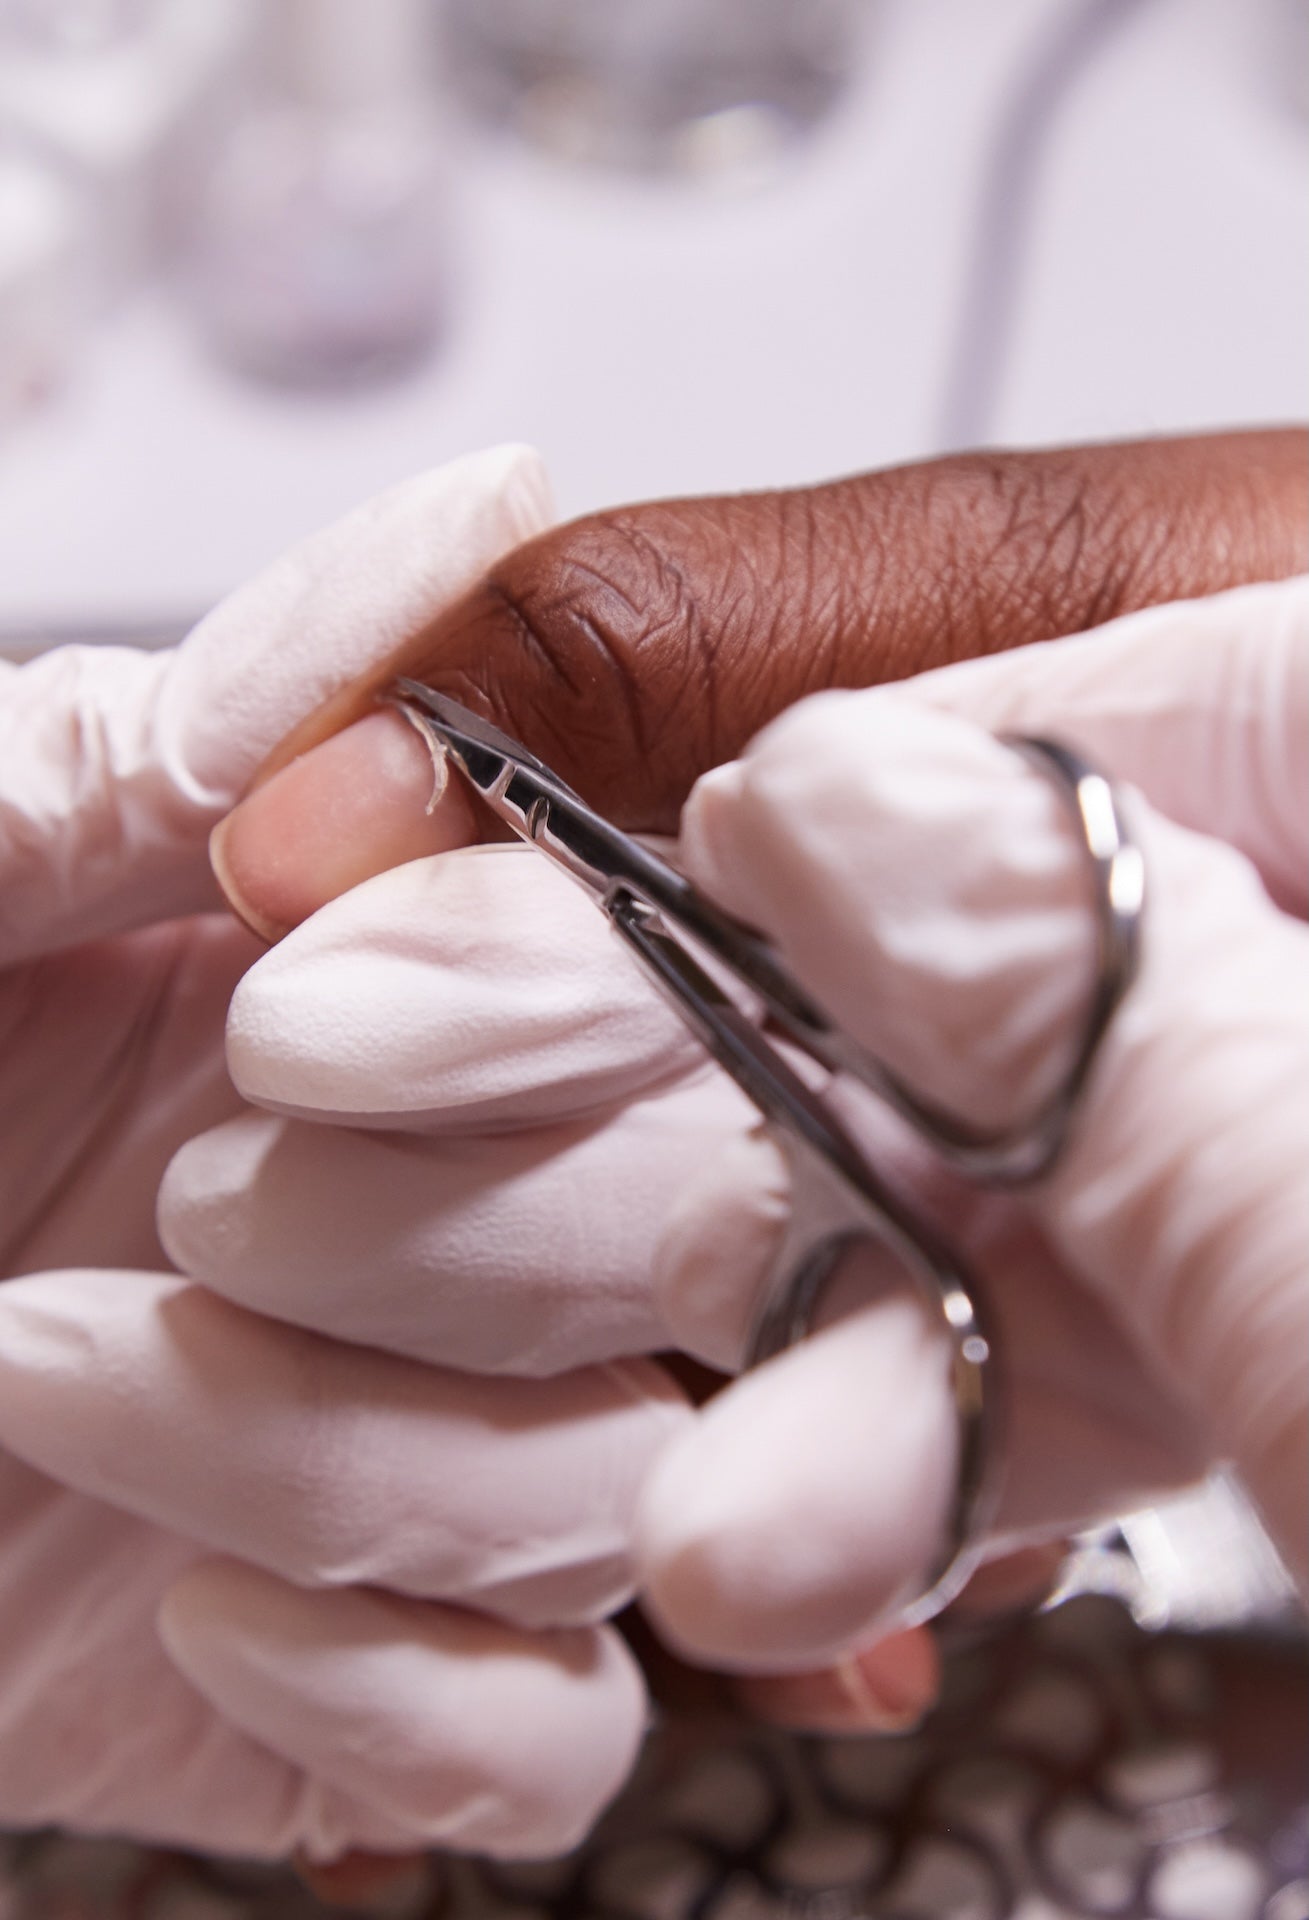
Flexible, custom fit: The wrap is gently stretched and applied to the nail, trimmed if necessary, and filed at the free edge for a snug, seamless result.
- Fully sealed for durability: Once applied, the wrap is sealed with a layer of rubber base and finished with top coat, ensuring long-lasting wear and a glossy, professional finish.

Both nail sliders and nail wraps are fantastic additions to your nail art toolkit, offering flexibility, creativity, and time-saving options in the salon.
-
Opt for sliders when creating quick, small accent designs or experimenting with bold patterns.
-
Choose wraps when your client wants a sleek, all-over design.
Whichever you use, mastering the correct technique will ensure flawless results, and happy clients, every time.
Leave a comment
Comments will be approved before showing up.